This article discusses psychoactive substances intended for adults (18+). If you have a health condition or take medication, consult a doctor before use. Our age policy
Cannabis Grow Tent Setup: Step-by-Step Guide
Definition
A cannabis grow tent setup is a sealed, reflective fabric enclosure with integrated lighting, ventilation and climate control used for indoor cultivation. Properly configured, it delivers PPFD of 600–1,000 µmol/m²/s and VPD of 1.0–1.2 kPa in flower — ranges linked to yield and cannabinoid output (Rodriguez-Morrison et al., 2021).
Adult use only — this guide is written for adults aged 18 and over. Cultivation rules vary by country and region and change frequently. This guide is educational. Before you grow, verify current rules for your specific jurisdiction. Azarius does not provide formal advice.
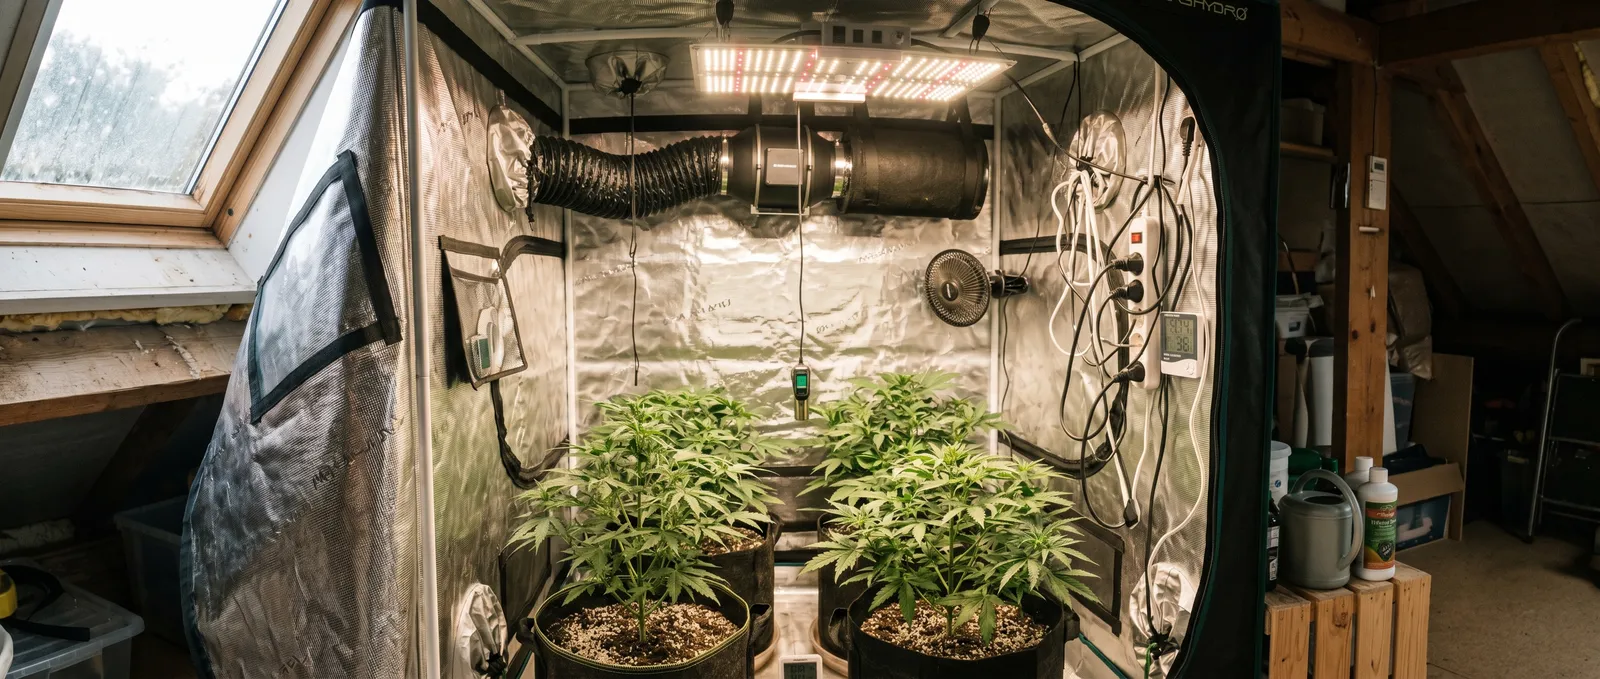
Before you start: what a grow tent actually does
A cannabis grow tent setup is a sealed, reflective fabric enclosure that gives you total control over a small patch of indoor climate. That's the whole pitch. Inside a 1m² tent you can dial in light intensity, temperature, humidity, and airflow to ranges a living room will never deliver — PPFD of 600–1,000 µmol/m²/s in flower, VPD hovering around 1.0–1.2 kPa, and zero stray light during the 12 hours of dark your photoperiod plants need (Chandra et al., 2008).
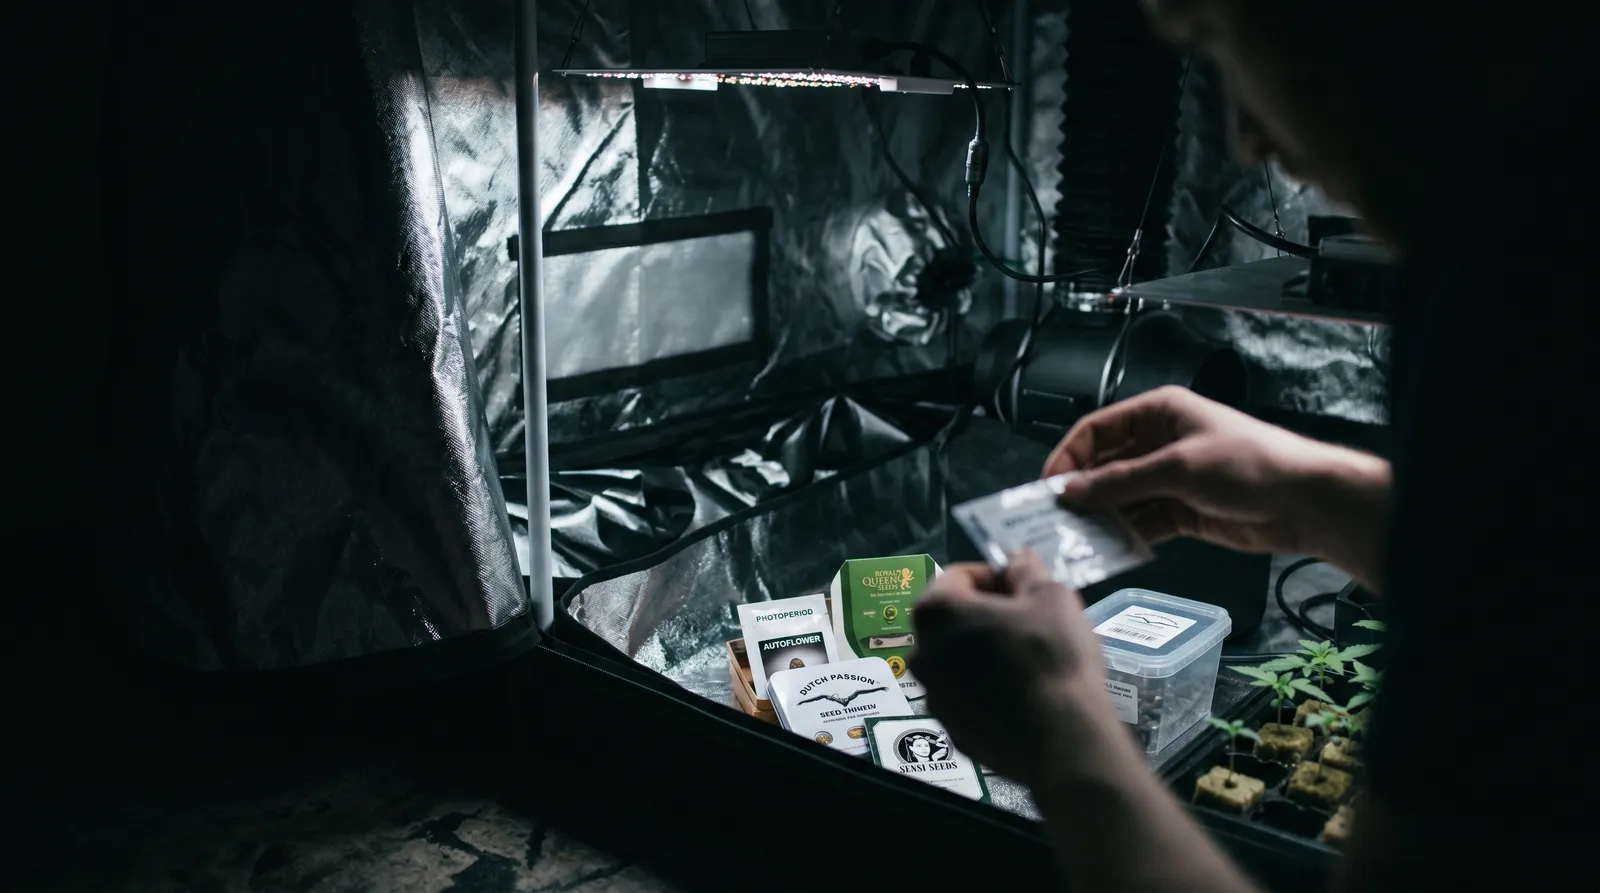
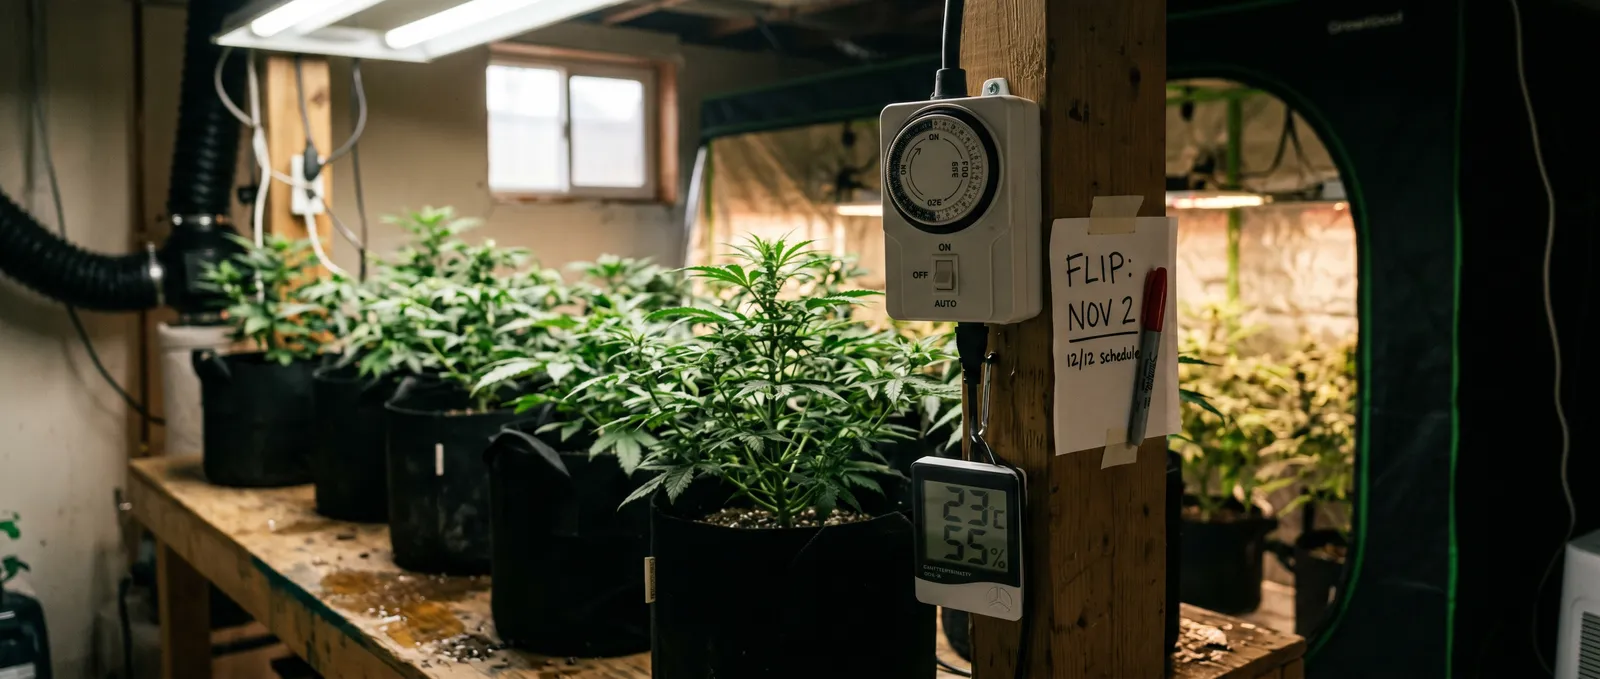
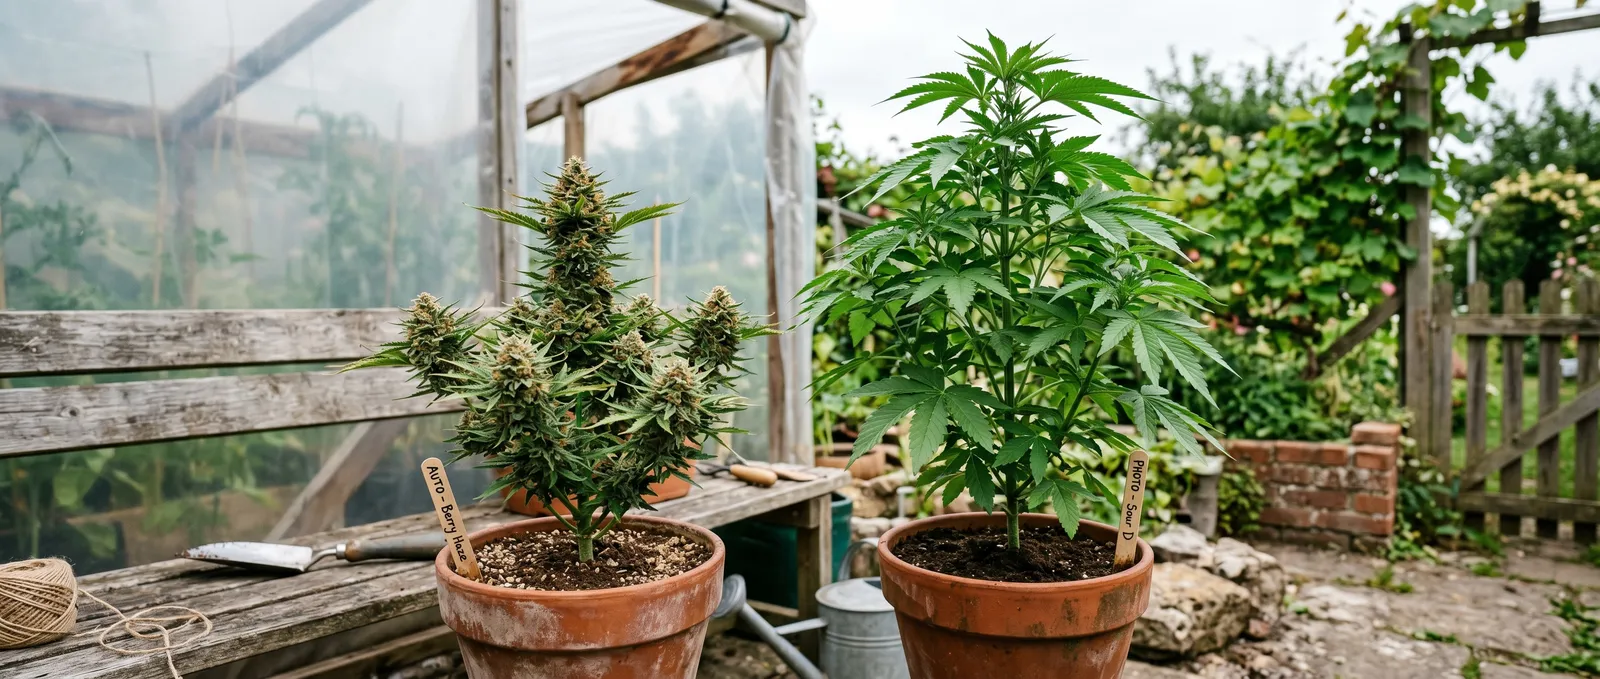
Before you unbox anything, make two decisions: genetics (photoperiod or autoflower) and medium (soil, coco coir, or hydro). Photoperiod plants flip to flower when you switch the lights to 12/12; autoflowers ignore the clock and flower by age, typically 9–11 weeks seed to harvest (Amaducci et al., 2015). These choices change everything downstream — tent size, light schedule, nutrient strategy, watering frequency. Guess wrong here and you'll be rebuilding your cannabis grow tent setup in week three.
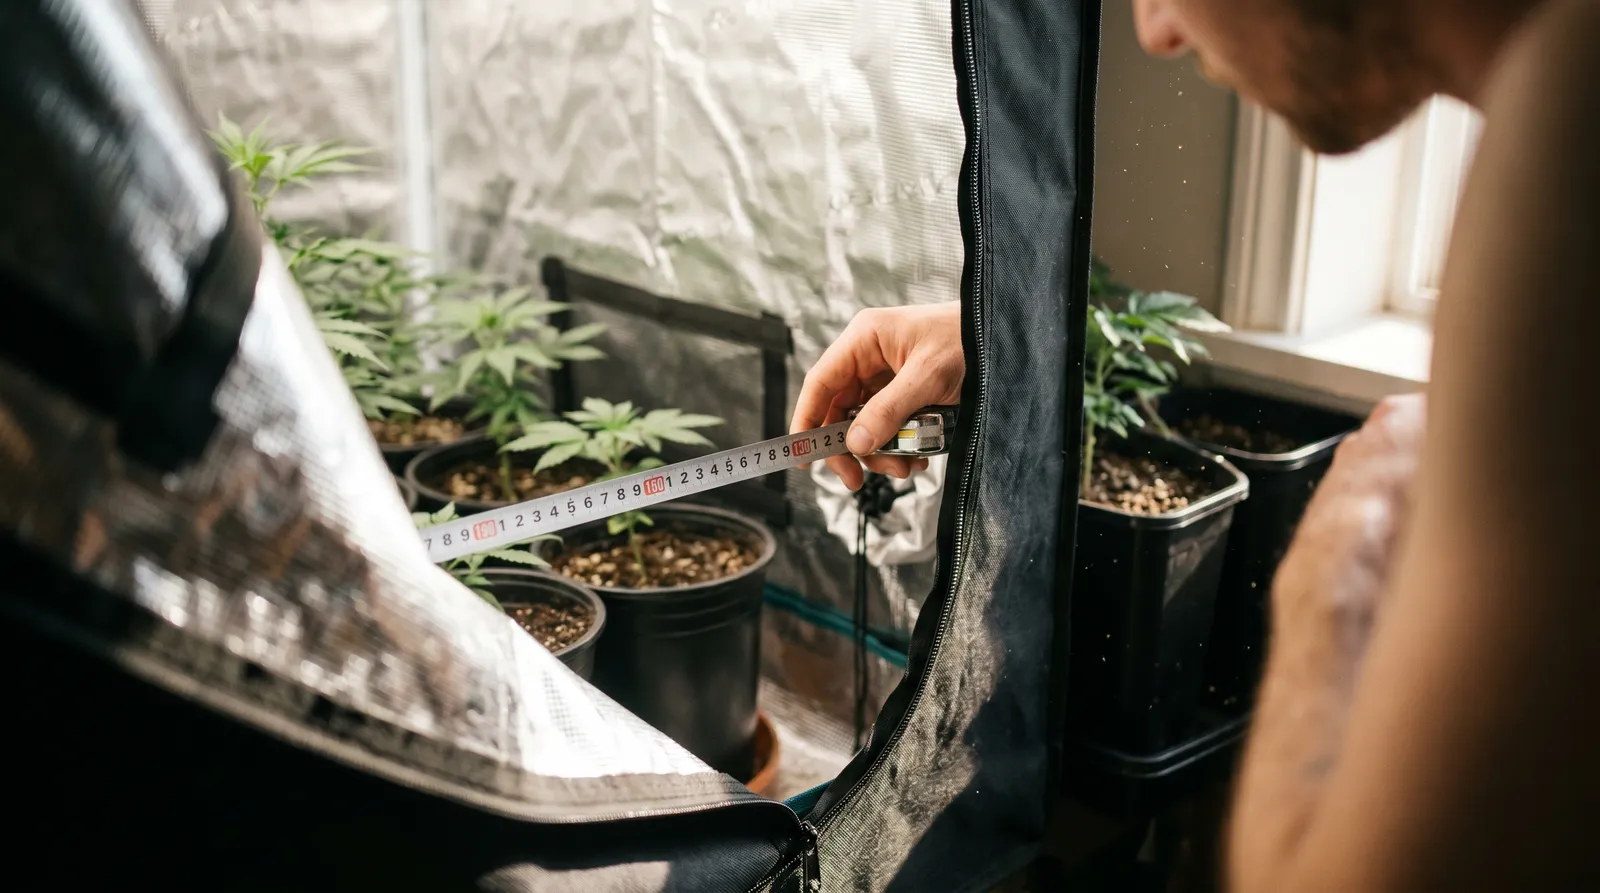
Step 1 — Pick a tent size that matches your plant count
Tent size is a function of how many plants you want to finish, not how many seeds you want to pop. Photoperiod plants given a proper 4-week veg will fill 0.25–0.4m² each. Autos stay smaller, around 0.15–0.25m².
| Tent footprint | Realistic plant count | Typical light draw |
|---|---|---|
| 60×60×140 cm | 1 photoperiod or 2 autos | 100–150W LED |
| 80×80×160 cm | 2–3 photoperiod or 3–4 autos | 150–250W LED |
| 100×100×200 cm | 3–4 photoperiod or 4–6 autos | 250–320W LED |
| 120×120×200 cm | 4–6 photoperiod | 320–480W LED |
Height matters more than beginners expect. Under a 60cm-tall ceiling you lose 20–30cm to the light, another 20–25cm to the pot, and photoperiod plants can double or triple in stretch during the first two weeks of flower. A 140cm tent runs out of vertical room fast — 160cm is the sensible minimum if you're growing photoperiod genetics without a SCROG net.
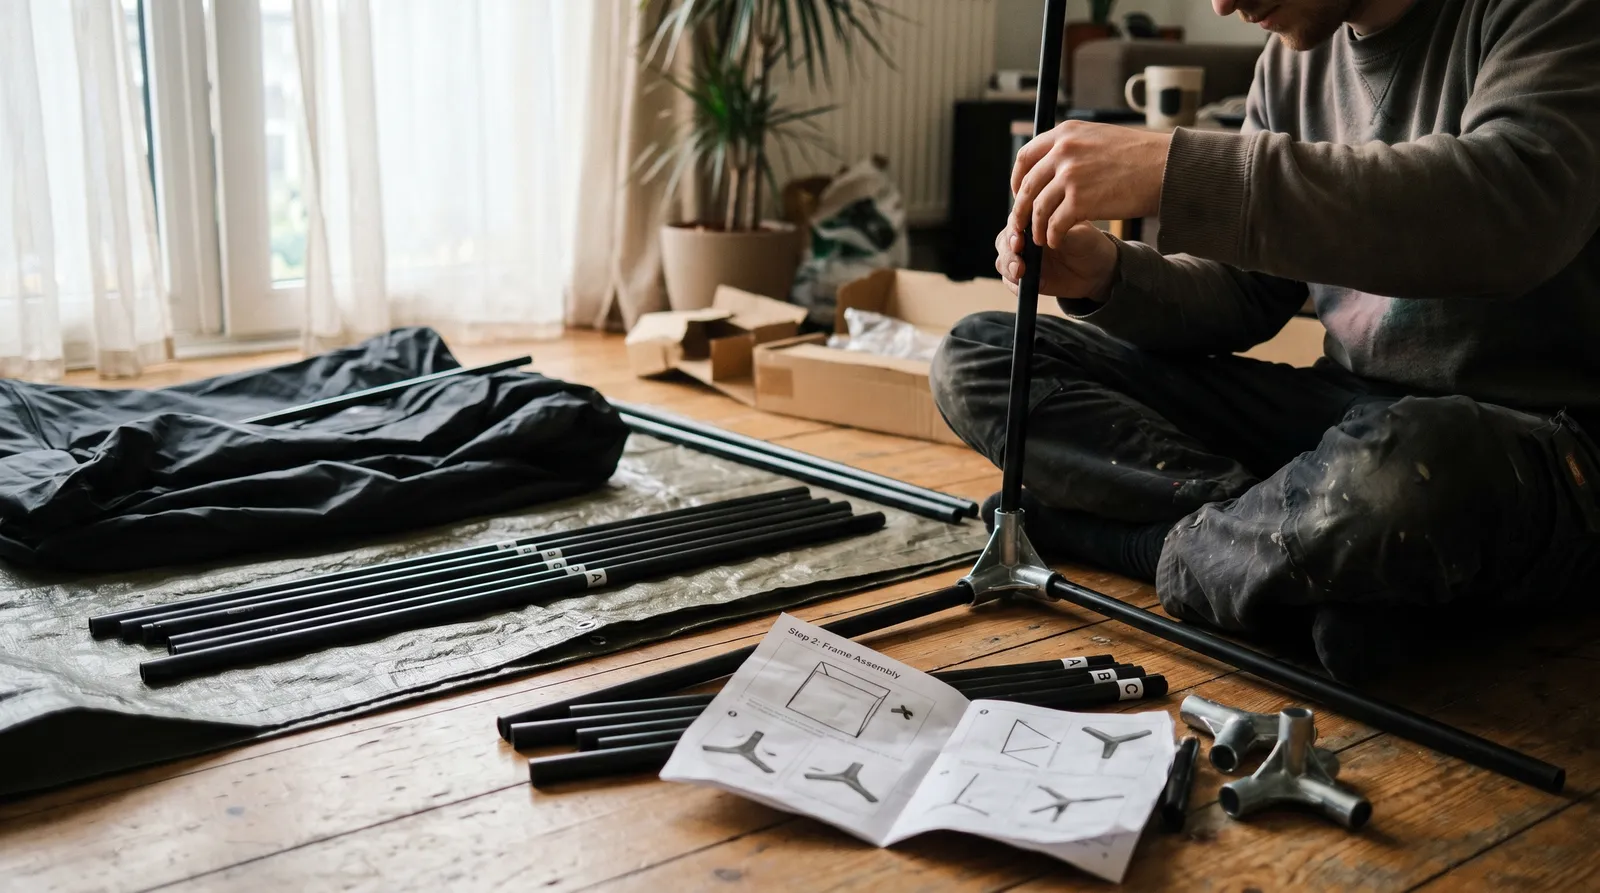
Step 2 — Assemble the tent and check the light seal
Assembly takes 15–20 minutes solo for most 80×80 tents. Clear roughly a metre of space on all sides. Lay out the poles before you start and match them to the diagram — the corner joints are usually a different length than the uprights, and forcing the wrong one bends the connector.
Once built, zip it shut, turn off the room lights, and climb inside with a torch off. Any pinholes you see at the seams or zipper edges are light leaks going out during dark period, which can trigger re-vegging or hermie traits in sensitive photoperiod strains. Electrical tape handles the vast majority of them — in our experience around 19 out of 20 pinholes. A properly sealed 600D tent should be effectively black inside with the room lit.
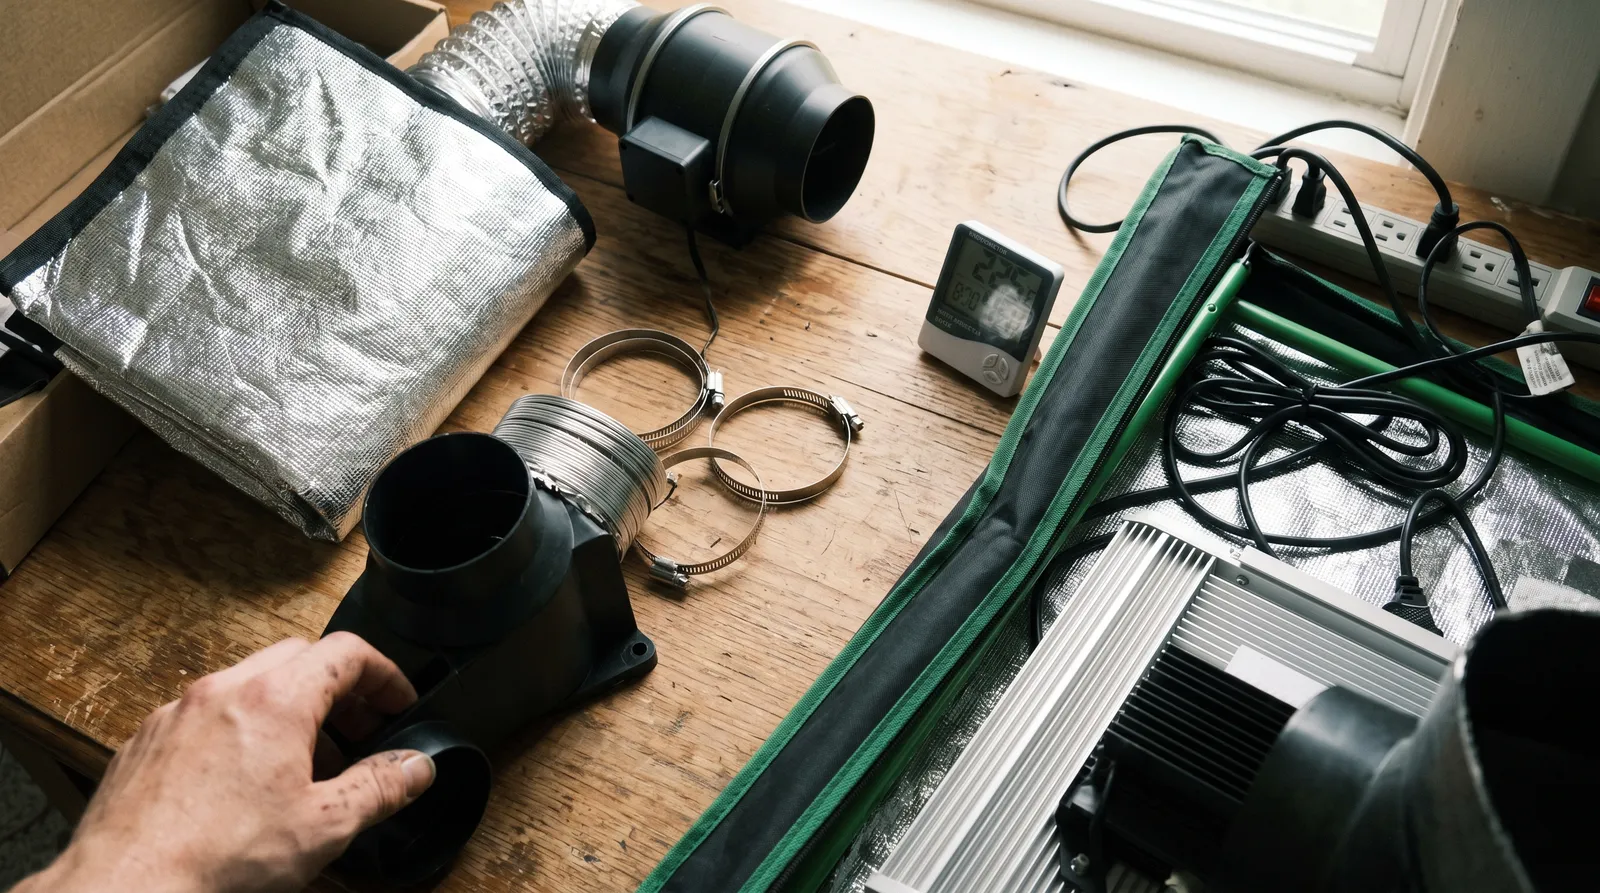
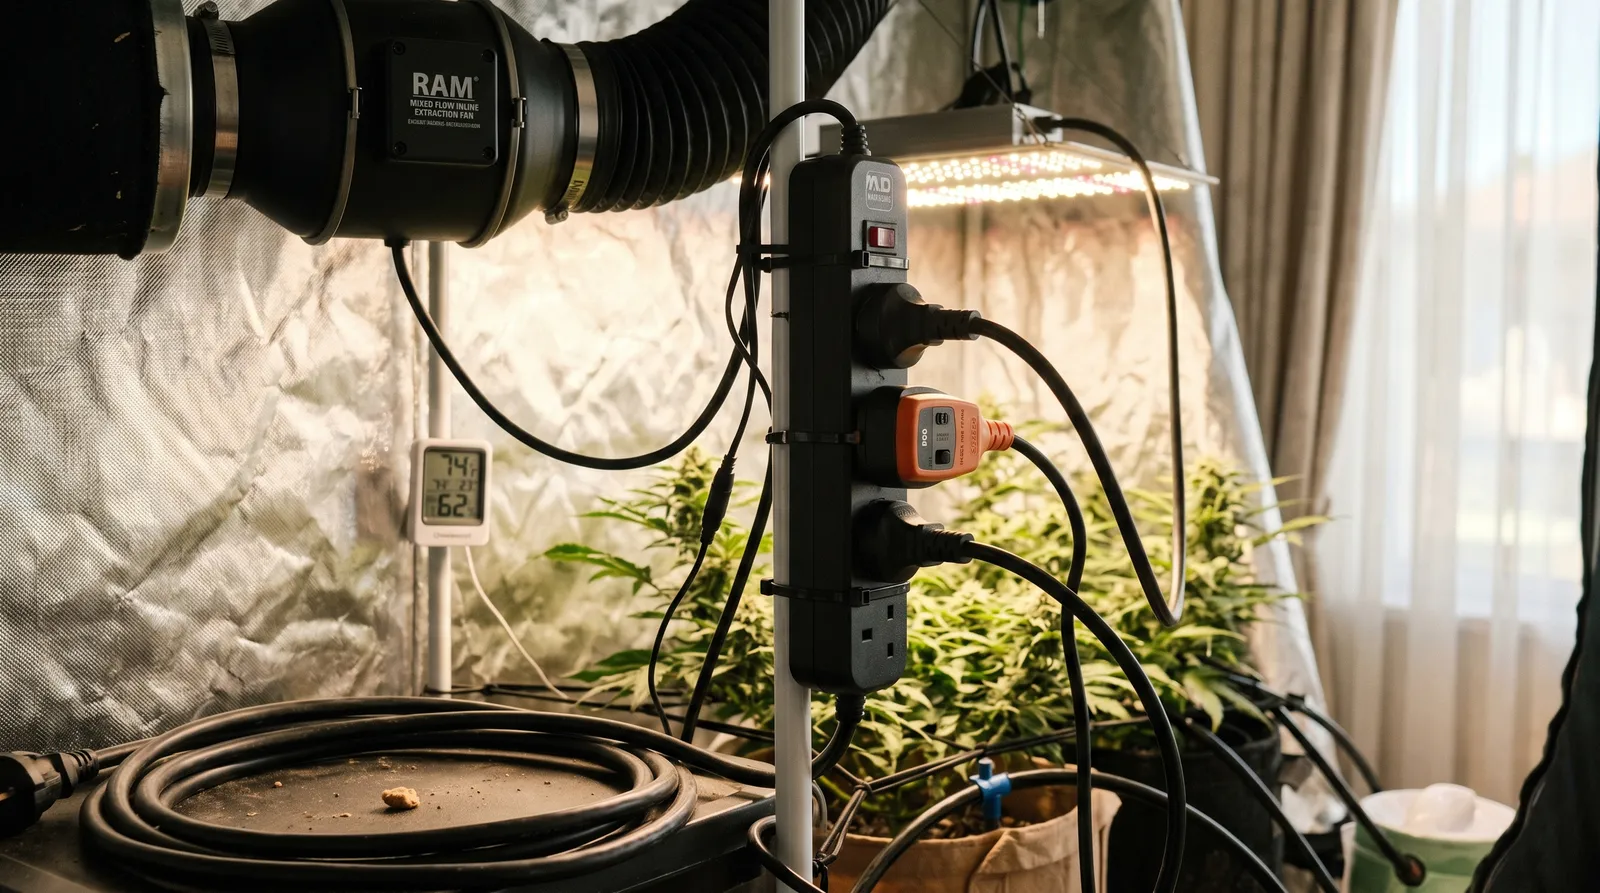
Step 3 — Build the ventilation loop
Ventilation is where most first-time setups fail, because the tent feels fine to stand next to and the grower assumes the plants feel fine too. They don't. Stagnant air gives you mould, weak stems, and VPD that drifts out of range within an hour of lights-on.
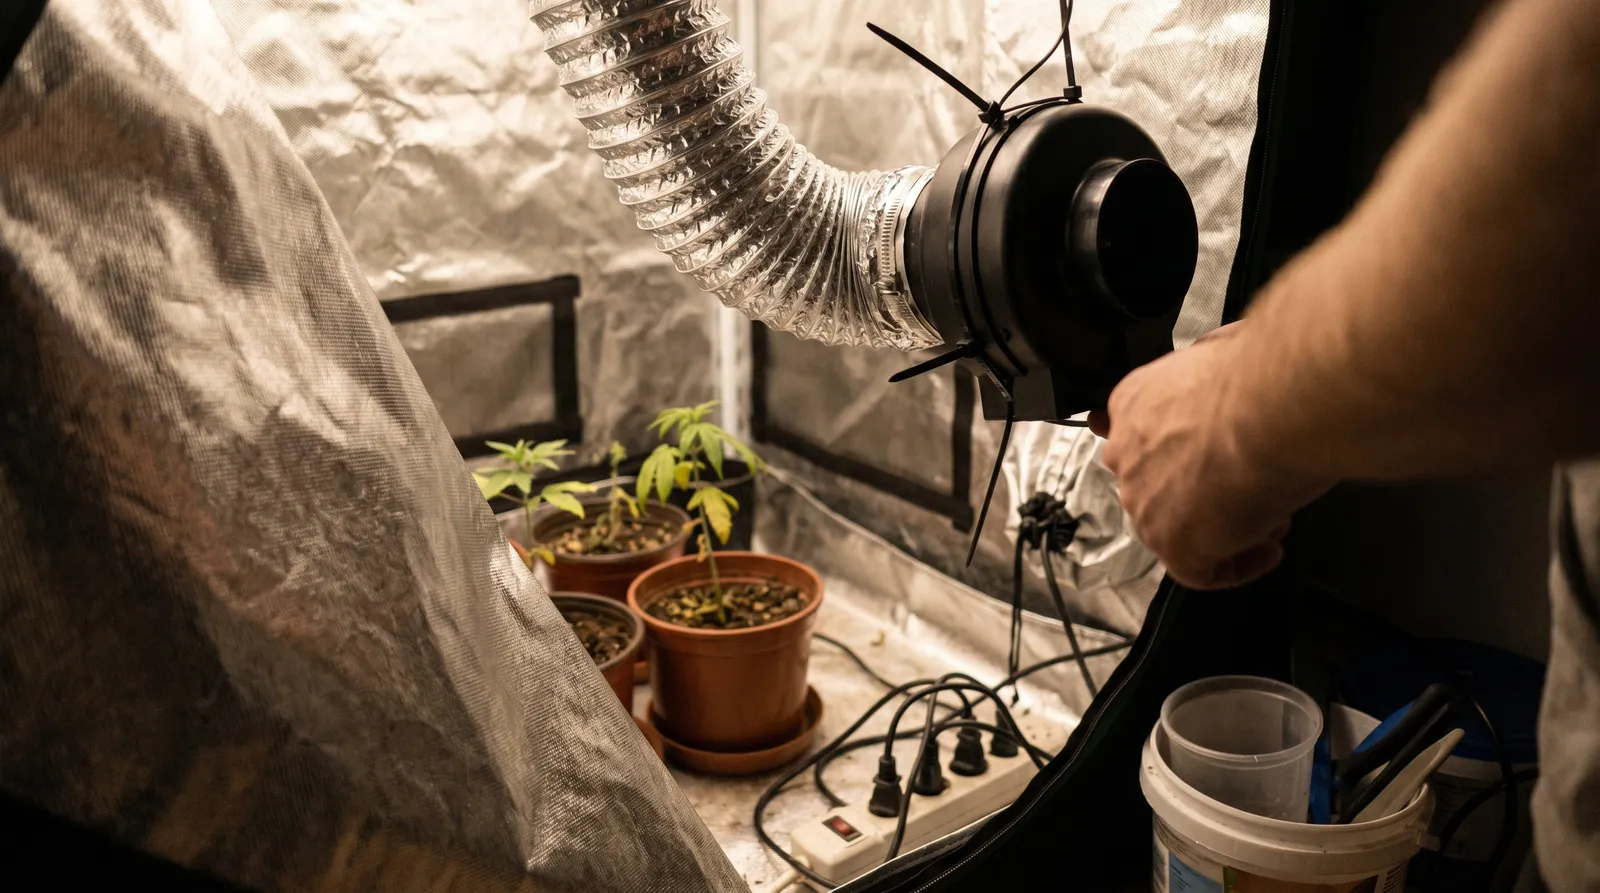
You need three things:
- Extraction fan + carbon filter at the top of the tent, pulling air out through the filter. Size it so it moves the tent's volume at least every 1–3 minutes. An 80×80×160 tent is ~1m³, so a fan rated 150–250 m³/h is appropriate.
- Passive intake at the bottom — the low vents on the tent do this automatically if the extraction creates negative pressure (walls suck inwards slightly).
- Oscillating clip fan inside the tent, aimed across the canopy, never directly at young plants. Airflow strengthens stems and keeps leaf-surface humidity from pooling into powdery mildew territory.
The carbon filter handles odour control. Terpene-heavy flowering plants are not subtle, and a filter is the difference between a discreet tent and a building-wide advertisement.
Step 4 — Hang and dial in the light
Modern LED is the default for home tents — lower heat, better efficacy (2.5–3.0 µmol/J on decent fixtures), and no separate ballast. HPS still works and still yields, but in a small tent the heat load is a constant fight.
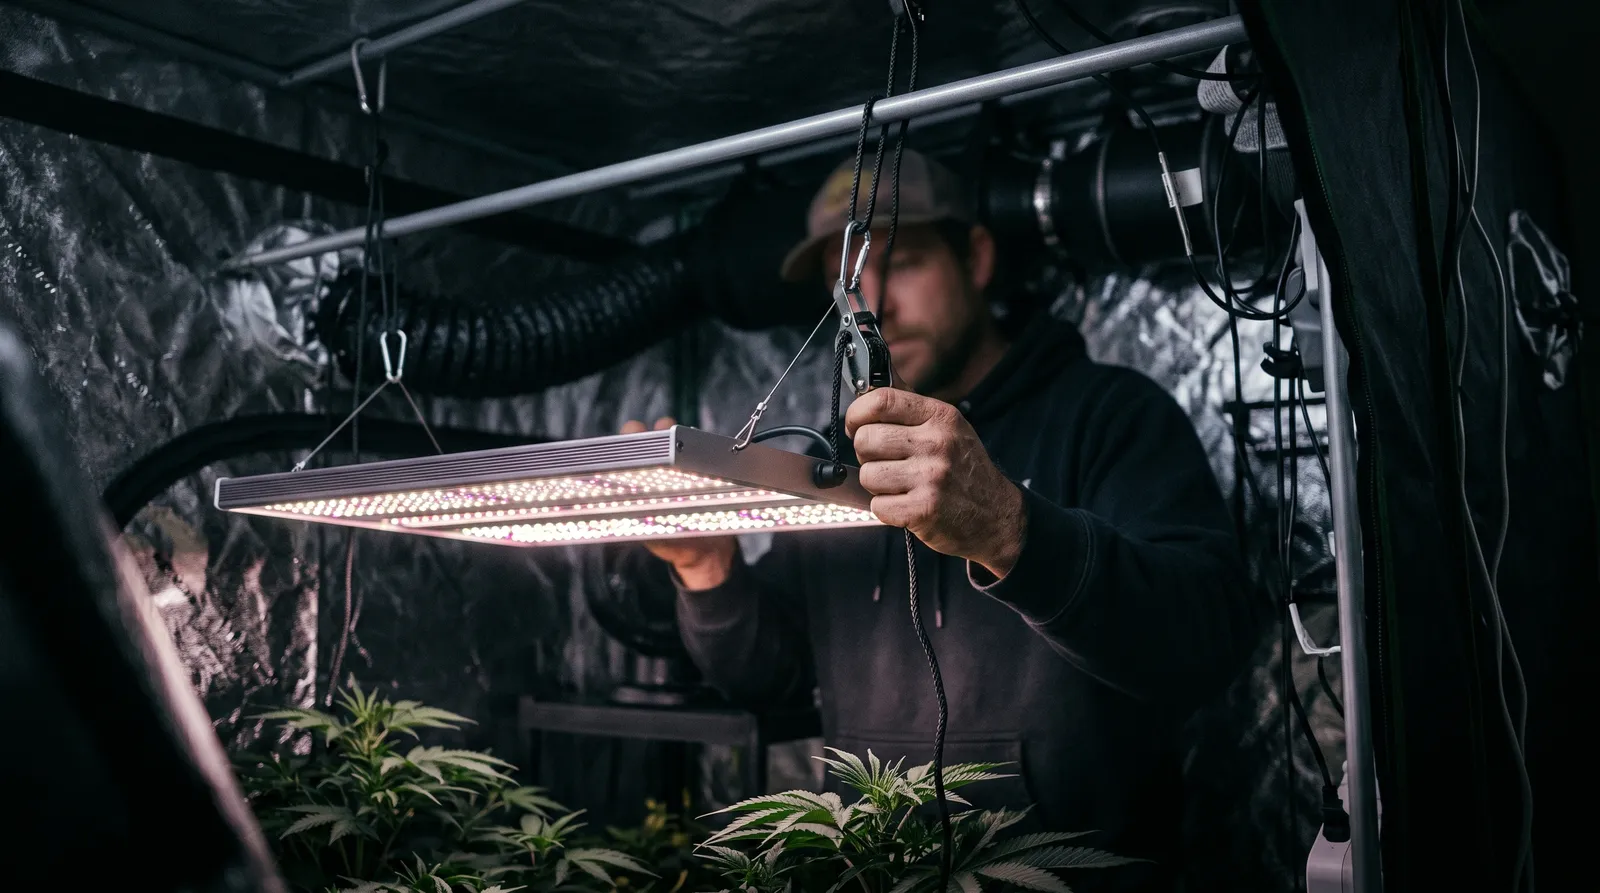
Hang the fixture on ratchet hangers so you can adjust height weekly. Starting heights vary by wattage; most manufacturers publish a PPFD map. Target ranges from Fluence and published horticulture research (Rodriguez-Morrison et al., 2021):
- Seedlings: 200–400 PPFD
- Veg: 400–600 PPFD
- Flower (no CO₂): 600–1,000 PPFD
- Flower (with CO₂ supplementation above 1,000 ppm): up to 1,500 PPFD
If you don't own a PAR meter, the dimmer-and-distance method works: start the light dimmed to 50%, at the manufacturer's recommended seedling height, and raise intensity weekly as plants grow. Leaves that taco upwards or bleach white at the tips are telling you to back off.
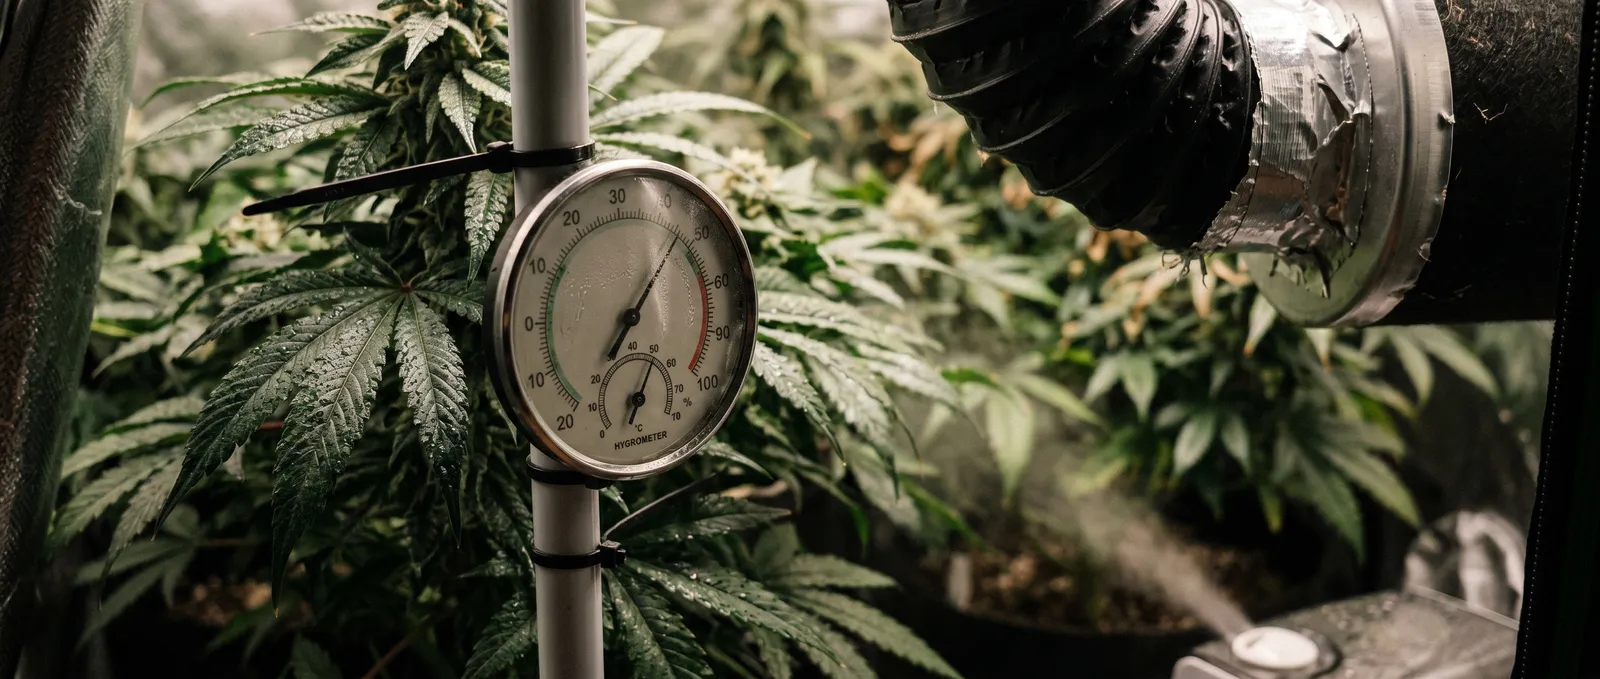
Step 5 — Hit the right temperature, humidity, and VPD
VPD (vapour pressure deficit) is the single most useful metric because it combines temperature and humidity into one number that maps to how hard your plants are transpiring. A cheap hygrometer-thermometer inside the tent is non-negotiable; ideally one that logs min/max across a 24-hour cycle.
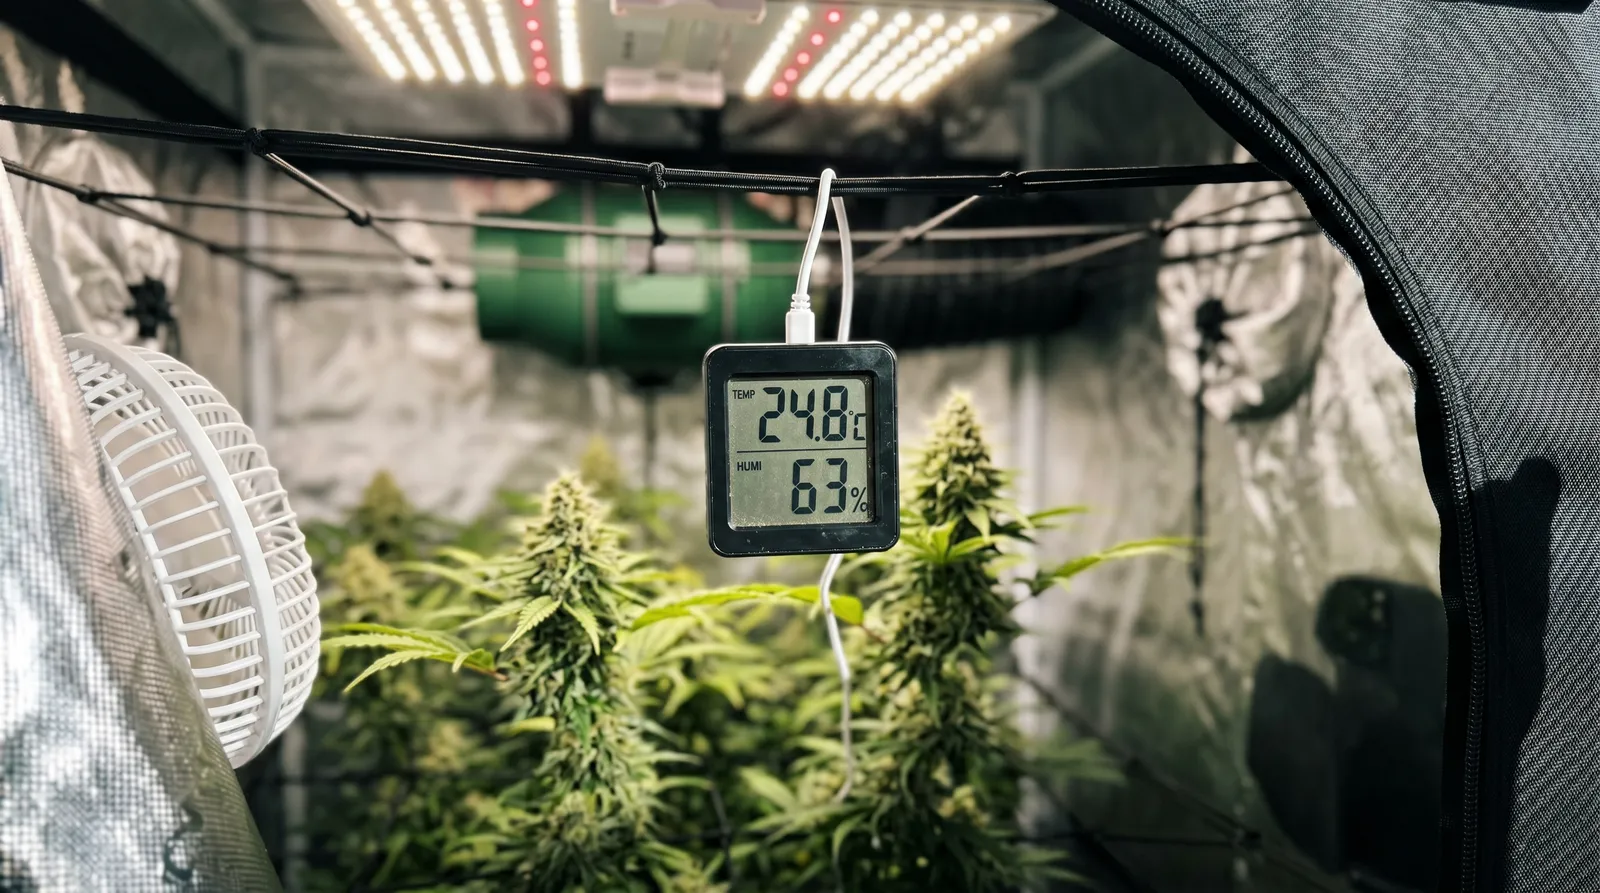
| Stage | Temp (lights on) | Relative humidity | Target VPD |
|---|---|---|---|
| Seedling | 22–26°C | 65–75% | 0.4–0.8 kPa |
| Vegetative | 22–28°C | 55–70% | 0.8–1.1 kPa |
| Early flower | 22–26°C | 50–60% | 1.0–1.3 kPa |
| Late flower | 20–24°C | 40–50% | 1.2–1.5 kPa |
Humidity above 60% in late flower is how botrytis (bud rot) starts — and rotten buds are a respiratory risk, not just a yield loss. If your room runs damp, a small dehumidifier outside the tent with the extraction pulling dry air through is the cheapest fix.
Step 6 — Choose medium and pot size
Soil is the most forgiving choice for first-time growers; coco and hydro deliver faster growth but punish mistakes quickly. The three common options behave very differently:
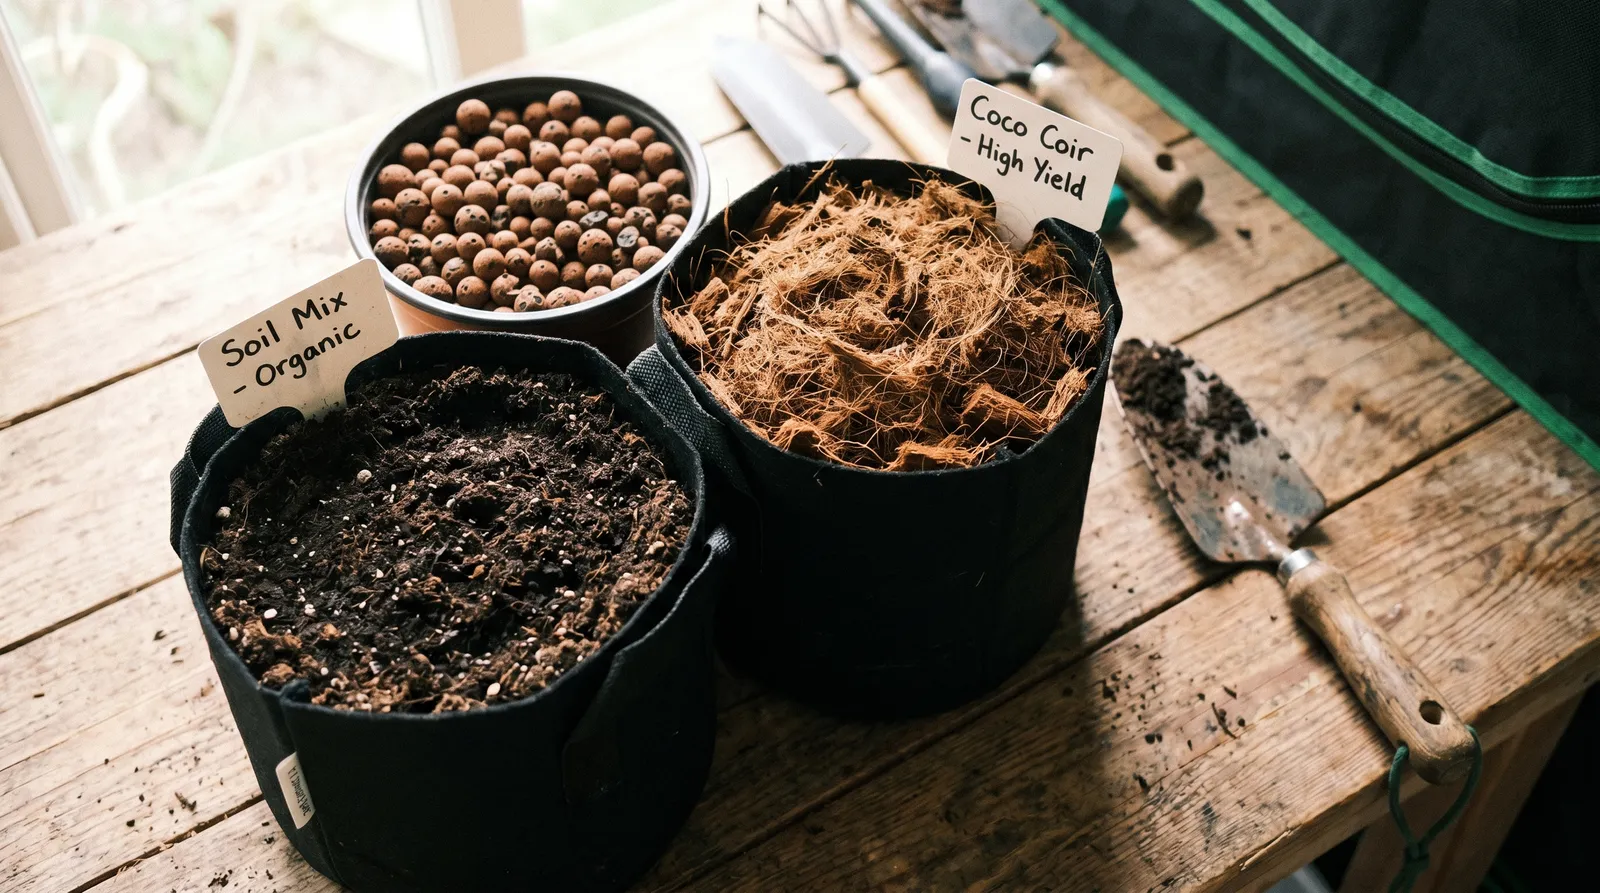
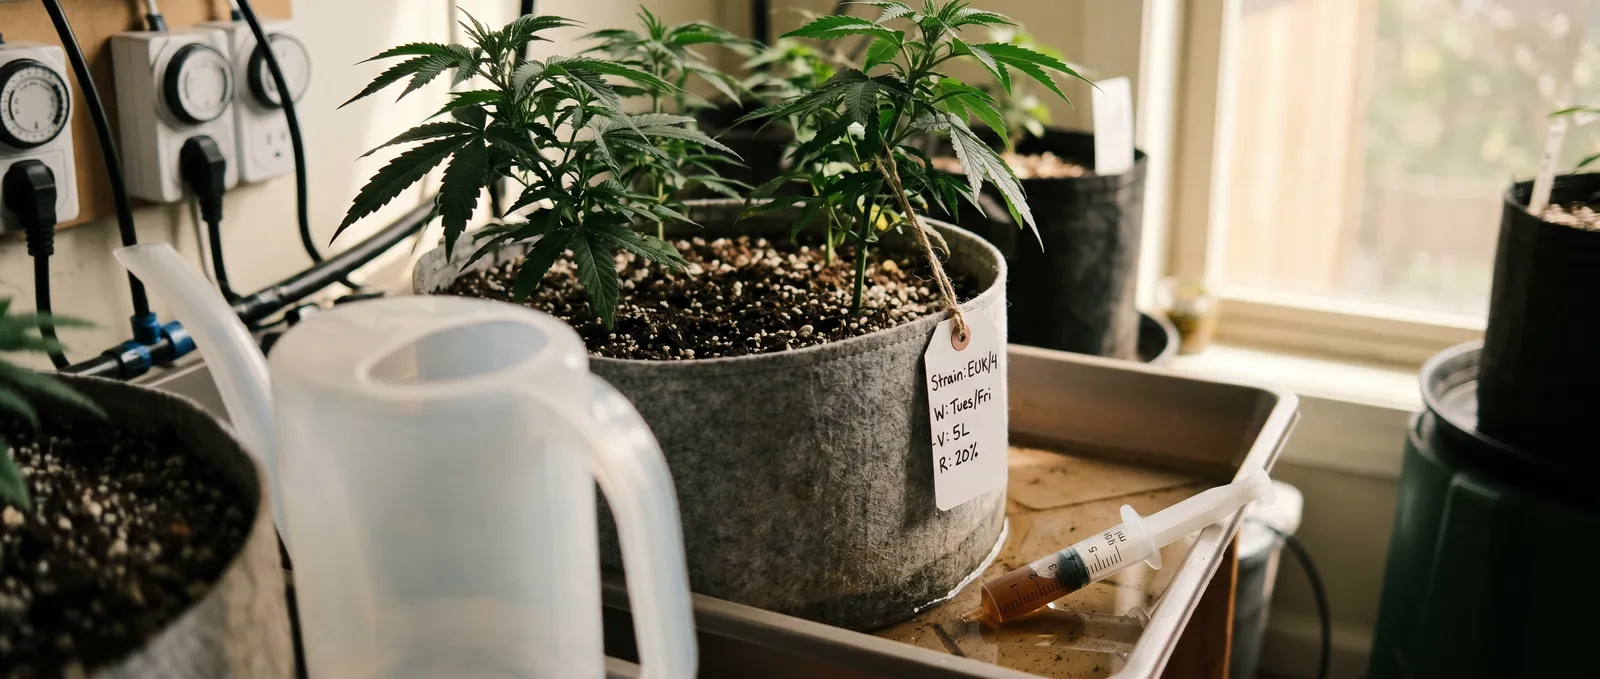
- Soil: forgiving, slower feedback loop, water every 2–4 days in a 15L pot. pH target 6.0–6.8. Best for first grows.
- Coco coir: inert, faster growth, needs feeding almost every watering at low EC. pH target 5.8–6.2. Water daily or more as plants mature.
- Hydroponics (DWC, ebb-and-flow): fastest growth, highest yields, zero forgiveness. pH 5.5–6.0, EC monitored daily.
For pot size: 11–15L fabric pots for photoperiod in an 80×80, 7–11L for autos (autos dislike transplant shock, so start in the final pot). Fabric pots air-prune roots and drain faster than plastic — worth the few extra euros when you order your kit.
Step 7 — Dry-run the tent for 48 hours before the plants arrive
A 48-hour empty run is the single step that saves grows more than any other, and it gets skipped constantly. Set the tent up complete — light on its photoperiod timer, fans running, filter installed, pots filled with dry medium — and let it run empty for two days. You're checking:
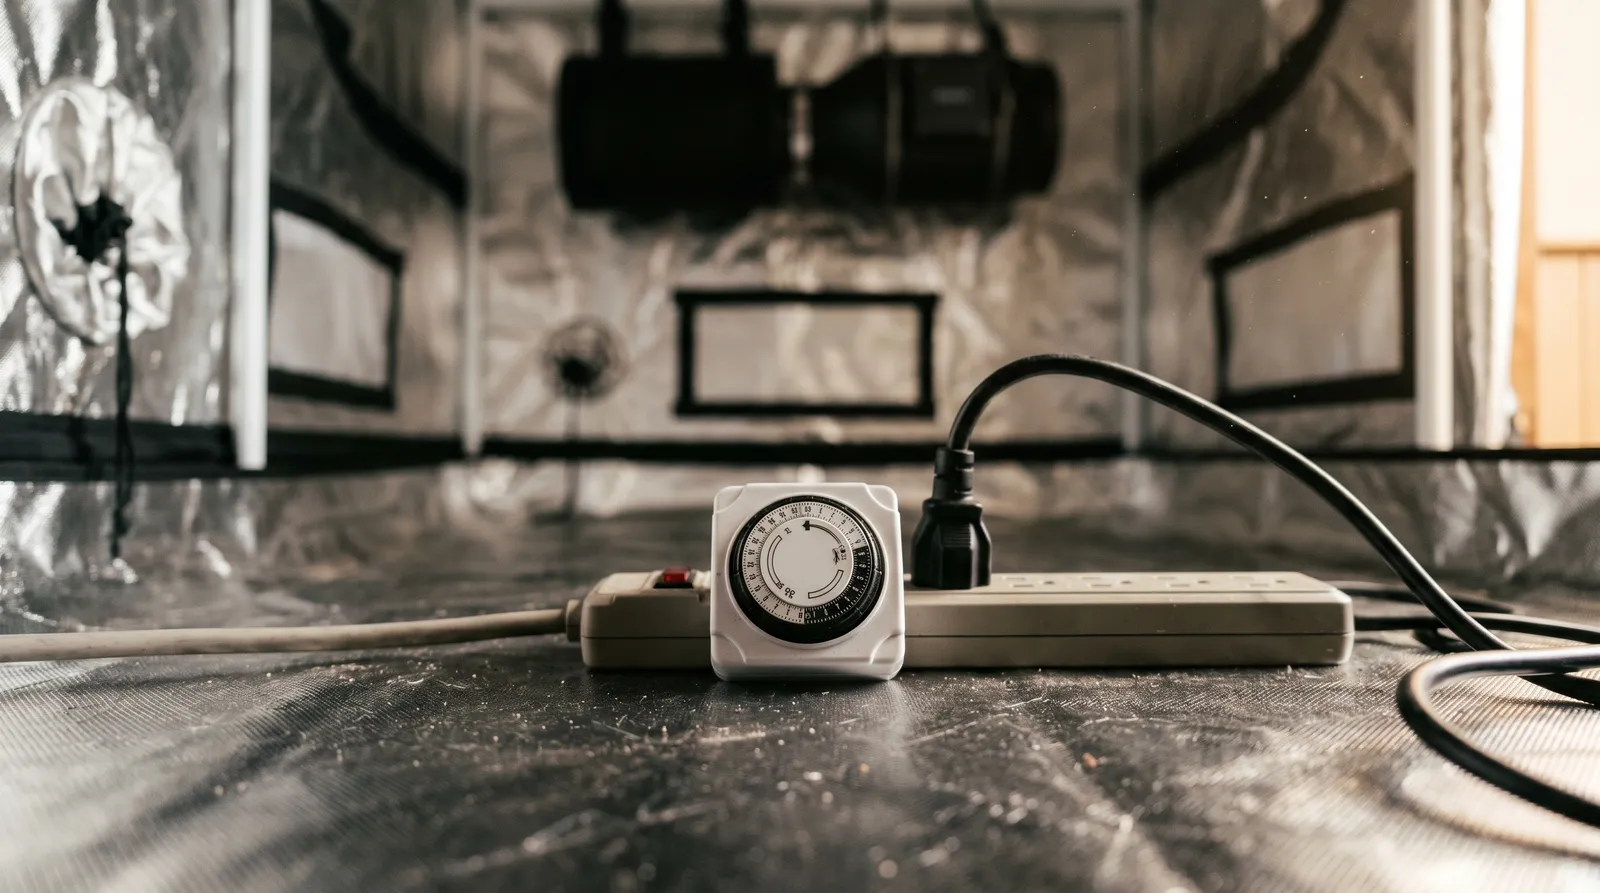
- That the timer actually cycles at the hours you set.
- That temperature and humidity settle into range with lights on and lights off.
- That the extraction creates slight negative pressure (tent walls pull inward ~1–2cm).
- That nothing rattles, vibrates, or trips a breaker.
Fixing a fan that hums against the tent frame at 3am is a different job when there are seedlings inside.
Safety: electrical, fire, and mould
Electrical load and damp air are the two real hazards in a home cannabis grow tent setup. Grow tents run 150–500W of constant load on a domestic circuit, often in a bedroom or cupboard. Use an RCD/GFCI-protected outlet, don't daisy-chain extension leads, and keep ballasts (if running HPS) off carpet — they get hot. Route cables through the tent's pre-cut ports, not pinched under zippers. Nutrient concentrates should be stored out of reach of children and pets; A/B bottles look exactly like squash to a three-year-old. If anyone in the household has respiratory issues (asthma, immunocompromised), mould prevention matters double — botrytis spores released during a bud-rot outbreak are genuinely unpleasant.
Interaction with systemic pesticides is the other underrated risk: never spray anything in flower, and cut off even neem oil at week 3 of flower at the latest.
Legal notice: Cannabis cultivation laws vary by country and region and change frequently. This guide is educational. Before growing, verify current laws for your specific jurisdiction. Azarius does not provide legal advice.
Azarius cannabis seeds & grow supplies
Azarius has sold cannabis seeds and grow equipment since 1999. For a cannabis grow tent setup specifically, you can buy photoperiod and autoflower genetics from Dutch Passion, Royal Queen Seeds, Sensi Seeds and Paradise Seeds, alongside tents, LED fixtures and extraction kits sized for home grows from 60×60 up to 120×120. Order everything in one go and you'll get a matched kit rather than mismatched parts. If you're deciding between genetics and equipment, the sibling articles on seed selection and grow-light comparison go deeper than this setup guide does.
Last updated: April 2026
Frequently Asked Questions
8 questionsWhat size grow tent do I need for 4 plants?
Do grow tents actually contain smell?
What's the minimum equipment for a grow tent?
How high should my LED be above the canopy?
Can I run a grow tent in a bedroom?
Should I dry-run the tent before planting?
How much vertical space do I actually lose inside a grow tent?
What's the difference between autoflower and photoperiod plants in a grow tent?
About this article


Luke Sholl has been writing about cannabis, cannabinoids, and the broader benefits of nature since 2011, and has personally grown cannabis in home grow tents for more than a decade. That first-hand cultivation experience
This wiki article was drafted with AI assistance and reviewed by Luke Sholl, External contributor since 2026. Editorial oversight by Adam Parsons.
Medical disclaimer. This content is for informational purposes only and does not constitute medical advice. Consult a qualified healthcare provider before use of any substance.
Last reviewed April 24, 2026
References
- [1]Amaducci, S., et al. (2015). Key cultivation techniques for hemp in Europe and China. Industrial Crops and Products, 68, 2–16.
- [2]Chandra, S., Lata, H., Khan, I. A., & ElSohly, M. A. (2008). Photosynthetic response of Cannabis sativa L. to variations in photosynthetic photon flux densities, temperature and CO₂ conditions. Physiology and Molecular Biology of Plants, 14(4), 299–306.
- [3]Rodriguez-Morrison, V., Llewellyn, D., & Zheng, Y. (2021). Cannabis yield, potency, and leaf photosynthesis respond differently to increasing light levels. Frontiers in Plant Science, 12, 646020.
- [4]Fluence Bioengineering (2023). Cannabis Cultivation Light Guide. Published technical documentation.
Related Articles
Cannabis Hermaphrodite: Identify, Prevent, Act
A cannabis hermaphrodite is a female plant that develops male pollen sacs or banana-shaped anthers (nanners), self-pollinating and seeding your harvest.

DIY Cannabis Fertilizer: Homemade Nutrient Guide
DIY cannabis fertilizer guide: compost, teas, banana ferments and feed schedules, with safety notes and cited research for home growers.
What To Do With Male Cannabis Plants: 6 Practical Uses
What to do with male cannabis plants: identify, isolate, breed, extract, or compost. A practical 6-step guide with sourcing and safety notes.
When To Harvest Cannabis Trichomes: A Grower's Guide
Deciding when to harvest cannabis trichomes means reading the resin glands on your calyxes under 60x–100x magnification and cutting when the milky-to-amber…
When To Flip Cannabis To 12/12: Timing The Switch
When to flip cannabis to 12/12 is a timing decision that switches photoperiod plants to 12 hours light and 12 hours dark to trigger flowering via florigen…
Watering Cannabis Frequency Volume Runoff: Full Guide
Watering cannabis frequency volume runoff is the feedback loop between how often you irrigate, how much you apply, and what drains from the pot.
VPD for Cannabis: Targets by Growth Stage
VPD for cannabis is the kilopascal gap between the moisture the air holds and its saturation point, controlling how fast plants transpire.
Topping vs FIMing Cannabis: Which Training Cut Wins?
Topping vs FIMing cannabis is a pair of high-stress training cuts that break apical dominance to produce more main colas.
Photoperiod vs Autoflower Cannabis: Key Differences
Photoperiod vs autoflower cannabis is a genetics choice: photoperiod strains flower when light cycles shift to 12 hours dark, while autoflowers — crosses…