
Ready-2-Grow Bag 'Hillbilly Pumpkin'
Grow kits
by Unbranded
We'll only email you about this product — no marketing.
Hillbilly Pumpkin Grow Kit: The Strain That Survives Your Mistakes
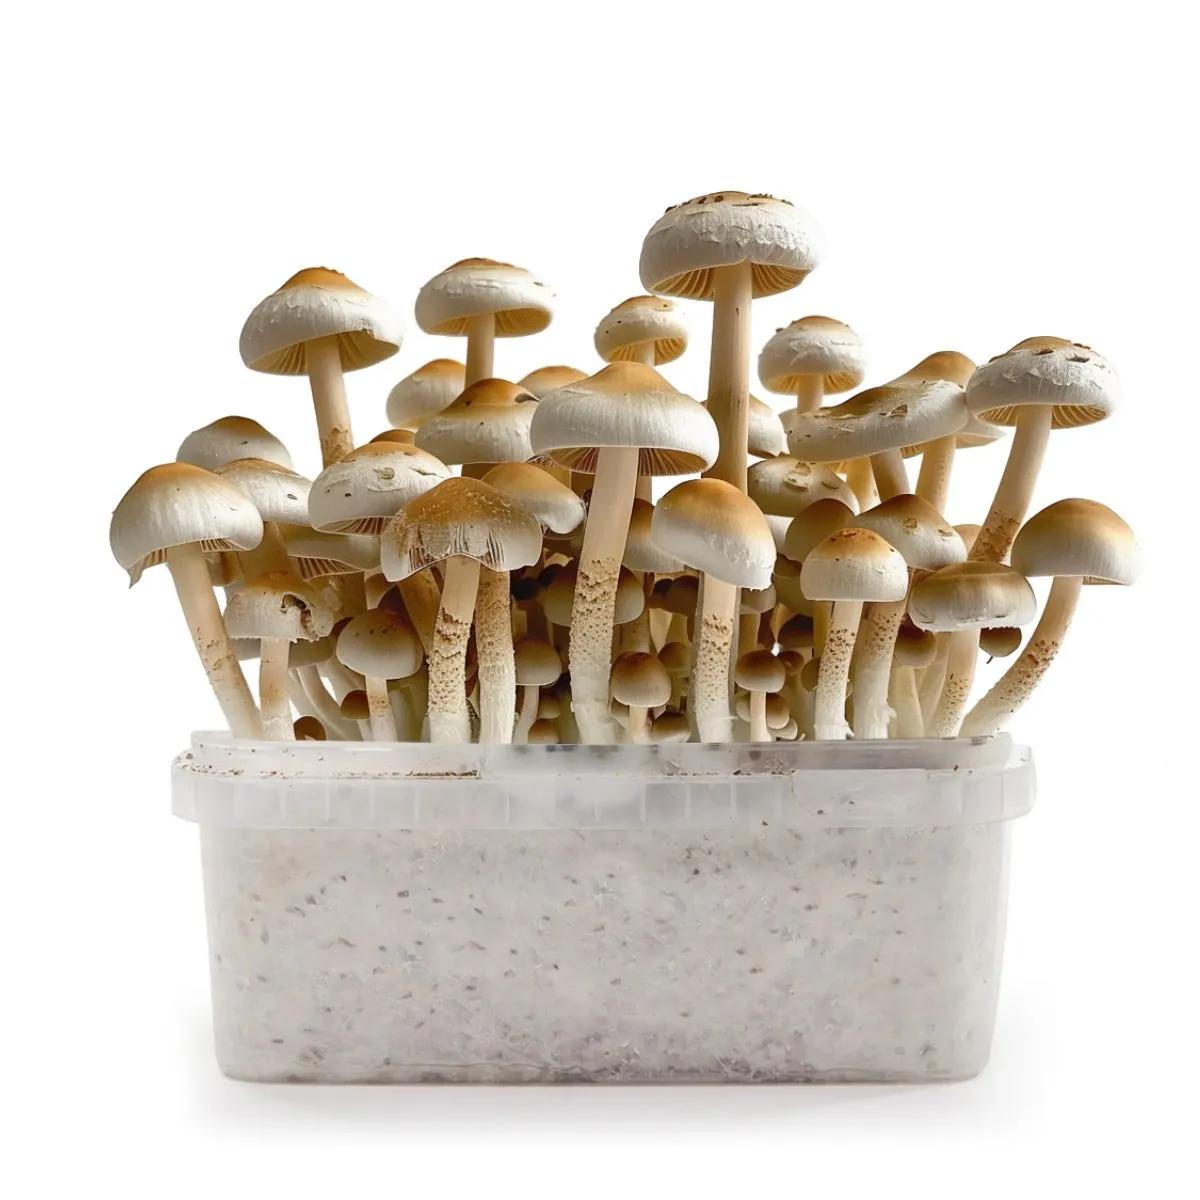
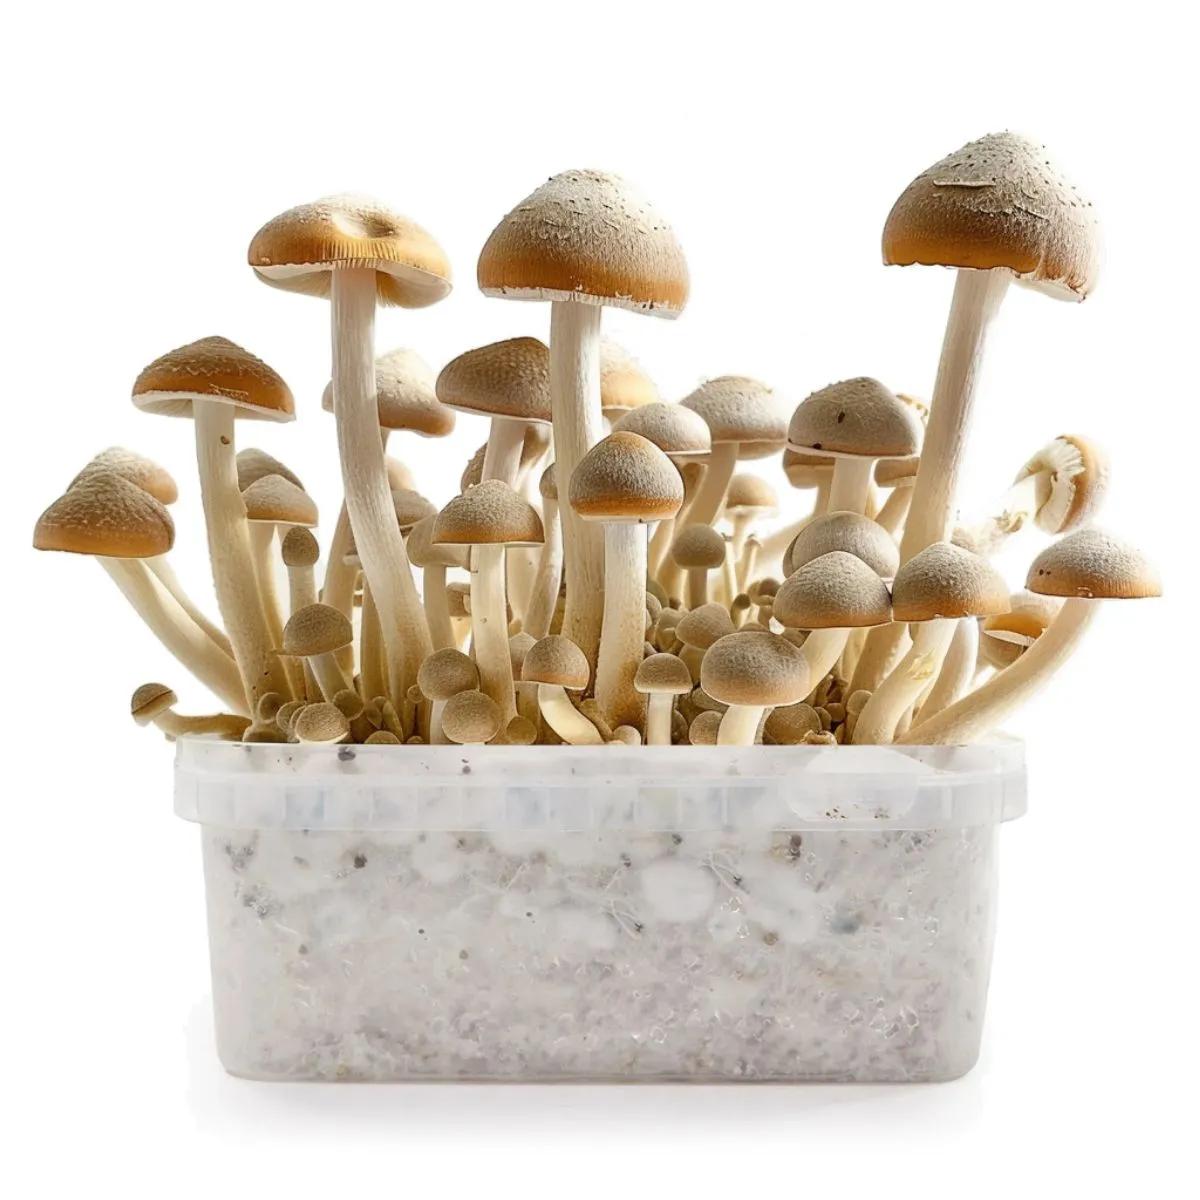
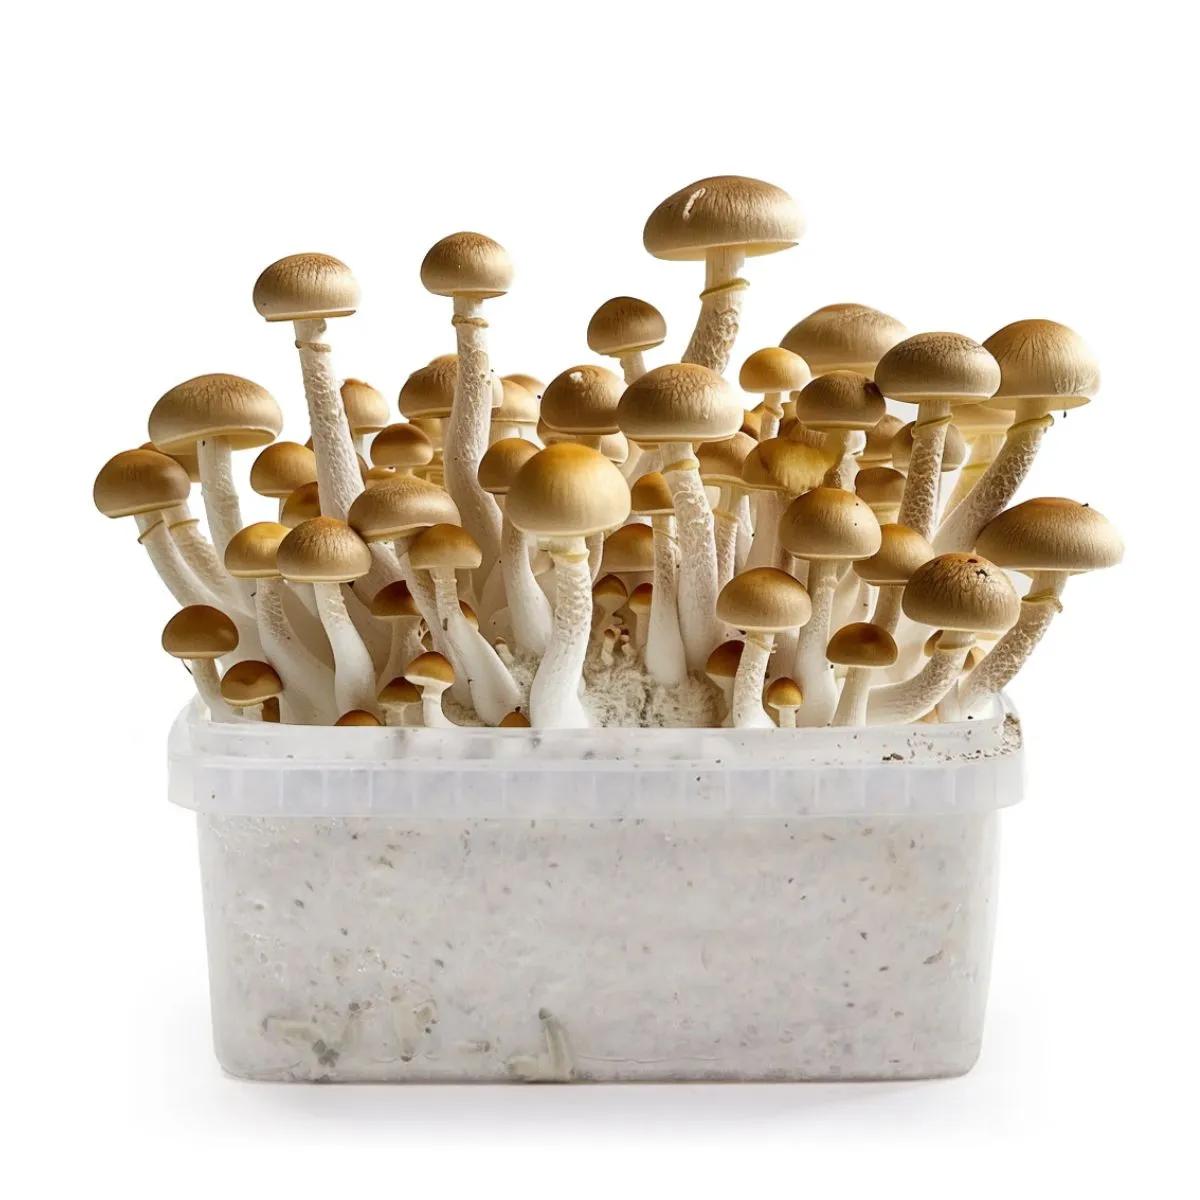
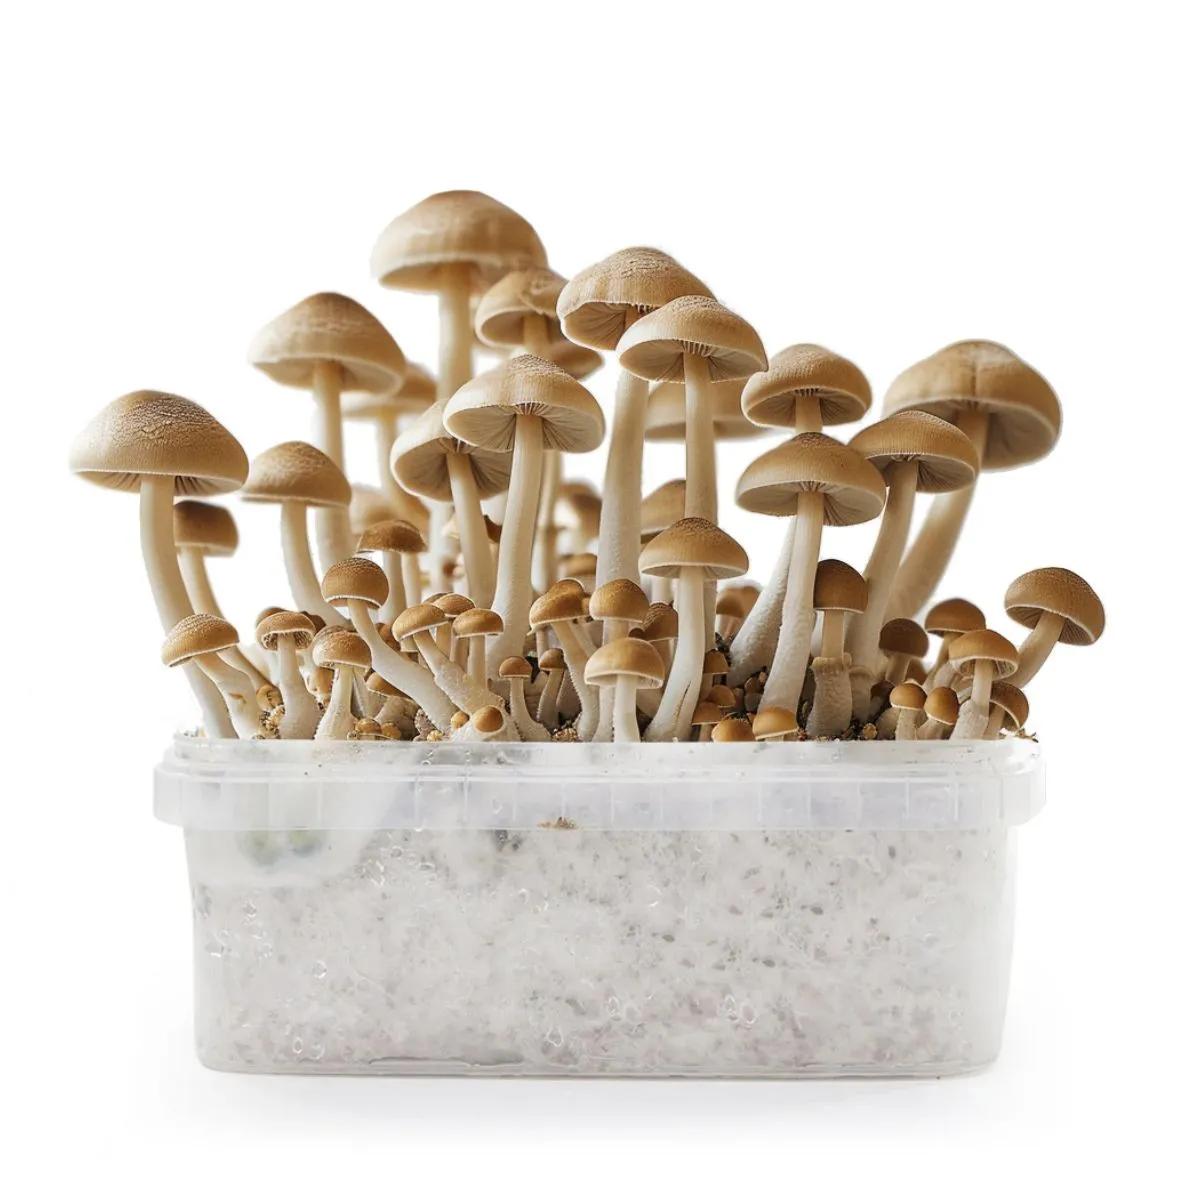
The Hillbilly Pumpkin grow kit is a 2kg pre-inoculated Ready-2-Grow bag containing Psilocybe cubensis mycelium on a fully colonised substrate — no syringes, no laminar flow hood, no prior growing experience needed. Rumoured to have been developed in the 1990s by an Arkansas mycologist known only as "Hillbilly," this strain has spent decades proving itself as one of the most contamination-resistant cubensis genetics available. Open the bag, provide humidity and warmth, and you'll be looking at stocky white stems topped with distinctive pumpkin-orange caps within two to three weeks.
What Makes the Hillbilly Pumpkin Grow Kit Stand Out
This strain earns its spot because it does what most beginner-friendly cubensis varieties promise but rarely deliver: it handles the mistakes you haven't made yet. Temperature swings, humidity dips, a weekend away without misting — the Hillbilly Pumpkin shrugs it off where more delicate genetics like Penis Envy or Albino A+ would stall or contaminate.
One of our regulars cycled through three finicky strains before switching to this kit. He left a heater running too high one weekend, came back expecting a ruined bag, and instead pulled a flush of thick, pumpkin-orange caps without a single contamination spot. That's not luck — that's genetics doing their job. The Ready-2-Grow bag format removes the other common failure point: sterile inoculation. The substrate arrives fully colonised, so the window for contaminants to sneak in is already closed before the bag reaches your doorstep.
Compared to a standard XP grow kit (the kind with a plastic tub and perlite layer), the Ready-2-Grow bag is more forgiving on airflow. You're not fussing with a humidity tent or fanning a lid three times a day. The bag's built-in filter patch handles gas exchange, and you control fruiting conditions by cutting a slit and misting. If you've never grown anything more demanding than a houseplant, this is where to start.
Hillbilly Pumpkin Specifications
| Spec | Detail |
|---|---|
| Species | Psilocybe cubensis |
| Strain | Hillbilly Pumpkin |
| Kit Format | Ready-2-Grow Bag (all-in-one) |
| Substrate Weight | 2 kg |
| Inoculation Status | 100% pre-inoculated — fully colonised |
| Expected Flushes | 2–3 |
| Time to First Pins | 7–14 days after initiating fruiting |
| Optimal Temperature | 22–25 °C (tolerates 18–28 °C) |
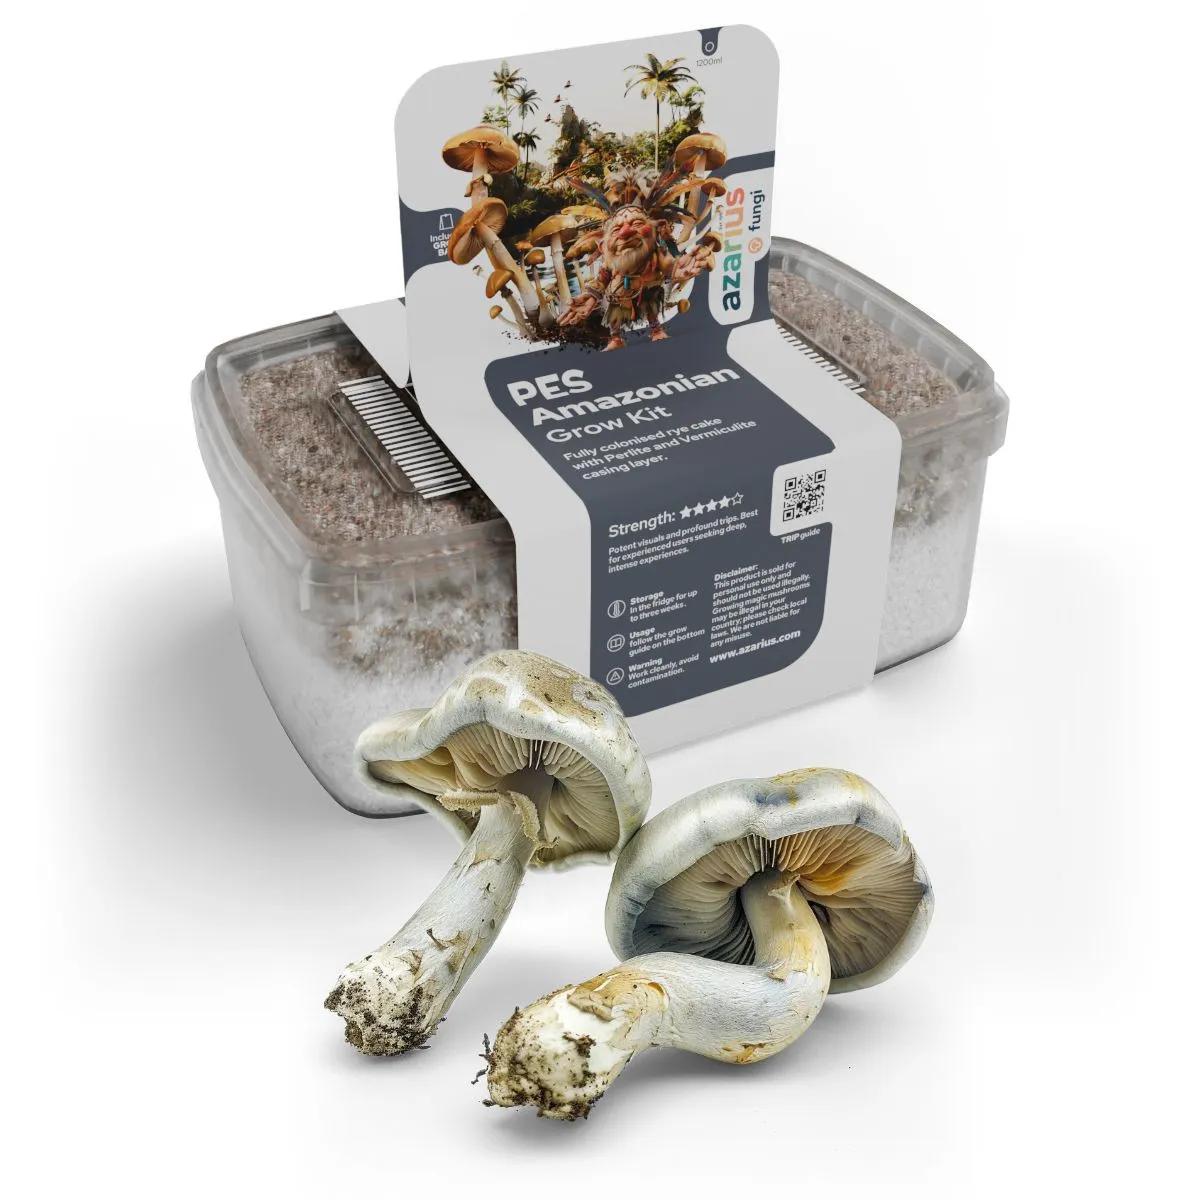
| Appearance | Stocky white stems, bright orange caps |
| Intensity | Gentle — suited to first-time growers |
| SKU | SH0247 |
How the Hillbilly Pumpkin Compares to Other Beginner Kits
If you're weighing up your first grow kit, here's how the Hillbilly Pumpkin sits against two other popular beginner strains we carry. All three are solid choices — the difference comes down to how forgiving you need the strain to be and what kind of intensity you're after.
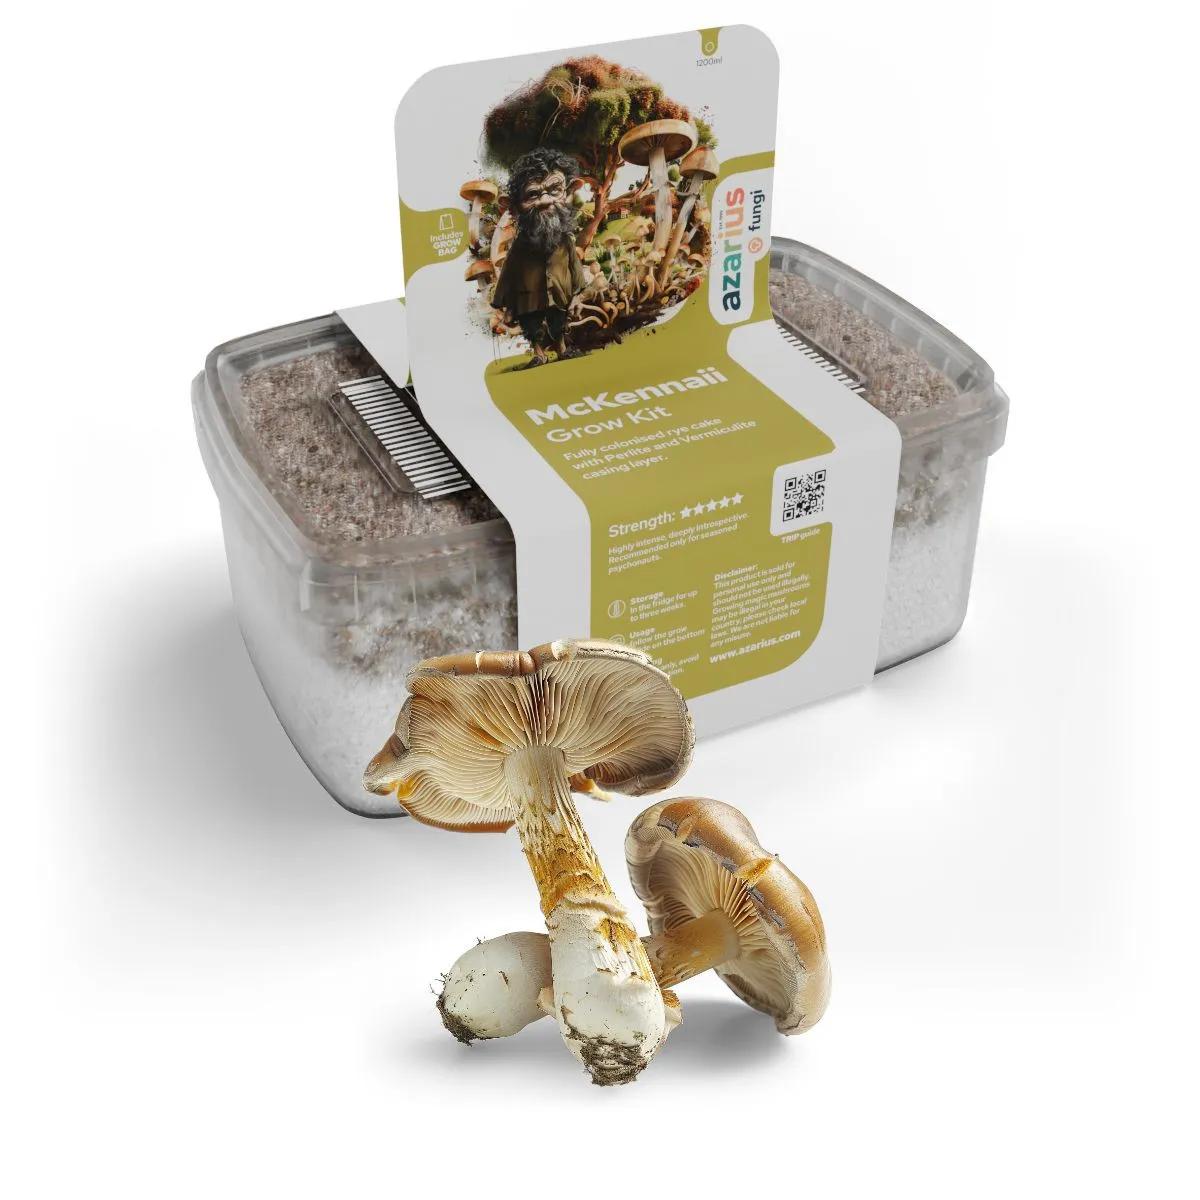
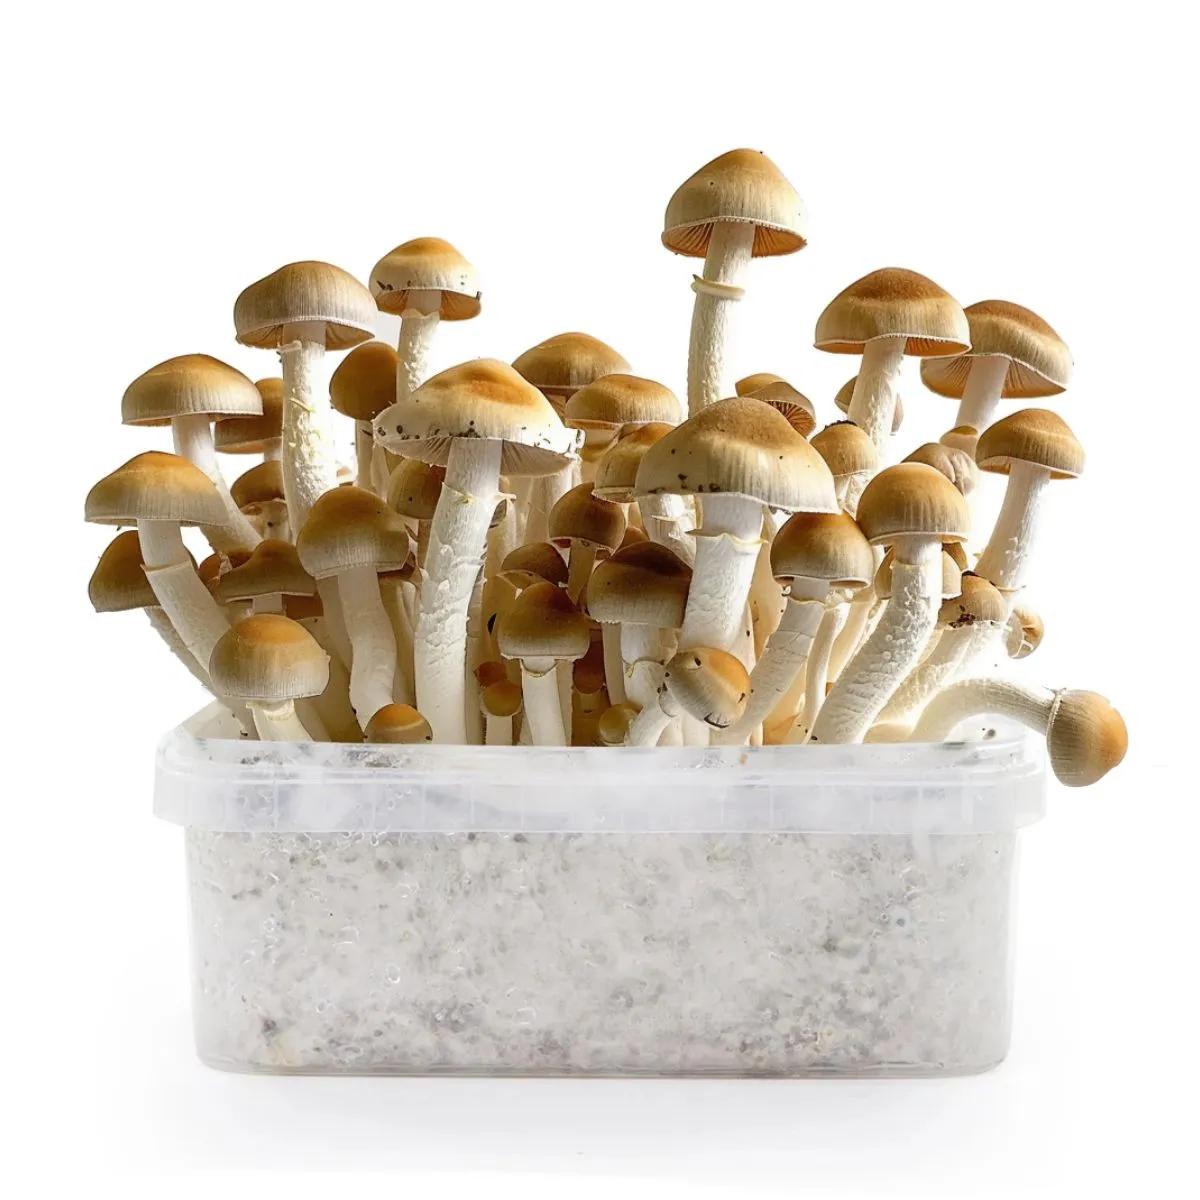
| Feature | Hillbilly Pumpkin | Golden Teacher | McKennaii |
|---|---|---|---|
| Contamination Resistance | Very high | High | Moderate |
| Temperature Tolerance | 18–28 °C | 20–26 °C | 21–25 °C |
| Intensity | Gentle, social | Moderate, introspective | Strong, visual |
| Time to First Pins | 7–14 days | 7–14 days | 10–18 days |
| Best For | First-time growers wanting a forgiving strain | First or second grow, classic experience | Growers who want stronger results |
| Cap Colour | Bright orange | Golden brown | Dark brown |
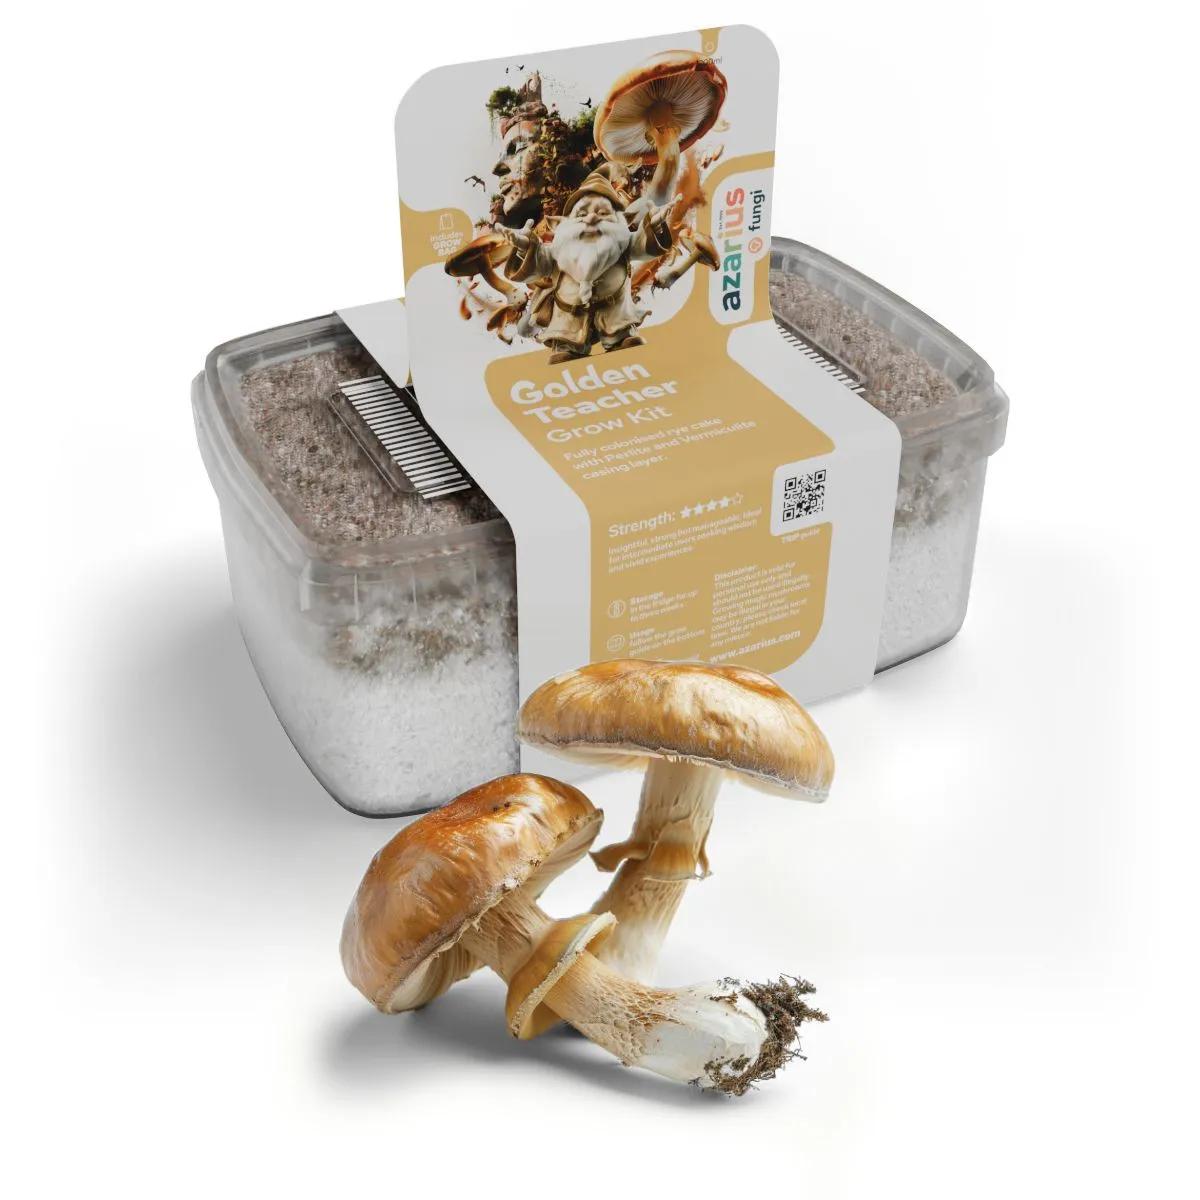
We'd pick the Hillbilly Pumpkin over the Golden Teacher if your growing space has inconsistent temperatures — a spare bedroom without climate control, for instance, or a kitchen that gets warm during cooking and cool overnight. The Golden Teacher is the most popular strain in the world for good reason, but it does prefer stable conditions. The Hillbilly Pumpkin simply doesn't care as much.
How to Grow Your Hillbilly Pumpkin Kit
The whole process takes roughly 2–4 weeks from opening the box to harvesting your first flush. Here's the step-by-step:
- Wash your hands thoroughly with antibacterial soap. Even though the substrate is fully colonised, clean hands reduce the chance of introducing contaminants during handling.
- Open the outer box and remove the Ready-2-Grow bag. Check the substrate through the bag — it should be fully white with mycelium. A few small uncolonised spots are normal; large green, black, or orange patches are not (contact us if you see those).
- Cut a 5–8 cm slit in the front of the bag, roughly a third of the way down. This is your fruiting window — where the mushrooms will grow out towards light and fresh air.
- Mist inside the slit with clean water 2–3 times daily. You want fine droplets on the inner surface of the bag, not pools of water sitting on the substrate. A standard plant mister works well.
- Place the bag in indirect light at 22–25 °C. A shelf near a window (not in direct sunlight) or under a desk lamp on a 12/12 cycle is enough. The Hillbilly Pumpkin tolerates a range of 18–28 °C, so don't panic if your room runs a few degrees off.
- Wait for pins to appear — tiny white bumps that develop into full mushrooms. Expect these within 7–14 days. Once pins form, keep misting and maintain humidity.
- Harvest when the caps begin to open but before they flatten out completely. Twist and pull gently at the base of each stem. Harvesting just before the veil beneath the cap tears gives you the best results.
- Soak the substrate for 12 hours after the first harvest by pouring clean water into the bag, sealing it, and leaving it in the fridge. Drain, return to fruiting conditions, and repeat for a second and potentially third flush.
The whole routine takes about 5 minutes a day once you've set it up. The most common mistake we see? Over-misting. If there's standing water on the substrate, you've gone too far. Dial it back and let the surface breathe.
What to Expect From Hillbilly Pumpkin Mushrooms
The Hillbilly Pumpkin sits at the gentler end of the Psilocybe cubensis spectrum. Onset typically takes 30–60 minutes on an empty stomach. The character leans social and warm rather than deeply introspective — think animated conversation and soft visual shifts rather than ego dissolution. Duration runs 4–5 hours for most people, tapering gradually.
A word on dosing: this is a product page, not a prescribing guide, so we'll keep it brief. Clinical research into psilocybin-containing mushrooms has used a wide range of doses depending on the study design. For Psilocybe cubensis specifically, common reference ranges in the mycological literature place a standard dose at 1–2.5 g of dried material, though individual sensitivity varies significantly. Start low, especially if this is your first time. You can always grow another flush — you can't un-eat what you've already taken.
Set and setting matter more than strain choice. A comfortable space, a trusted friend nearby, no obligations for the next 6–8 hours, and an empty-ish stomach. We've been giving this advice since 1999 and it hasn't changed because it works.
Complete your setup: a digital thermometer and hygrometer helps you dial in the 22–25 °C sweet spot without guesswork. And if this is your first grow and you want a safety net, grab a second kit in a different strain so you can compare results side by side.
Frequently Asked Questions
Do I need any extra equipment to use this grow kit?
No. The Ready-2-Grow bag comes fully colonised and self-contained. All you need is a clean pair of hands, a plant mister for water, and a spot with indirect light at 22–25 °C. No syringes, no pressure cooker, no sterile glove box.
How many flushes can I expect from the Hillbilly Pumpkin grow kit?
Most growers get 2–3 flushes from the 2 kg bag. The first flush is typically the largest. Subsequent flushes produce fewer but often larger individual fruits. Soak the substrate in cold water for 12 hours between flushes to rehydrate it.
What temperature does the Hillbilly Pumpkin need?
The sweet spot is 22–25 °C, but this strain tolerates a range of 18–28 °C without stalling. That's wider than most cubensis strains, which is exactly why it's recommended for rooms without climate control.
How long does it take from opening the bag to harvest?
Expect your first pins within 7–14 days of cutting the fruiting slit. From pins to harvestable mushrooms takes another 5–7 days. Total time: roughly 2–3 weeks for the first flush.
Can I grow Hillbilly Pumpkin mushrooms at home without experience?
Yes — that's the whole point of this kit. The substrate is 100% pre-inoculated, so the technical step that trips up most beginners (sterile inoculation) is already done. Mist, wait, harvest. It's the most forgiving strain we carry for a first grow.
What do Hillbilly Pumpkin mushrooms look like?
Stocky white stems with bright pumpkin-orange caps. They're shorter and denser than strains like Golden Teacher or B+. The orange colour holds well after drying, making them easy to identify.
My substrate has a small green spot — is the kit contaminated?
A tiny spot may just be bruising (blue-green) from handling. True contamination — bright green mould, black patches, or a sour smell — means the kit is compromised. If you're unsure, send us a photo and we'll tell you straight.
How should I store the kit if I can't start it right away?
Keep the unopened bag in the fridge at 3–8 °C. It'll hold for a few weeks, but fresher is always better. Don't freeze it — ice crystals damage the mycelium. Start it as soon as you can for the best results.
Last updated: April 2026
Related products
You might also like
Medical disclaimer. This content is for informational purposes only and does not constitute medical advice. Consult a qualified healthcare provider before use of any substance.