This article discusses psychoactive substances intended for adults (18+). If you have a health condition or take medication, consult a doctor before use. Our age policy
PES Amazonian Grow Guide: Step-by-Step Cultivation
Definition
The PES Amazonian grow guide walks through cultivating Psilocybe cubensis 'PES Amazonian' — a vigorous tropical-origin strain classified among the easier beginner cubensis varieties (Stamets, 1996). This article covers temperature, humidity, fresh air exchange, harvest timing, and multi-flush management from a sealed Grow Kit through to dried storage.
The PES Amazonian grow guide is a step-by-step cultivation walkthrough that takes a first-time grower from unboxing a sealed Grow Kit through to dried, stored harvest. PES Amazonian is a Psilocybe cubensis strain originally isolated by Pacifica Spora — a vigorous coloniser that's earned its reputation as one of the more forgiving cubensis strains to get and grow at home. This walk-through covers the full cycle with specific numbers instead of vague "warm and moist" hand-waving.
This guide is educational. Azarius does not provide formal advice; growers should verify the rules that apply in their own jurisdiction before ordering a kit.
What makes PES Amazonian different from other cubensis strains?
PES Amazonian is a tropical-origin Psilocybe cubensis strain selected for aggressive mycelial growth and relatively large fruit bodies. Stamets (1996) classified cubensis strains by substrate preference and fruiting temperature range, and Amazonian sits comfortably in the "easy beginner" cluster — alongside Golden Teacher and B+ — with a wide tolerance window for FAE and humidity errors.
Compared with McKennaii (demanding) or Treasure Coast (prone to leucistic caps), Amazonian behaves predictably: thick stems, medium-brown caps, and fruits that tend to cluster rather than scatter. Bigwood and Beug (1982) measured psilocybin/psilocin content in cubensis fruit bodies at roughly 0.37–1.30% dry weight total alkaloids, with strain-to-strain variance well inside that range — Amazonian sits mid-pack, not a "super strain."
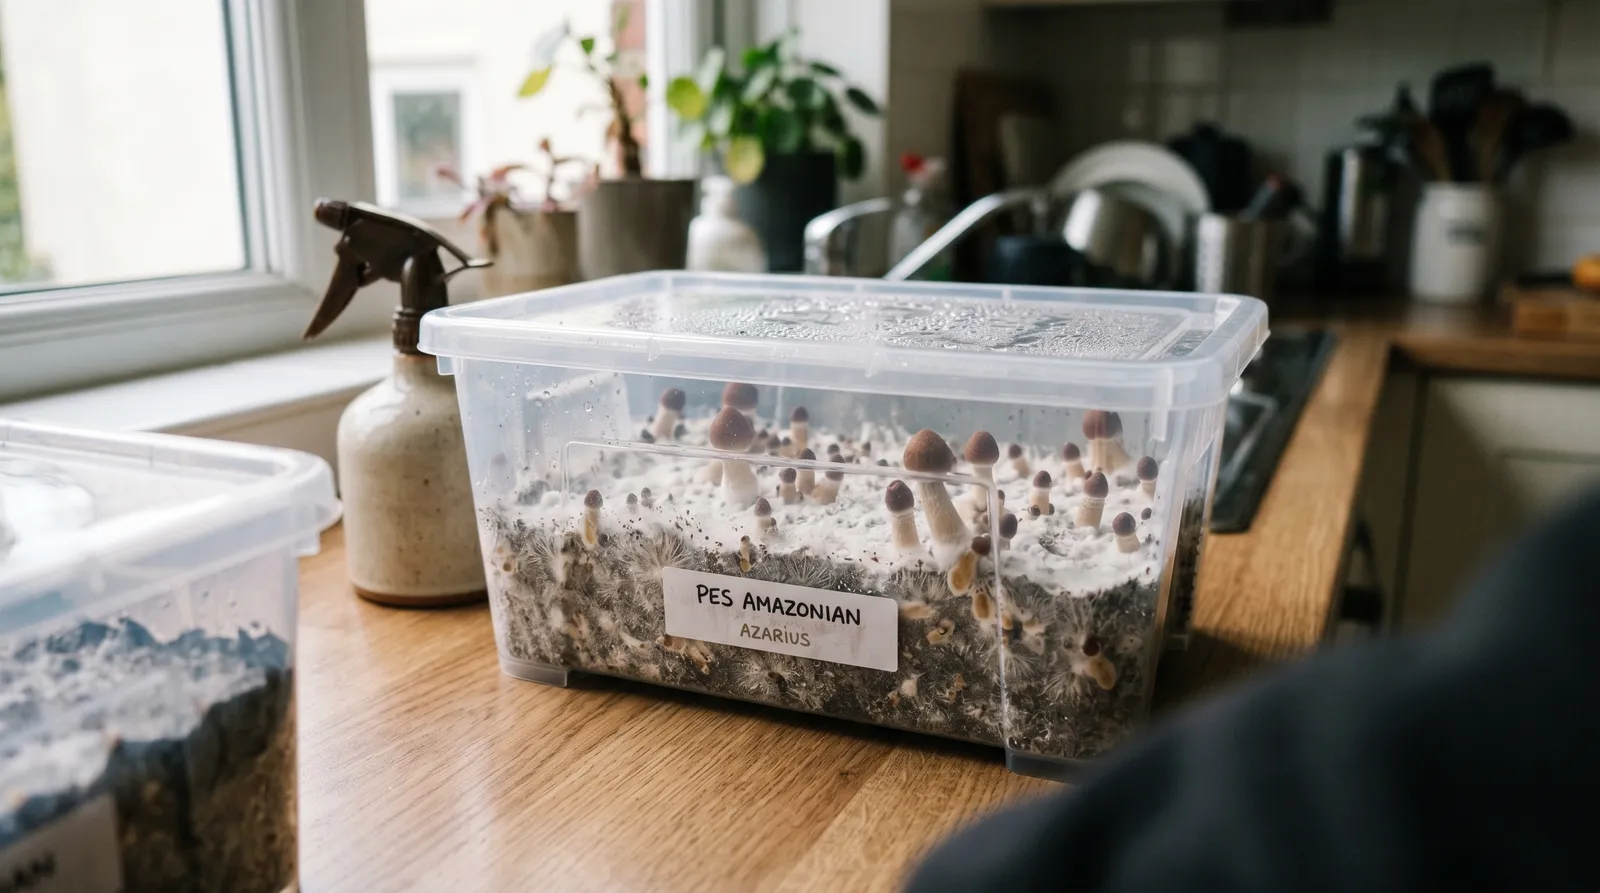
Step 1 — Unboxing and first inspection
Open the box the day it arrives. The PES Amazonian Grow Kit is a transparent plastic tub of fully colonised rye-grain substrate topped with a perlite/vermiculite casing layer, sealed inside a filter bag with two paperclips. What you're looking for:
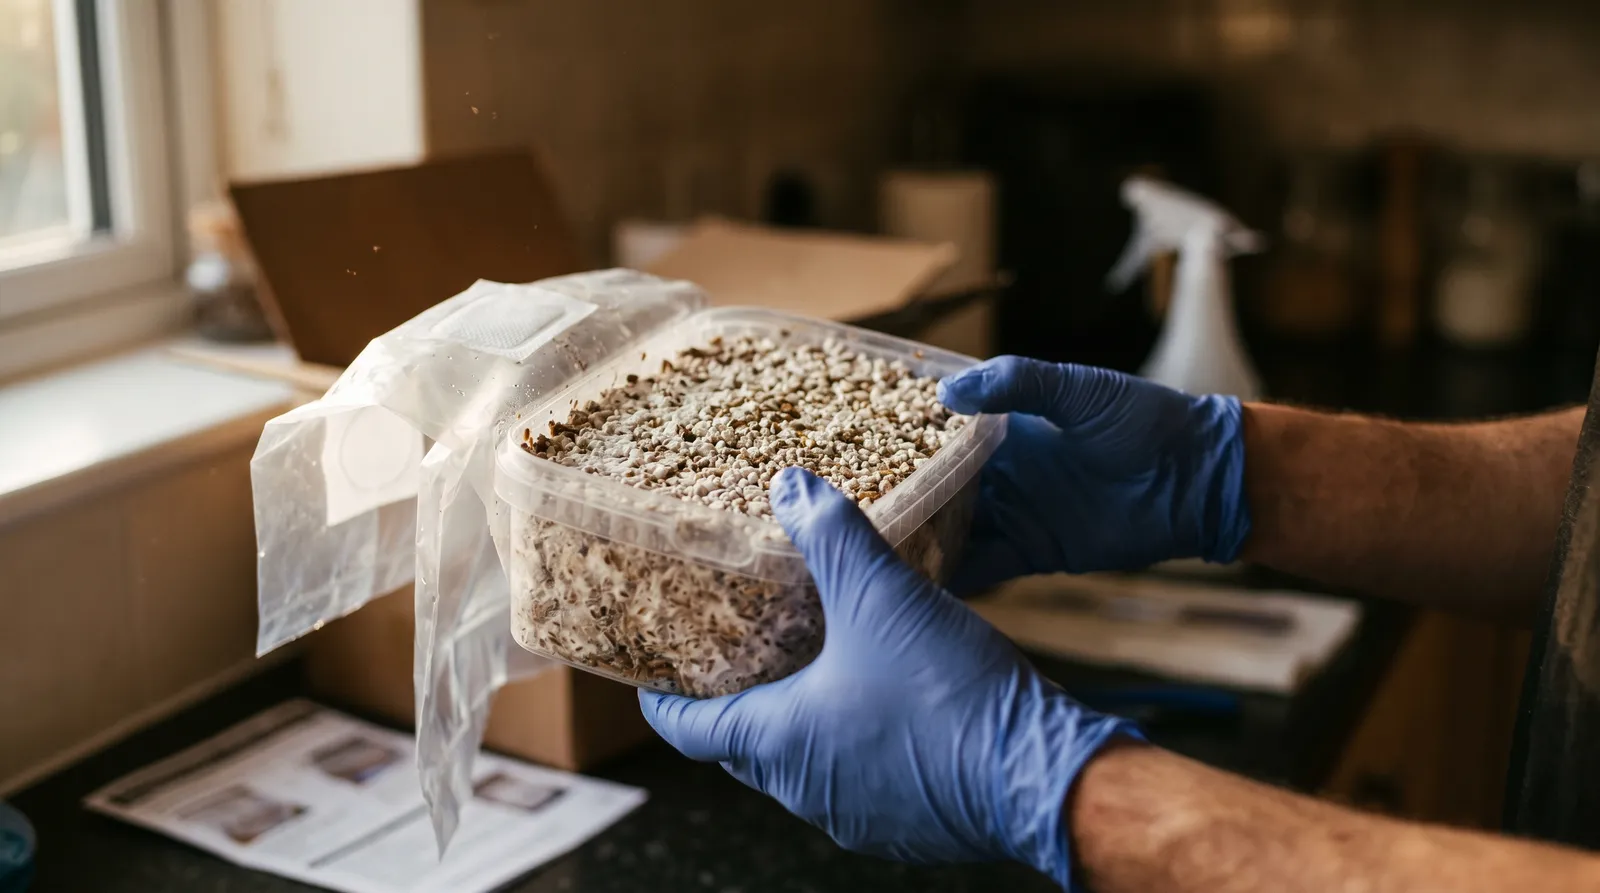
- Uniform white-to-cream mycelium across the surface and visible through the sides of the tub.
- No green, pink, grey-fuzzy, or wet slimy patches. Green = Trichoderma. Pink = bacterial. Grey cobwebby = Dactylium cobweb mould. Any of these and the kit is a write-off — do not try to "cut it out."
- Slight blue bruising on the mycelium surface is fine. That's oxidised psilocin, not contamination.
If the kit arrives already pinning (small white bumps forming), skip the cold shock in Step 3 and go straight to Step 4. If it's warm and flat, proceed in order.
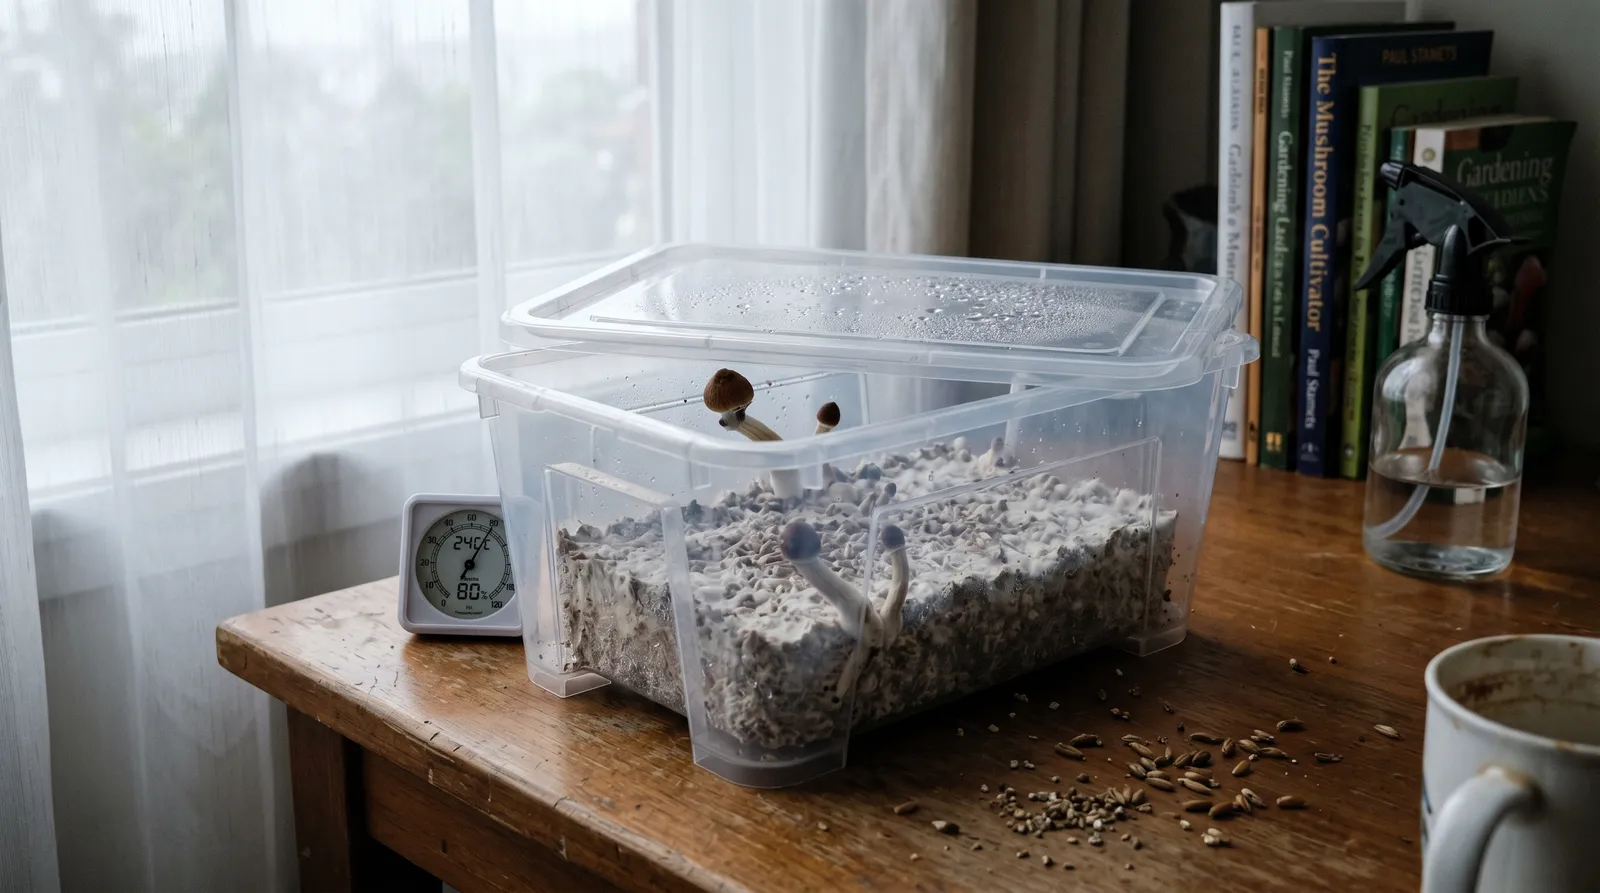
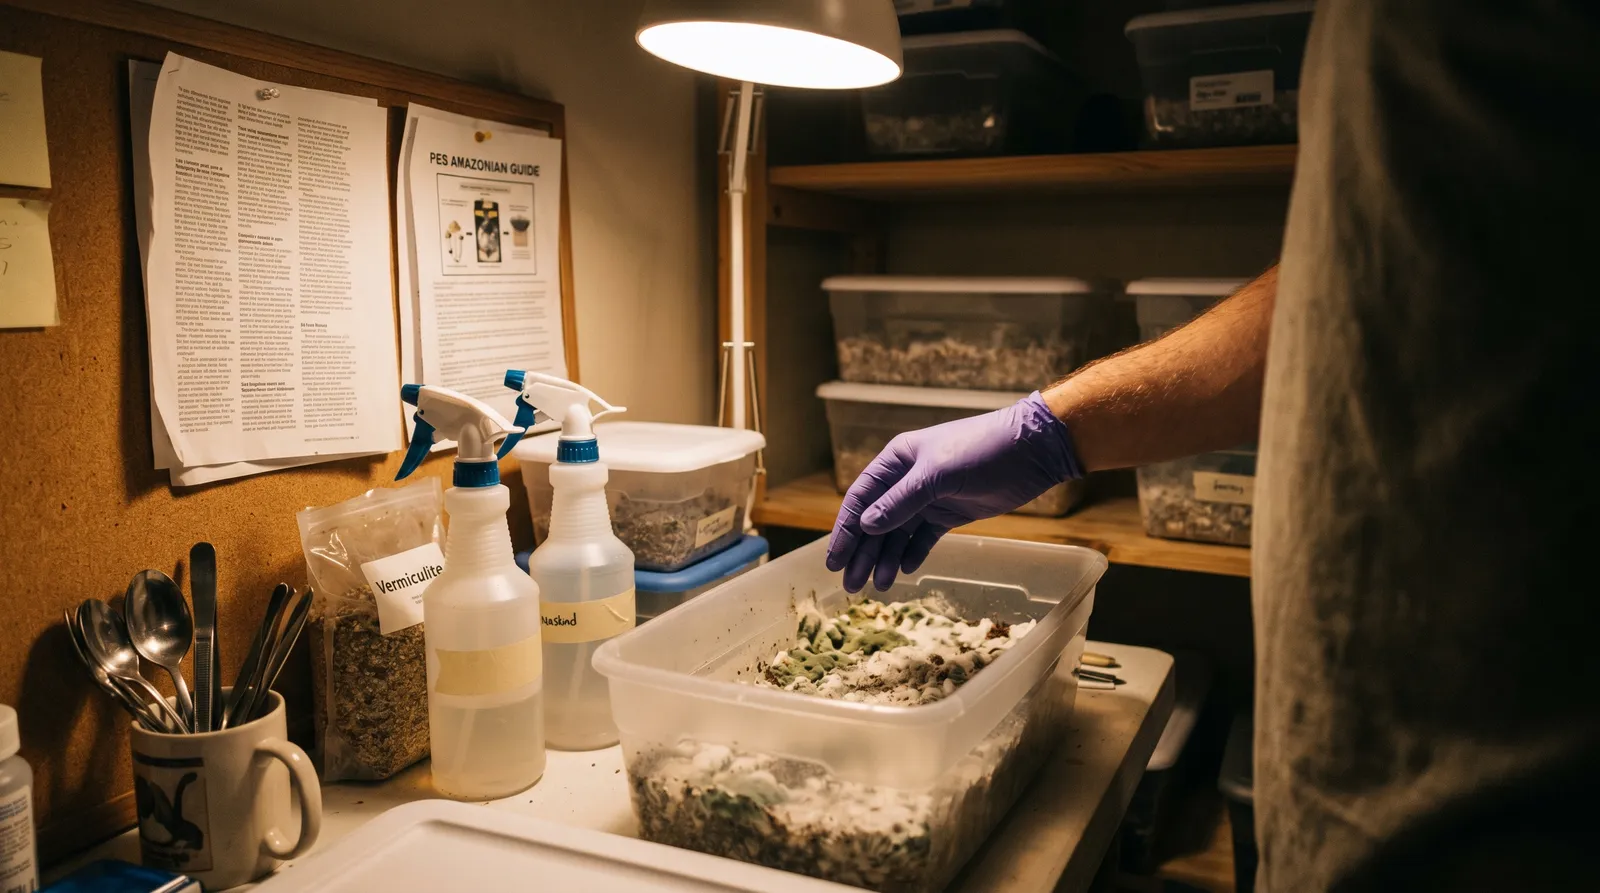
Step 2 — Setup and environment
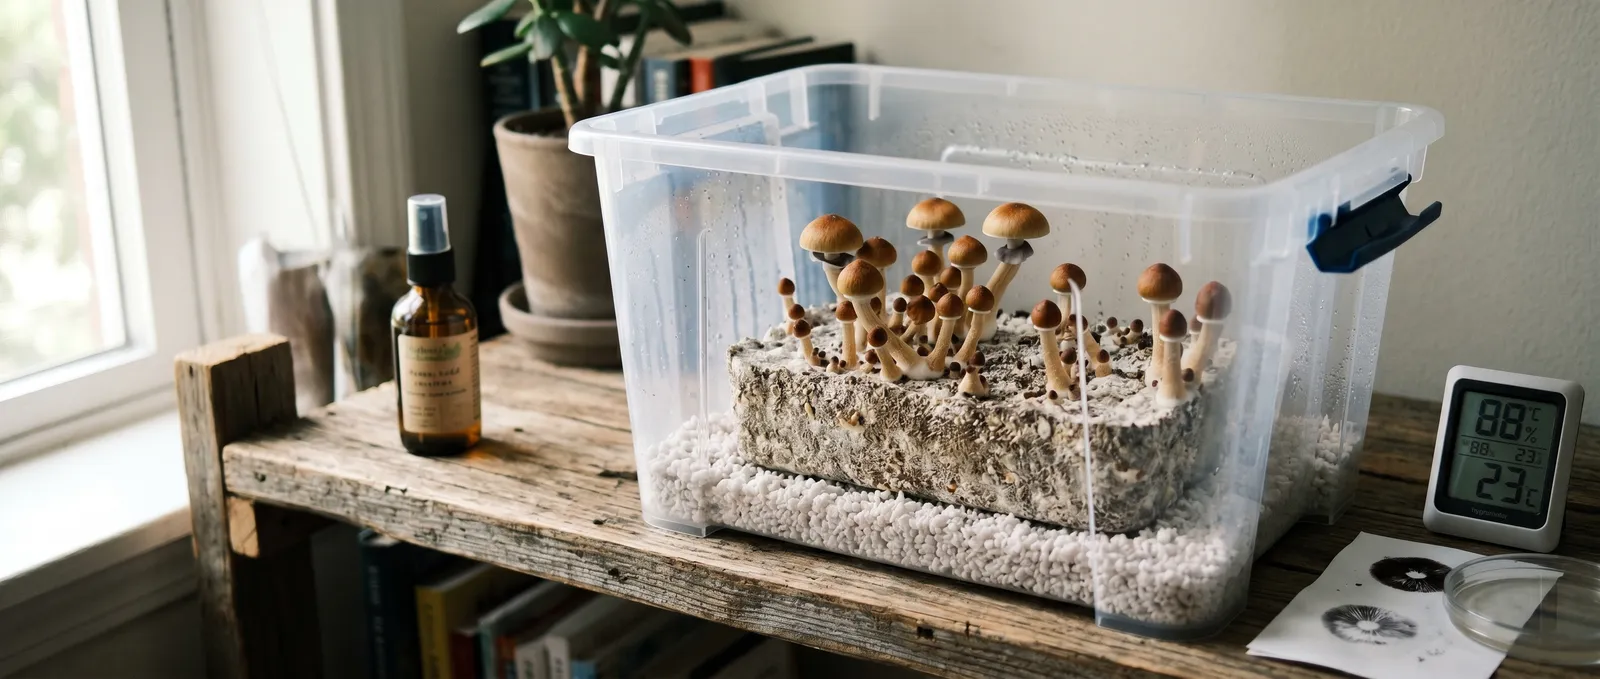
Aim for a spot that holds 23–26 °C ambient and gets indirect daylight. Psilocybe cubensis doesn't photosynthesise, but it uses light as a directional signal for fruit body orientation (Stamets, 1996) — a shaded windowsill or a room lamp left on a timer is plenty. Direct sun is out; the tub overheats in minutes.
You'll also need:
- Clean tap water, left in a jug overnight so chlorine off-gasses.
- A spray bottle that produces a fine mist, not a jet.
- Nitrile gloves and a bottle of 70% isopropyl alcohol for wiping the outside of the bag before each misting.
- A thermometer-hygrometer slipped inside the bag. You're aiming for 90–95% relative humidity during pinning, dropping to 85–90% once fruits are developing.
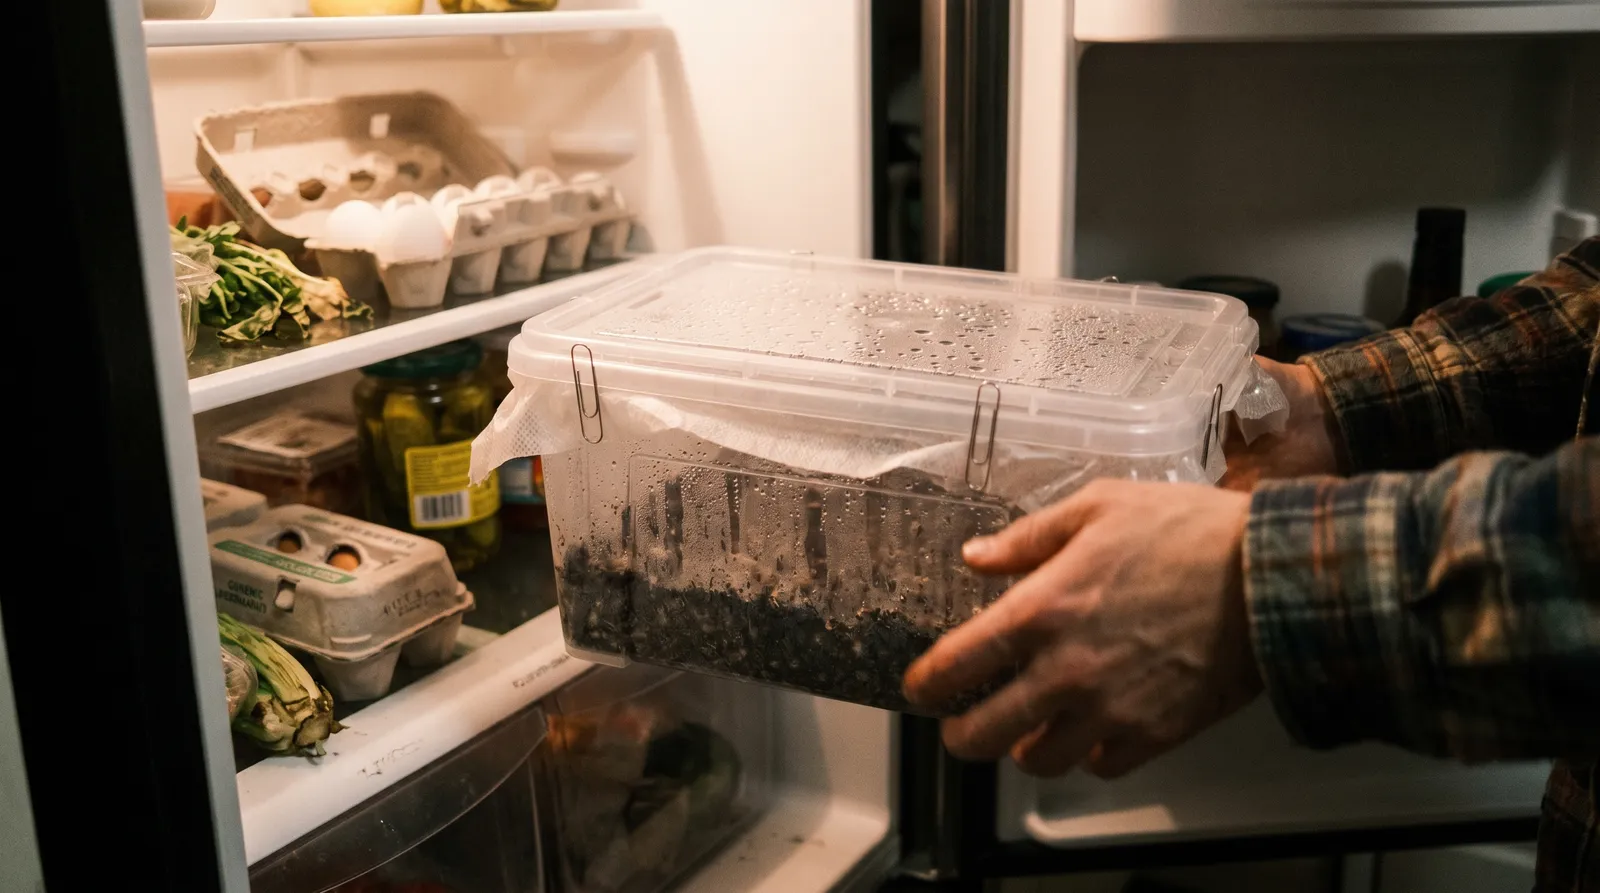
Step 3 — Cold shock to trigger pinning
A 12-hour fridge shock at 2–6 °C is what wakes a resting kit into fruiting mode. Put the sealed kit (tub + filter bag, paperclips on) into the fridge, take it out, let it return to room temperature on its own, and then start the misting routine. This simulates the temperature drop that triggers fruiting in wild Psilocybe cubensis populations — a well-documented technique in Stamets's cultivation protocols. Don't rush it with a heat mat.
Step 4 — Misting and fresh air exchange
Daily fresh air exchange plus indirect misting of the bag walls is the single routine that decides whether your kit fruits well or aborts. The perlite casing layer holds water; the substrate below doesn't need direct misting. Here's the rhythm:
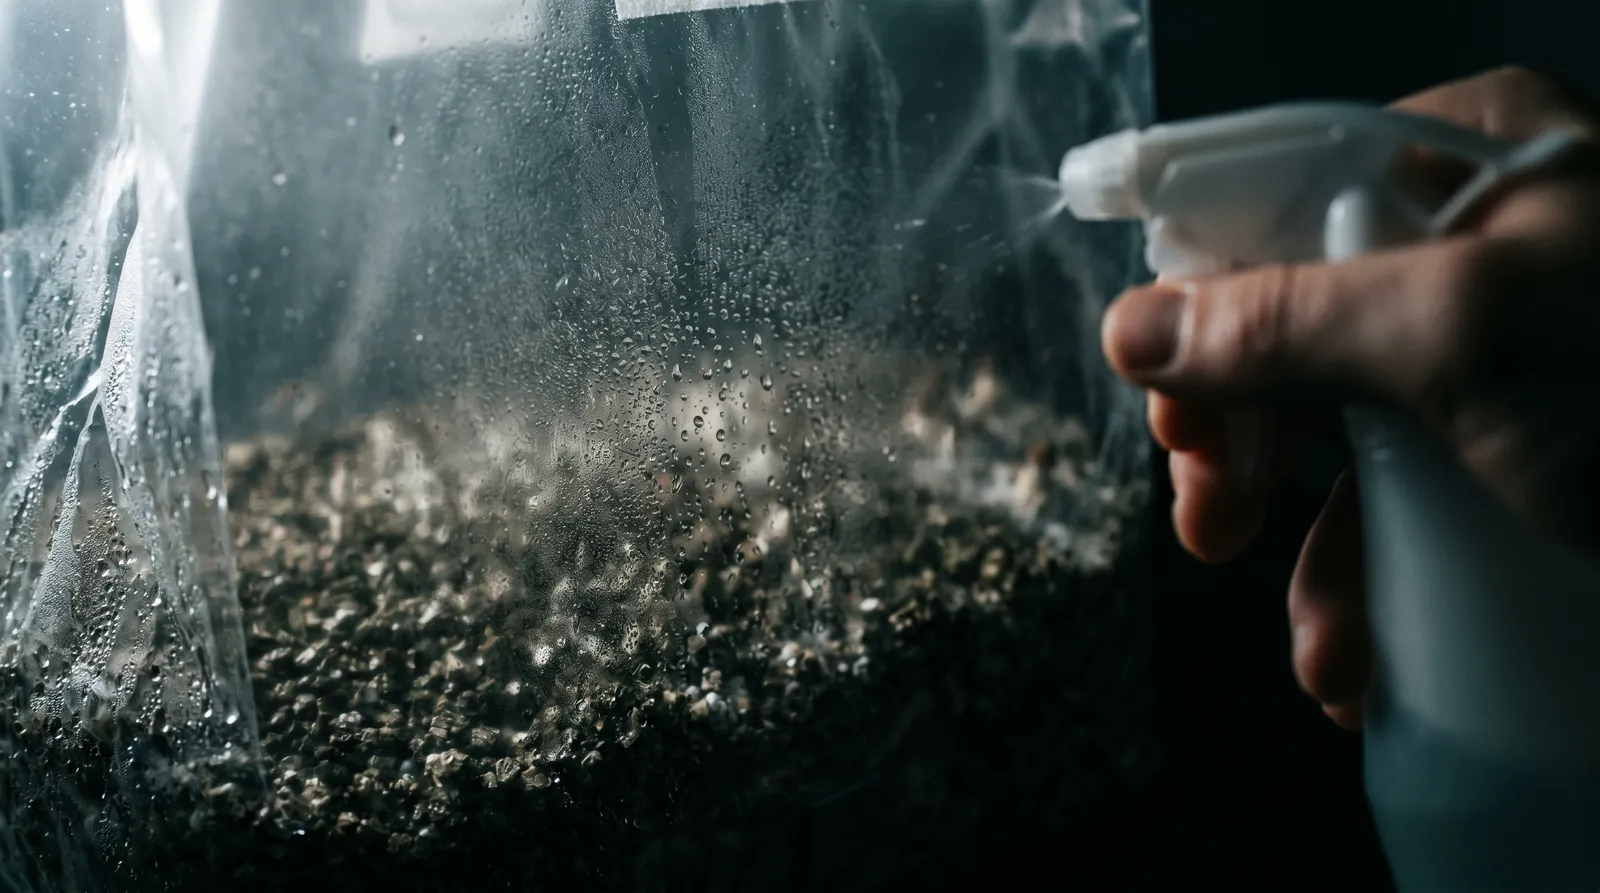
- Open the bag once a day. Wipe your hands with isopropyl, open the paperclips, and waft the bag open for 30 seconds to exchange the stale CO₂-rich air for fresh.
- Mist the inside walls of the bag — not the casing layer itself. Four to six pumps, aimed at the plastic. The water runs down and maintains humidity without waterlogging the substrate.
- Reseal with the paperclips. Do this daily until you see pins forming (usually 5–10 days after cold shock).
Once pins appear, drop misting frequency to every other day and reduce volume — the developing fruits are now producing their own moisture. Too much water at this stage and you'll get aborts (small fruits that turn dark brown and stop developing).
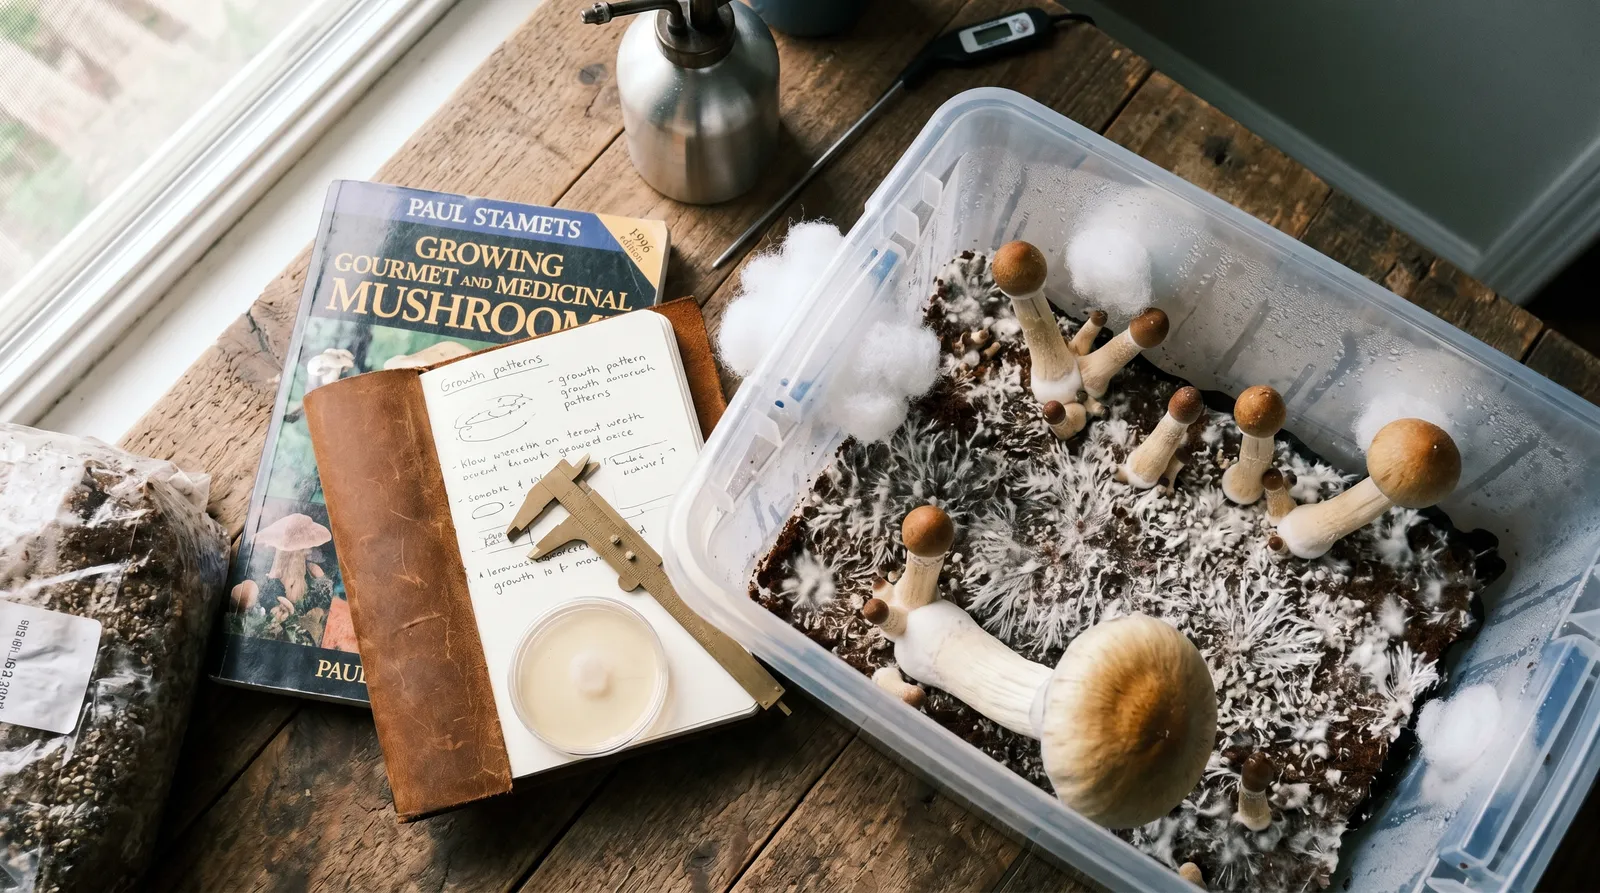
Step 5 — Fruiting and harvest timing
From first pin to harvestable fruit is typically 5–7 days at 23–25 °C. PES Amazonian fruits tend to form in clusters with thick, straight stems and medium-brown caps that flatten and pale as they mature.

Harvest just before the veil breaks — the thin membrane connecting the cap edge to the stem. Once that membrane tears, spores start dropping, caps darken with spore print, and potency is at its peak but declining. Tsujikawa et al. (2003) found that alkaloid concentrations in cubensis fruit bodies peak around veil-break and decline measurably in the 48 hours after. Pick slightly early rather than slightly late.
Twist and pull at the base — don't cut. Leaving stem stumps invites contamination in the next flush.
Step 6 — Between flushes (the dunk and roll)
A Grow Kit will typically produce 3–4 flushes, with yield decreasing each time. Between flushes:
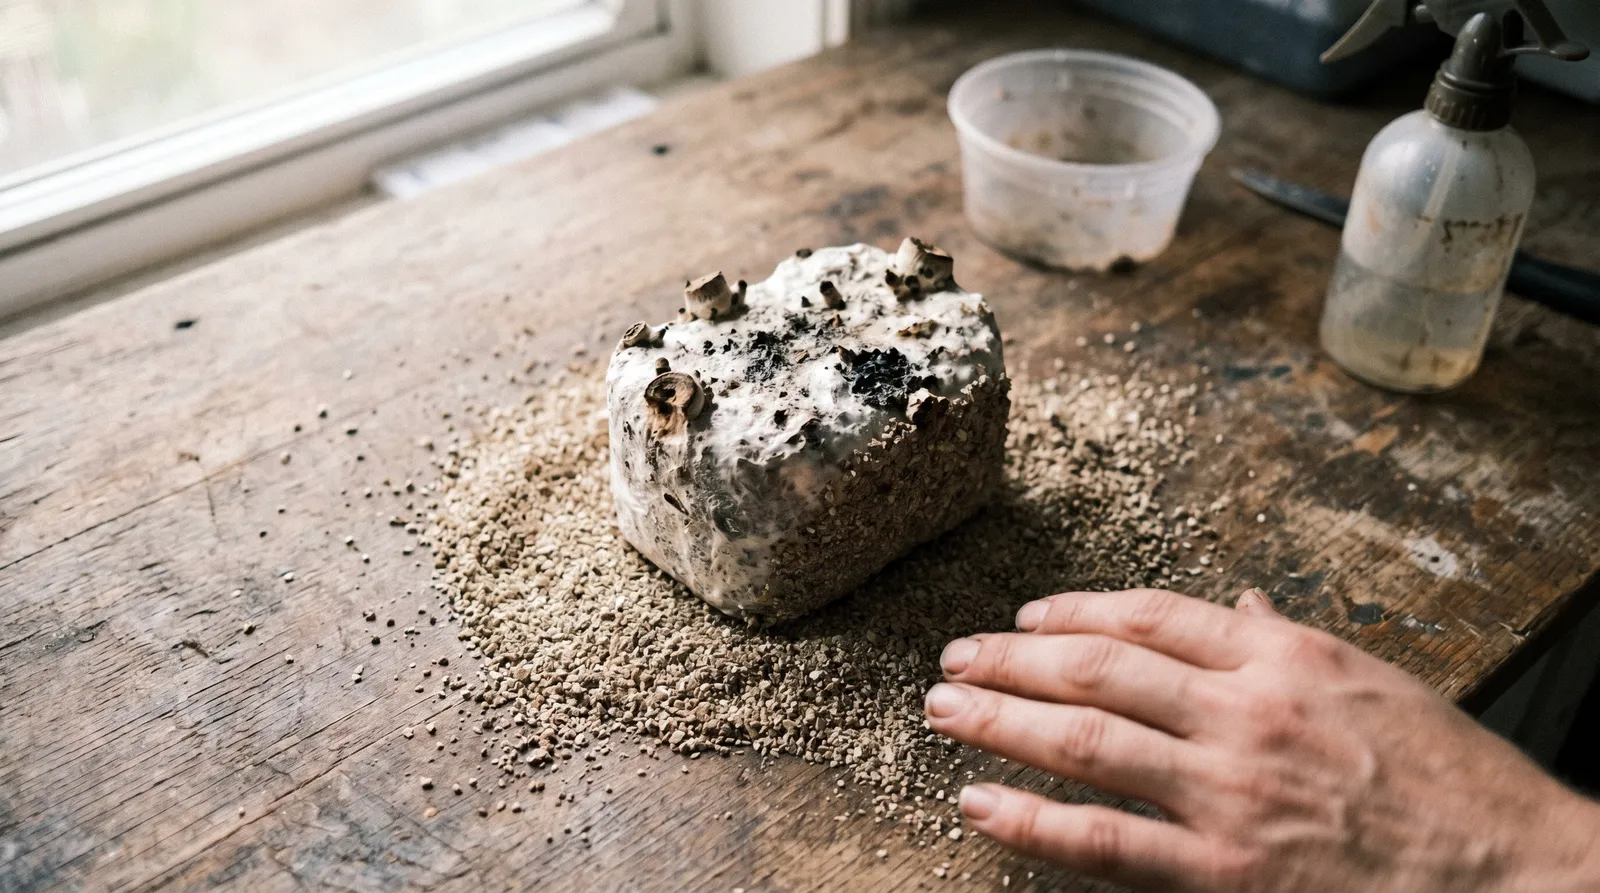
- Pick every last fruit and aborted pin. Anything left behind rots.
- Refill the tub with cold tap water to the brim, weigh it down with a clean plate, and leave it in the fridge for 12 hours. This "dunk" rehydrates the substrate.
- Pour off the water, drain thoroughly, reseal in the bag, and start the misting routine from Step 4 again.
Expect roughly 400–600 g fresh weight across all flushes from a standard kit — drying down to 40–60 g. Yields vary significantly with temperature stability, misting discipline, and strain-specific variance; those numbers are a rough community-observed range (Shroomery cultivation forum, 2015–2022), not a guarantee. Honestly, we've seen identical kits produce wildly different totals in the same household — humidity stability matters more than most growers expect.
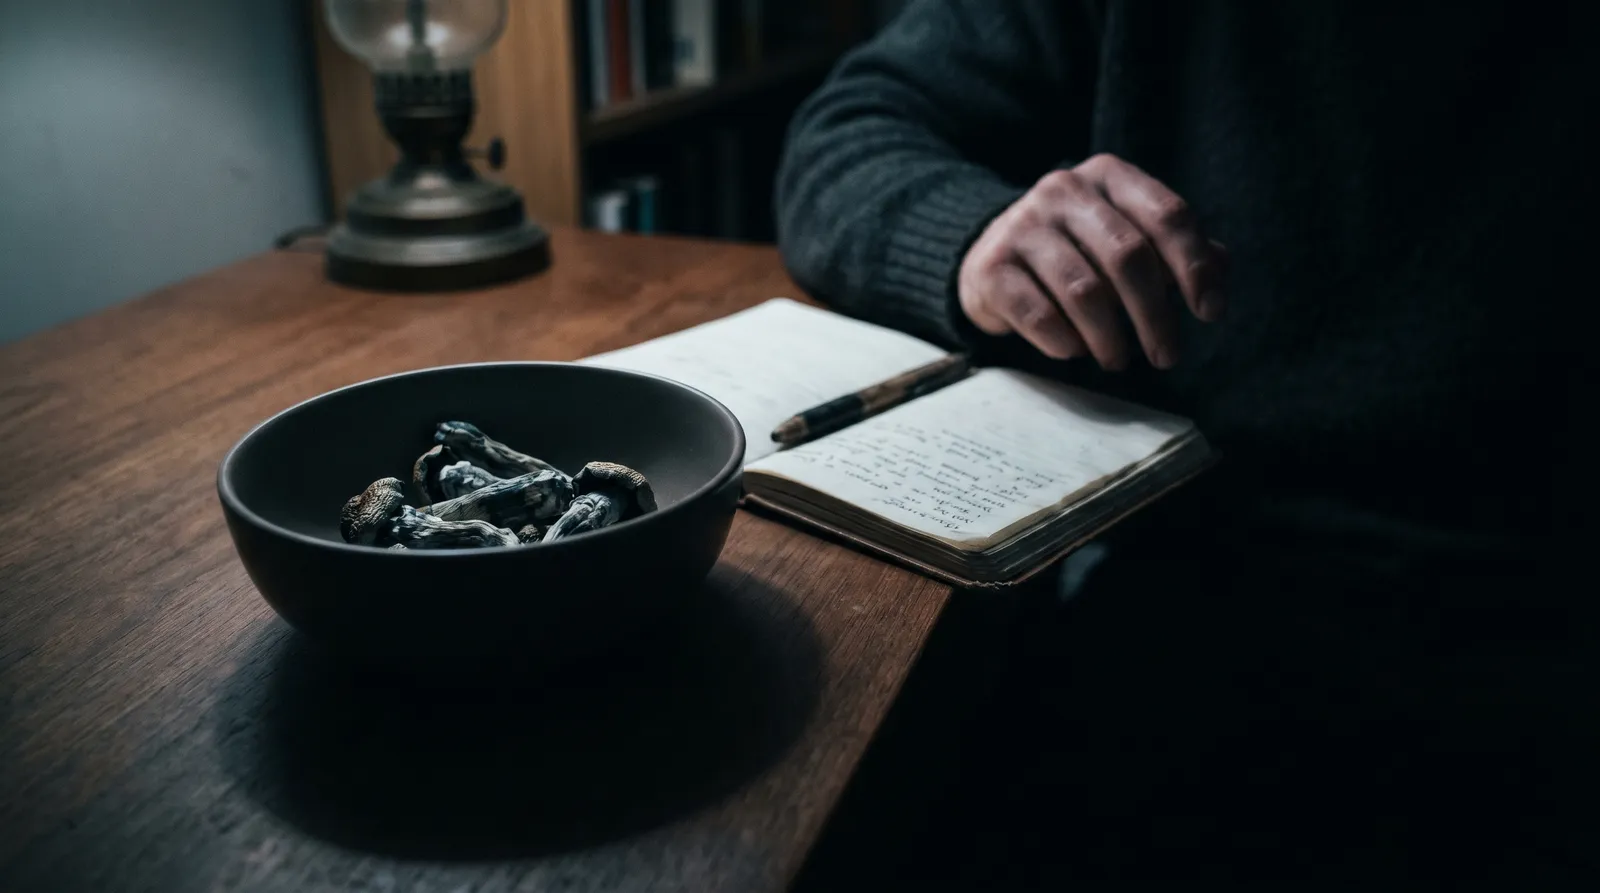
Step 7 — Drying and storage
Fresh mushrooms are ~90% water. For storage beyond a few days, they need to be cracker-dry — snap, not bend.
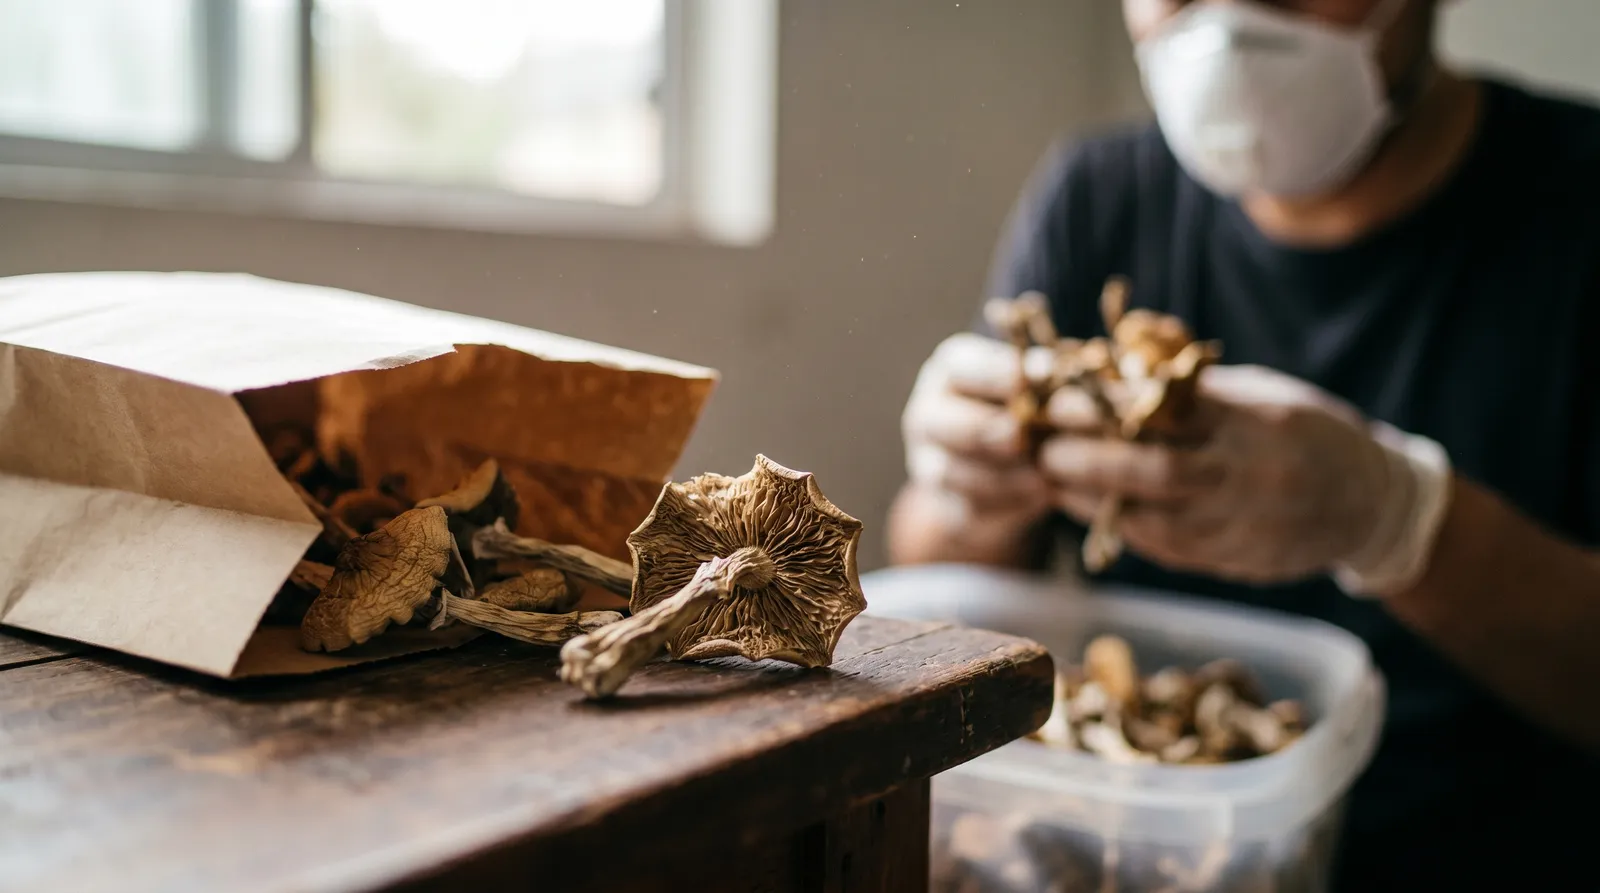
- Pre-dry on kitchen paper at room temperature for 12–24 hours until leathery.
- Final dry over a desiccant (food-safe silica gel or anhydrous calcium chloride) in a sealed container. Do not use a food dehydrator above 40 °C — heat above that degrades psilocybin (Gotvaldová et al., 2021 observed 50–60% psilocybin loss at 50 °C over 28 days in some storage conditions).
- Store dry mushrooms in an airtight jar with a fresh silica packet, in a dark cupboard, at room temperature. Vacuum-sealing and freezing extends shelf life further.
Wear a dust mask during handling of dried material. Mushroom spores and dried fragments can trigger hypersensitivity reactions in people who handle them repeatedly without respiratory protection.
Lock it up. Dried mushrooms look like any other dried fungus to a curious child or pet. A locked container in a locked cupboard is non-negotiable if you share a home.
Common mistakes that kill Amazonian grows
- Misting the casing directly. Waterlogs the substrate, invites bacterial contamination. Mist the bag walls.
- Skipping the daily FAE. CO₂ builds up, pins form but abort with long stringy stems and tiny caps ("leggy" fruits). Open the bag every day.
- Harvesting too late. Spores drop, potency dips, next flush gets contaminated.
- Not dunking between flushes. Second flush comes in sparse; third often doesn't come at all.
- Heat mats. Pushes substrate above 28 °C, mycelium stalls, Trichoderma takes over. Room temperature is enough.
Contamination quick reference
Most first-grow failures fall into six visual categories; the table below lets you identify what you're looking at in under a minute.
| Appearance | Likely cause | Action |
|---|---|---|
| Bright green patches on substrate or casing | Trichoderma (green mould) | Bag and bin the entire kit |
| Grey, fuzzy, fast-spreading cobweb texture | Dactylium cobweb mould | Bin — do not attempt to salvage |
| Pink or orange slime | Bacterial contamination | Bin |
| Dark wet rot smell + brown slimy patches | Overwatering / bacterial wet rot | Bin |
| Blue patches on mycelium surface | Bruising (psilocin oxidation) | Normal — carry on |
| Small white-yellow droplets on mycelium | Metabolic exudate | Normal — carry on |
A note on hygiene: Chin and Yudelson (2019) and standard mycology lab protocols consistently show that the single biggest contamination vector in home cultivation is bare hands. Gloves and isopropyl on every contact with the kit is the one discipline that matters more than any other equipment upgrade. European harm-reduction resources including the EMCDDA drug profiles and Beckley Foundation research archives provide additional context on psilocybin mushroom cultivation and safety practices worth reading alongside this guide.
A brief note on what comes after harvest
Consumption, dosage, set and setting, and drug interactions are outside the scope of this cultivation guide. Combining psilocybin with MAOIs, SSRIs, or lithium carries serious risk and is covered in detail in the dedicated psilocybin interactions article. If you want to know what to do with your harvest, that's where to read next — not here.
Azarius mushroom grow kits
The PES Amazonian Grow Kit is one of eight strains Azarius offers in the plastic-tub casing-layer format — alongside B+, Cambodia, Golden Teacher, Mazatapec, McKennaii, Mexican, and Treasure Coast. Growers who want to buy a zero-assembly option can order from the Ready-2-Grow Bag range, which covers nine different strains in a sealed all-in-one format. Related Azarius guides worth checking: the Golden Teacher grow guide, the mushroom contamination identification wiki, and the psilocybin harm-reduction blog series.
Yield and timing numbers in this guide are community-observed ranges, not lab measurements. Your exact results depend on room temperature stability, tap water chemistry, and how disciplined you are with daily FAE — a kit run in a stable 24 °C room with clean technique will outperform an identical kit in a draughty kitchen every time.
Disclaimer: This PES Amazonian grow guide is provided for educational and harm-reduction purposes only. It is not medical, formal, or professional advice. Psilocybin-containing mushrooms can cause significant psychological effects and may interact dangerously with medications including MAOIs, SSRIs, and lithium. Individuals with personal or family history of psychosis, schizophrenia, or bipolar disorder face elevated risk and should not consume psilocybin. Always consult a qualified medical professional before using any psychoactive substance. Azarius accepts no responsibility for how readers apply this information.
Last updated: April 2026
Frequently Asked Questions
7 questionsHow long does a PES Amazonian Grow Kit take to produce the first flush?
What temperature and humidity does PES Amazonian need?
How many flushes will a PES Amazonian Grow Kit produce?
Is PES Amazonian beginner-friendly compared to Golden Teacher?
What does PES stand for?
How do you tell contamination from normal bruising on a PES Amazonian kit?
Do you need a cold shock for PES Amazonian, and how long should it last?
About this article


Adam Parsons is an external cannabis and psychedelics writer and editor who contributes to Azarius's wiki as both author and reviewer. On the writing side, he authors Azarius's kratom and kanna clusters, drawing on exten
This wiki article was drafted with AI assistance and reviewed by Adam Parsons, External contributor. Editorial oversight by Joshua Askew.
Medical disclaimer. This content is for informational purposes only and does not constitute medical advice. Consult a qualified healthcare provider before use of any substance.
Last reviewed April 25, 2026
References (1)
- [1]Stamets, P. (1996). Psilocybin Mushrooms of the World: An Identification Guide. Ten Speed Press, Berkeley, CA. Source