
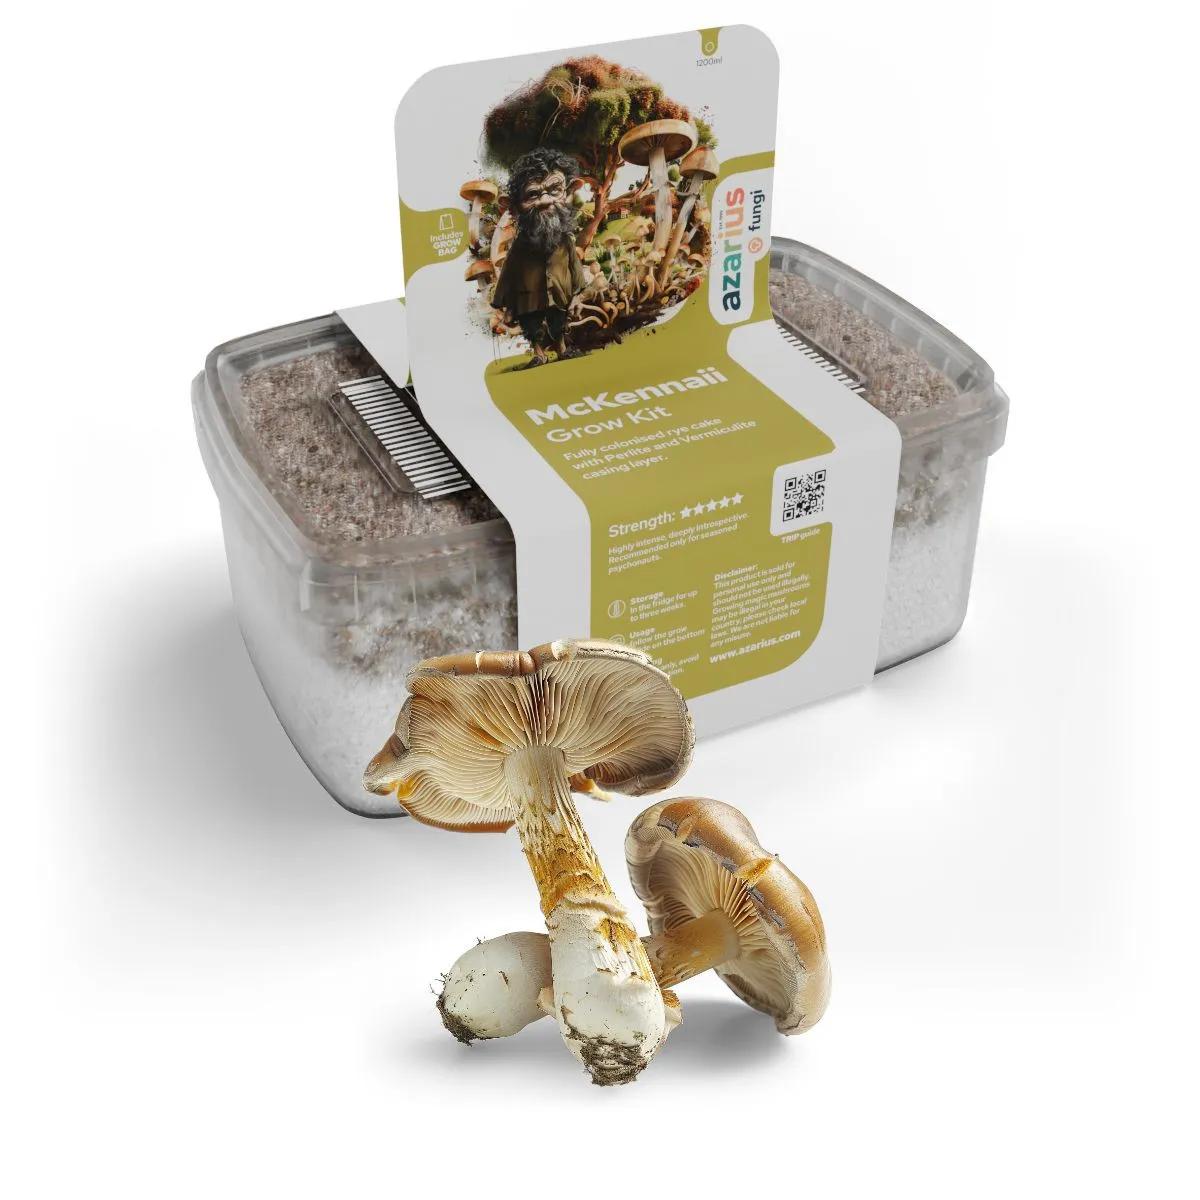
Ready-2-Grow Bag 'Jack Rabbit'
Grow kits
by Ready-2-Grow
Jack Rabbit Mushroom Grow Kit: Rare Albino Cubensis, Zero Colonisation Wait
The Ready-2-Grow Jack Rabbit mushroom grow kit is a pre-colonised all-in-one cultivation bag that produces up to 500 g of striking albino Psilocybe cubensis without a single sterilisation step on your end. The mycelium block arrives fully colonised — you open the bag, introduce fresh air and indirect light, and the fruiting process kicks off within days. No spore syringes, no pressure cookers, no weeks of watching grain jars and hoping for the best.
What Makes the Jack Rabbit Strain Worth Growing
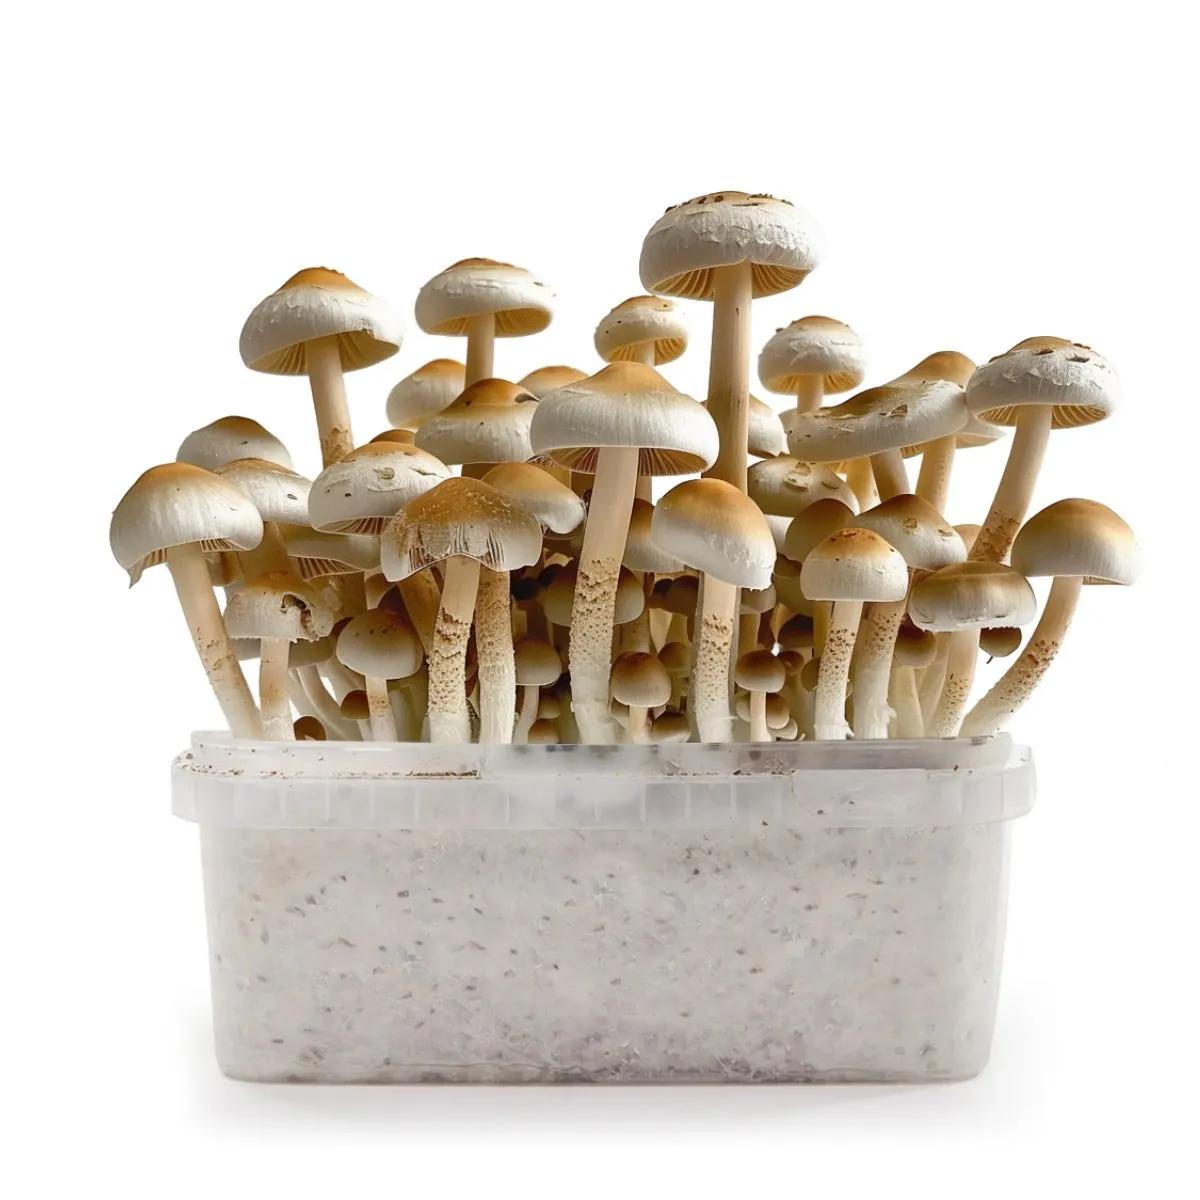
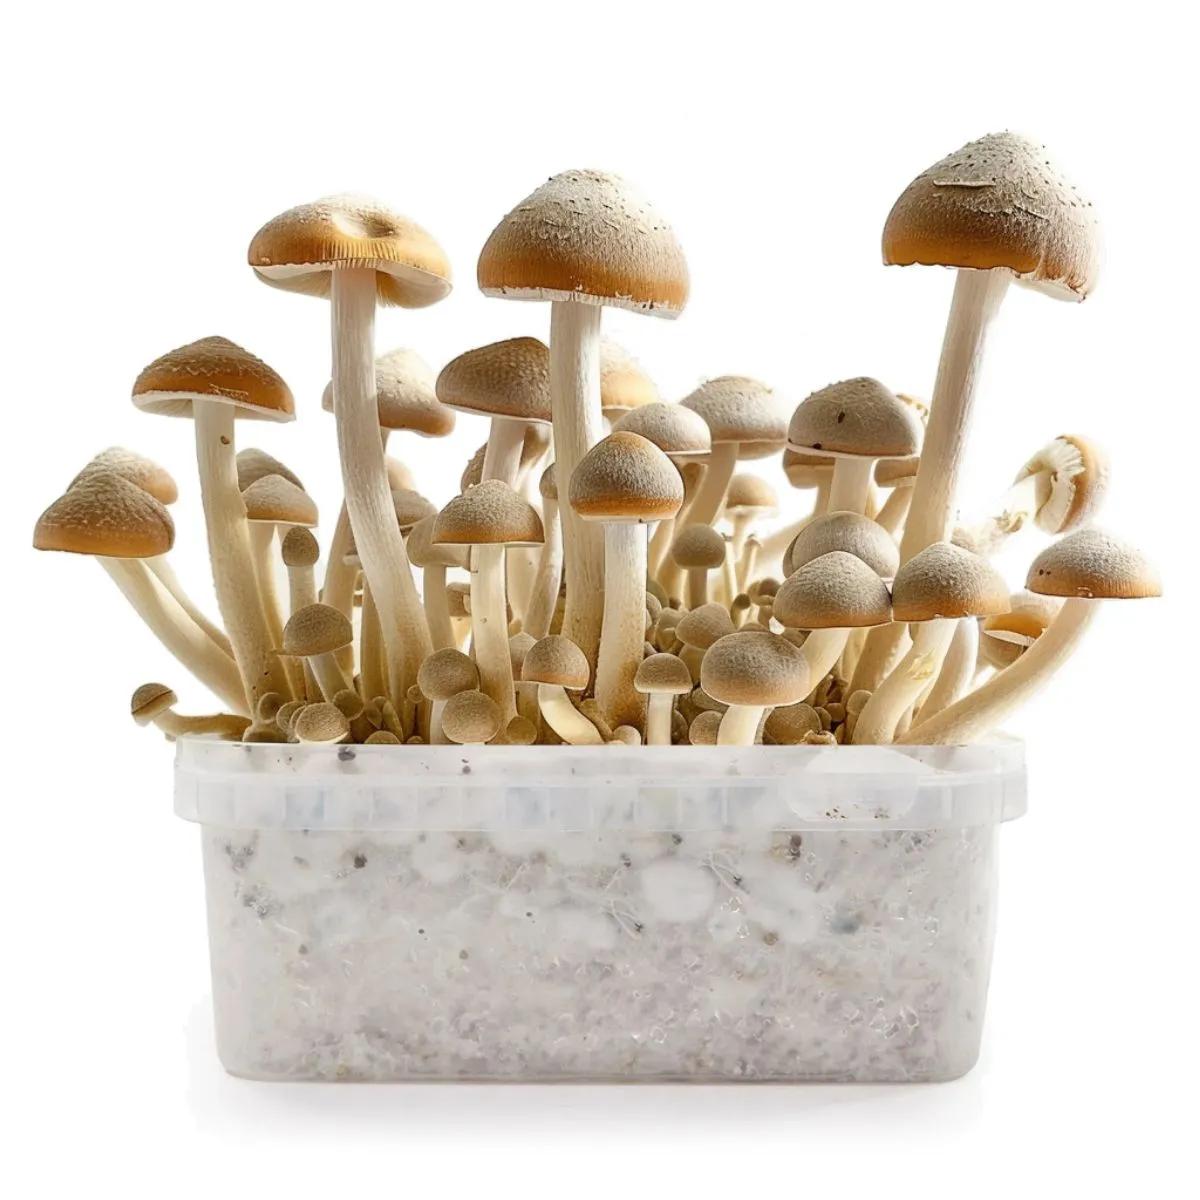
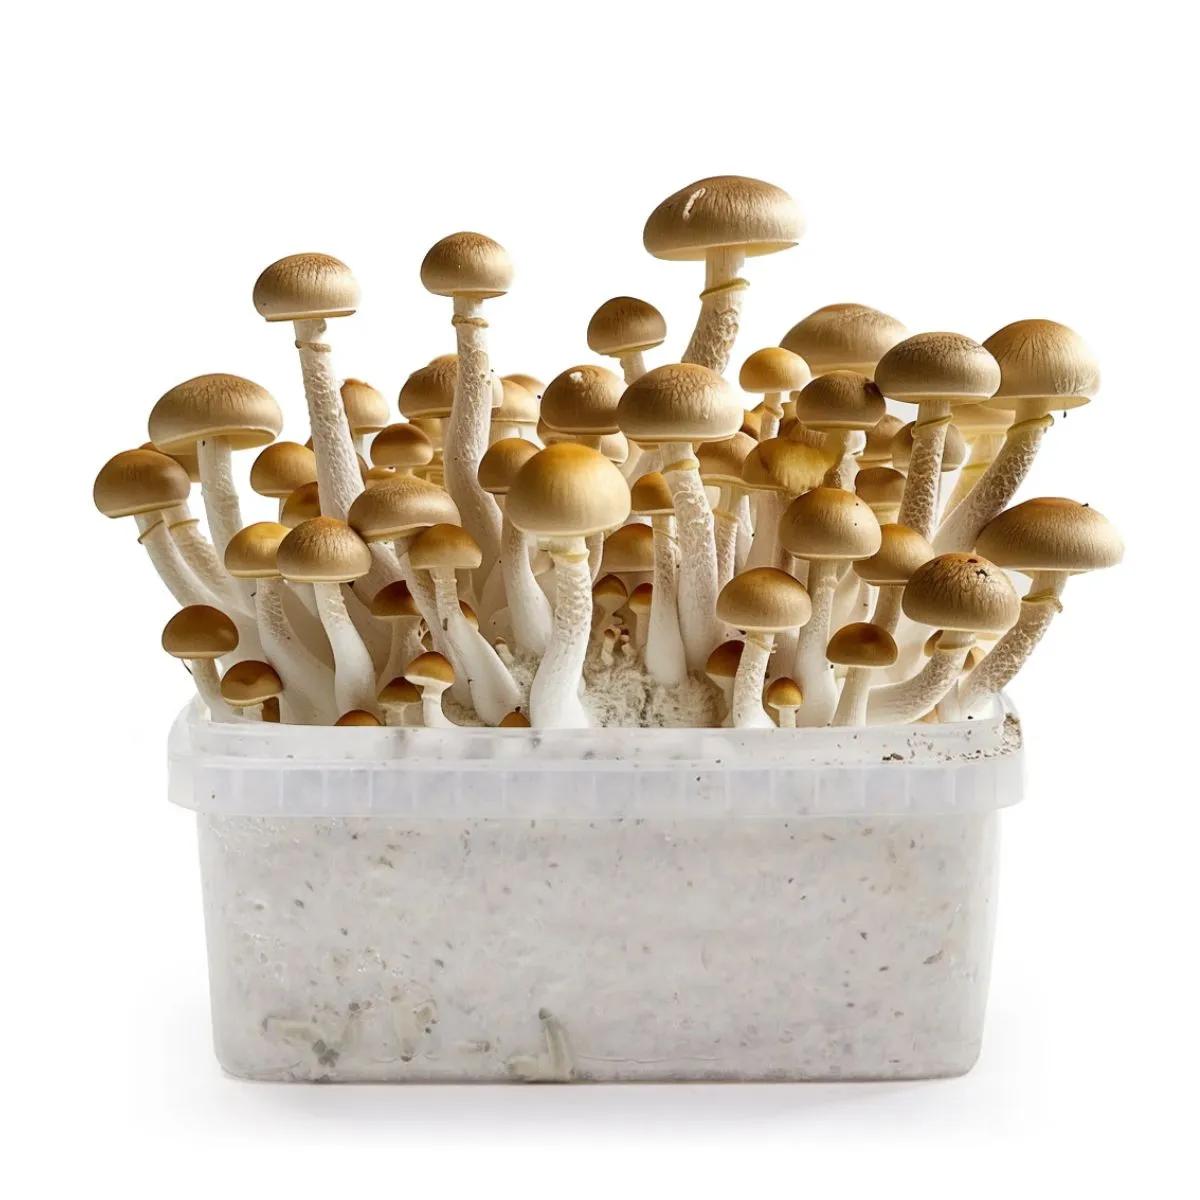
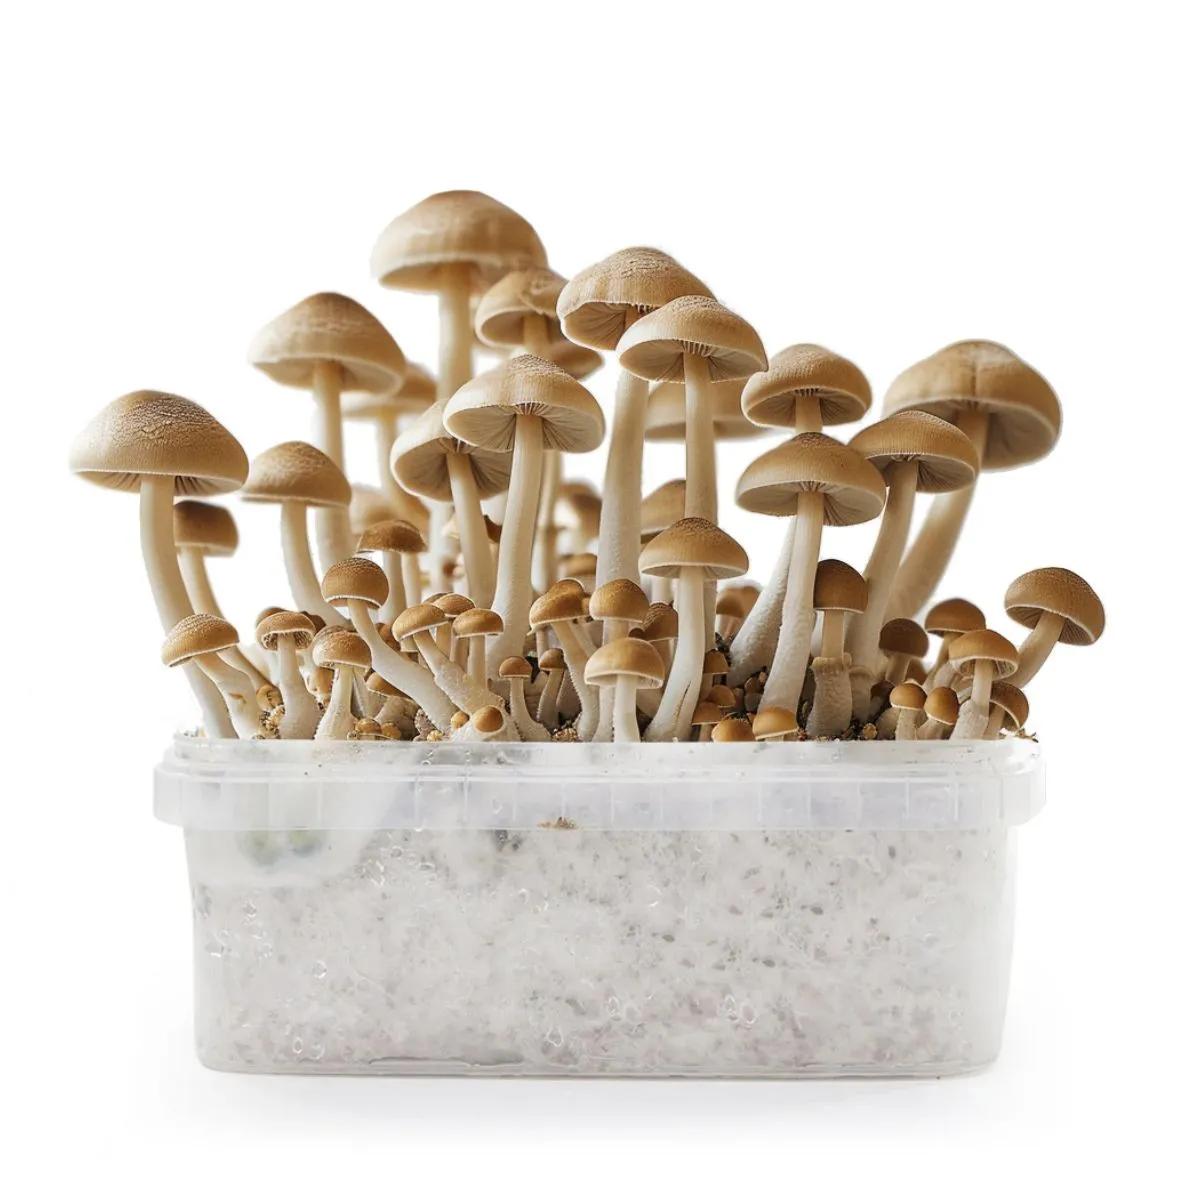
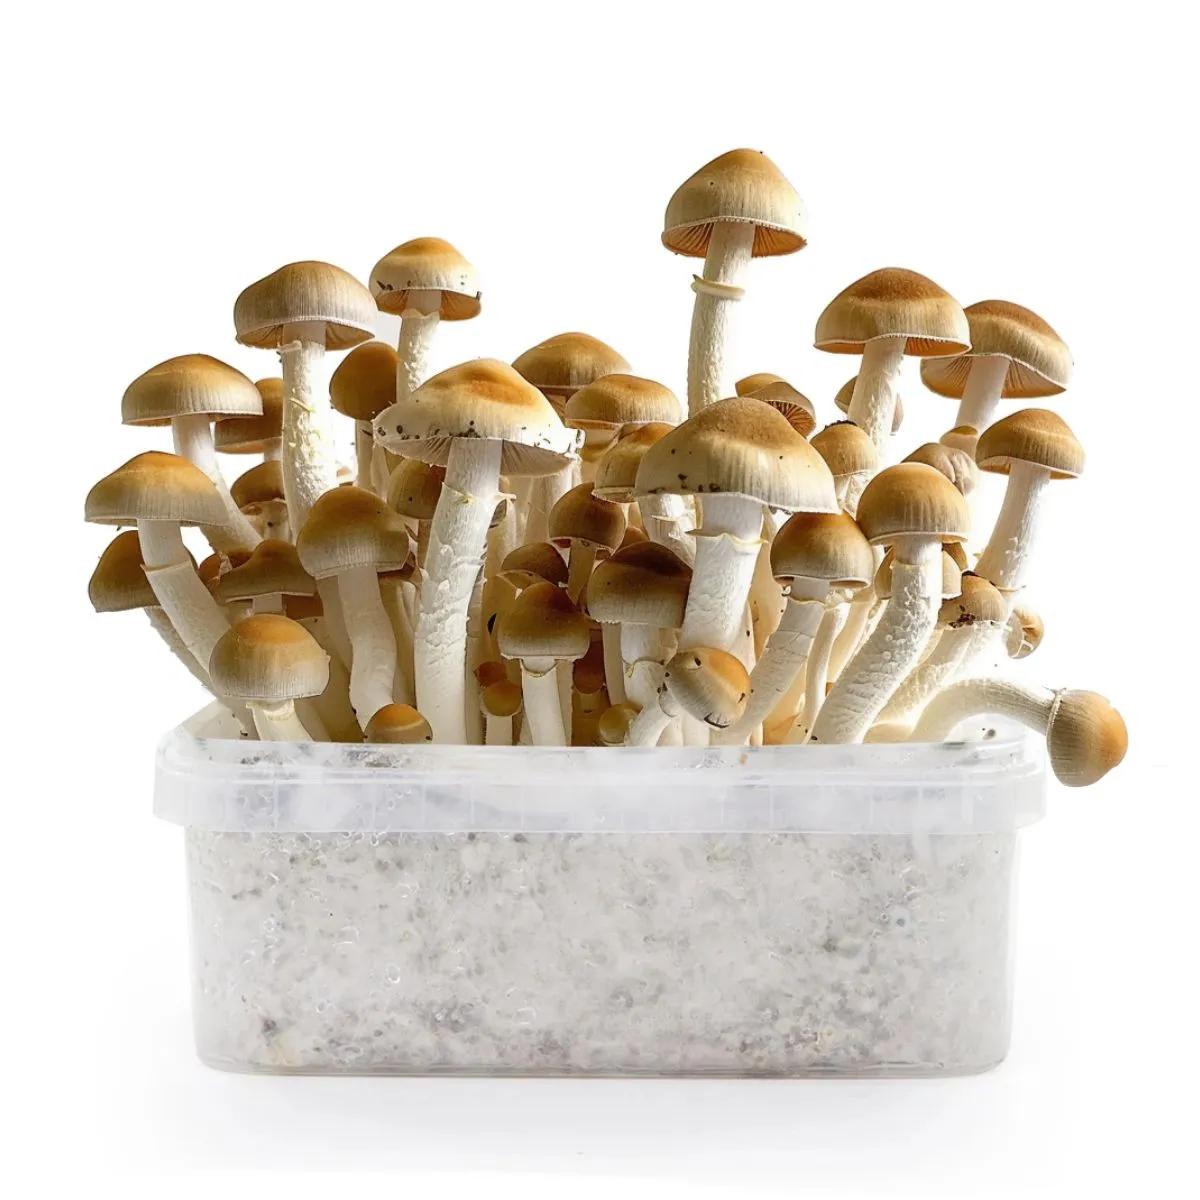
The Jack Rabbit cubensis is not your standard white-capped albino. It grows remarkably low to the substrate with thick, sturdy stems and broad, bell-shaped caps that curl upwards as they mature. Underneath those caps you get dense, ocean-blue gills — a visual signature that makes harvest timing straightforward because the colour shift is obvious even to a first-time grower. The mushrooms feel solid and weighty in your hand, not hollow or spindly like some fast-fruiting varieties we've seen come through the shop.
How the Ready-2-Grow Bag Actually Works
The bag arrives with a fully colonised substrate block sealed inside. You will notice a white filter patch near the top and — this catches people off guard — a small tear beneath it. That tear is intentional. It enhances CO2 exchange so the mycelium does not suffocate under its own metabolic output, allowing pins to form cleanly across the surface instead of clustering around one gasping corner.
The Ready-2-Grow system skips the colonisation phase entirely. Traditional grow kits ask you to inoculate a substrate with spores or liquid culture and then wait 2–4 weeks for the mycelium to colonise the block. During that window, contamination risk is at its highest — one ungloved touch, one poorly sealed injection port, and the whole thing goes green. This jack rabbit mushroom grow kit removes that entire stage. The block is already white with healthy mycelium when it lands on your doorstep. Your only job is managing temperature, humidity, and patience.
| Specification | Detail |
|---|---|
| Strain | Jack Rabbit (albino Psilocybe cubensis) |
| Kit type | Ready-2-Grow all-in-one bag |
| Colonisation state | Fully pre-colonised |
| Maximum yield | Up to 500 g (fresh, across multiple flushes) |
| Time to first pins | Under 3 weeks |
| Temperature range | 21–25 °C (steady) |
| CO2 management | Built-in filter patch with intentional tear |
| SKU | SH0249 |
Why You Need a Pre-Colonised Jack Rabbit Mushroom Grow Kit
The number one reason grow attempts fail is contamination during colonisation. We have watched plenty of growers — smart, careful people — lose entire batches to a single moment of carelessness: a lid opened too early, a syringe that wasn't quite sterile, a room that was a few degrees too warm. The colonisation window is when your substrate is most vulnerable, and it's also the longest, most boring part of the process. You're staring at a jar for weeks, wondering if that faint green spot is mould or just a trick of the light.
The Ready-2-Grow bag sidesteps all of that. The substrate is colonised in a controlled environment before it ships, so by the time it reaches you, the mycelium has already claimed the block. Contamination risk drops dramatically because established mycelium actively defends its territory. You go from "hoping it colonises" to "watching it fruit" in the time it takes most growers to finish their first inoculation attempt.
The honest limitation? You cannot choose your substrate composition or experiment with grain-to-bulk ratios. This is a sealed system. If you are the type who wants to tweak every variable, a bulk monotub setup gives you more control. But if you want mushrooms on your desk in under three weeks without the stress, this is the best grow kit for first-time albino cubensis growers we currently stock.
How to Grow Jack Rabbit Mushrooms: Step by Step
The Ready-2-Grow bag needs minimal intervention. Follow these steps and you should see your first flush within 2–3 weeks of opening.
- Inspect the bag on arrival. Look through the clear sections for healthy white mycelium covering the substrate block. A few small areas of uncolonised substrate are normal. Any green, black, or orange patches are not — contact us if you spot them.
- Find the right spot. Place the bag in a room that stays between 21–25 °C. Avoid direct sunlight, radiators, and draughty windowsills. Indirect daylight or a low-wattage desk lamp on a 12/12 cycle works well.
- Open the bag. Unfold the top and allow fresh air to reach the substrate. The tear beneath the white filter patch handles CO2 exchange — do not seal it or tape over it.
- Mist daily. Use a clean spray bottle to mist the inside walls of the bag once or twice a day. You want tiny droplets on the plastic, not puddles on the substrate. The goal is 85–95% humidity inside the bag without waterlogging the block.
- Fan briefly after misting. Wave the bag opening gently for 10–15 seconds to exchange stale air. This triggers pinning by dropping CO2 levels at the surface.
- Watch for pins. Small white bumps will appear on the substrate surface within 7–14 days. Once you see pins, keep misting and fanning but avoid touching or repositioning the bag.
- Harvest before spore drop. Pick the mushrooms when the caps have fully expanded and the ocean-blue gills are visible but before the caps flatten completely. Twist and pull gently at the base. Cutting with a clean blade also works.
- Rehydrate for the next flush. After harvesting, soak the substrate block in cold water for 6–12 hours, drain, and resume misting. Most growers pull 2–3 flushes from a single bag, with the first flush typically being the heaviest.
Jack Rabbit vs. Other Albino Cubensis Grow Kits
We stock several albino and leucistic cubensis kits. Here is how the Jack Rabbit compares to the two most common alternatives people ask about.
| Feature | Jack Rabbit | Standard Albino A+ | Leucistic Golden Teacher |
|---|---|---|---|
| Growth habit | Low, thick, clustered | Tall, slender stems | Medium height, moderate clusters |
| Cap shape | Broad, bell-shaped, curls upward | Flat, wide canopy | Classic rounded cap |
| Typical potency range | Moderate (10–15 mg/g psilocybin) | Moderate | Moderate |
| Visual distinctiveness | Ocean-blue gills, white stems | Pure white throughout | Pale gold with white patches |
| Colonisation speed | Pre-colonised (no wait) | Varies by kit type | Varies by kit type |
| Best for | Growers who want compact, heavy fruits fast | Growers who want classic albino genetics | Growers who want a familiar strain in a lighter colour |
We'd pick the Jack Rabbit over the Albino A+ for one simple reason: the compact growth pattern means fewer mushrooms abort mid-development. Tall, leggy strains look impressive but tend to produce more pins than the substrate can support, and the runts never finish. Jack Rabbit puts its energy into fewer, heavier fruits — and that is what you want when yield matters.
Complete your setup with a fine-mist spray bottle for even humidity coverage and a digital thermometer-hygrometer to monitor conditions inside the bag. If you are planning multiple flushes, a heat mat keeps temperatures steady during cooler months — particularly useful in older buildings where room temperature drops at night.
Frequently Asked Questions
How much yield can I expect from one Jack Rabbit mushroom grow kit?
Up to 500 g of fresh mushrooms across 2–3 flushes. The first flush is typically the heaviest, with subsequent flushes producing smaller but still worthwhile harvests. Actual yield depends on how well you maintain humidity and temperature.
Is the tear in the bag a defect?
No. The tear beneath the white filter patch is intentional. It enhances CO2 exchange so pins form evenly across the substrate surface. Do not tape it shut — you will suffocate the mycelium and stall the fruiting process.
What temperature should I keep the Jack Rabbit grow kit at?
Aim for a steady 21–25 °C. Consistency matters more than precision. Avoid temperature swings of more than 3–4 degrees between day and night. A seedling heat mat on a low setting helps if your room runs cold.
How do I know when to harvest the mushrooms?
Harvest when the caps have expanded fully and the ocean-blue gills are clearly visible, but before the caps flatten out completely. At that stage, the stems will be thick and firm. Twist gently at the base or cut with a clean blade.
Can I get more than one flush from this kit?
Yes. After your first harvest, soak the substrate block in cold water for 6–12 hours, drain it, and resume daily misting. Most growers get 2–3 productive flushes before the mycelium is spent.
Do I need to sterilise anything before starting?
The block arrives fully colonised, so you skip the sterilisation stage entirely. Just wash your hands before handling the bag and use a clean spray bottle for misting. That is enough to keep contamination at bay.
How long until I see the first pins?
Most growers see pins within 7–14 days of opening the bag. If nothing appears after 14 days, check your temperature and humidity levels. Low humidity or cold rooms are the most common reasons for delayed pinning.
Last updated: April 2026
Related products
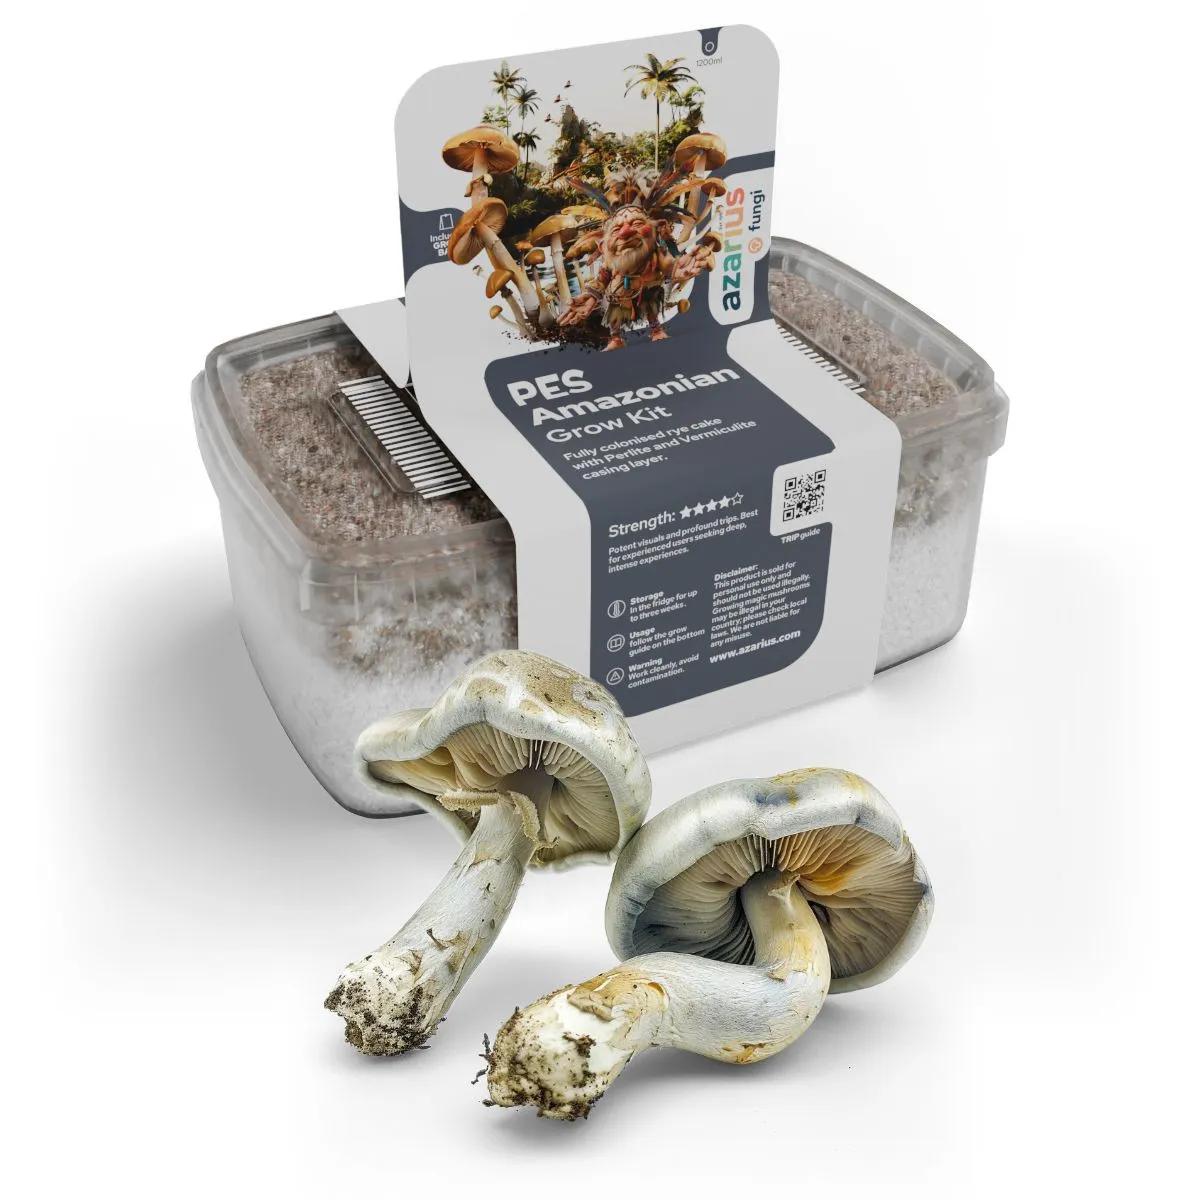
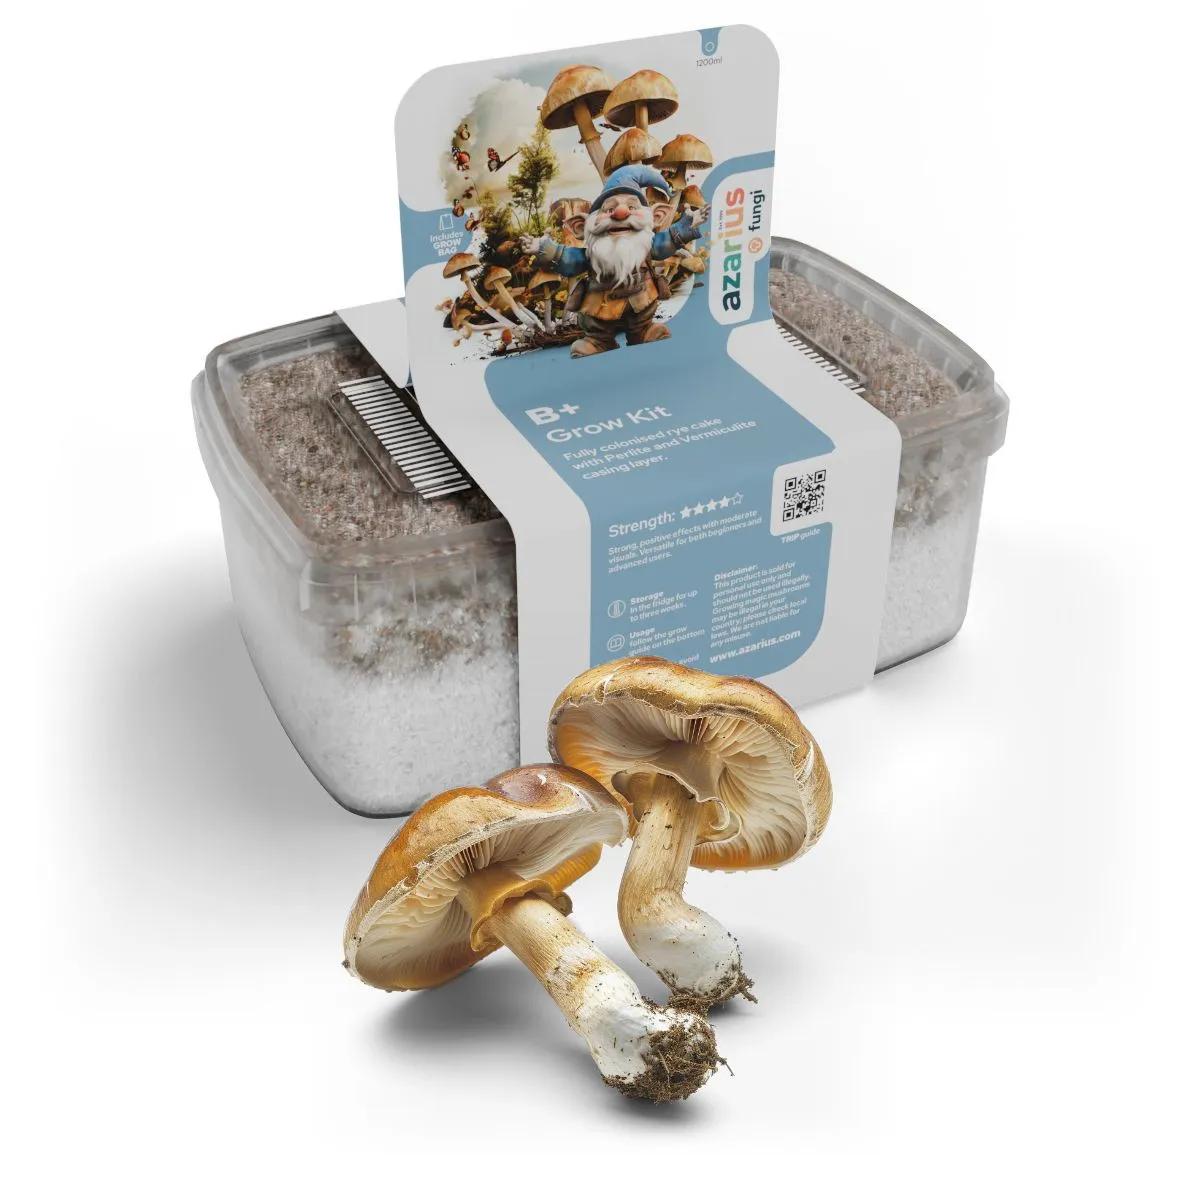
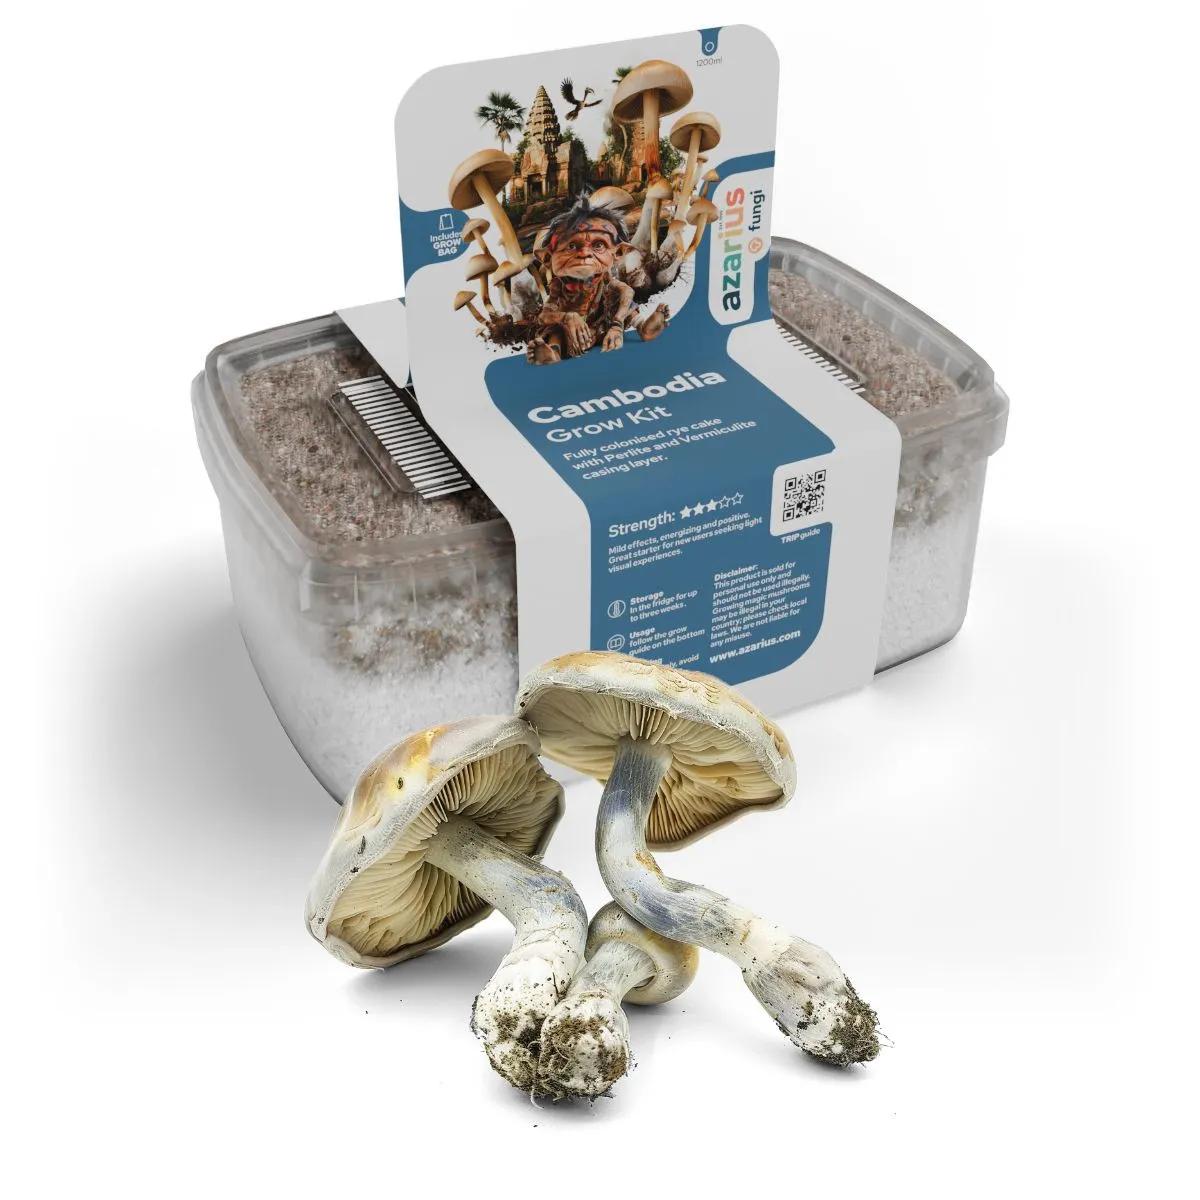
You might also like
Medical disclaimer. This content is for informational purposes only and does not constitute medical advice. Consult a qualified healthcare provider before use of any substance.