This article discusses psychoactive substances intended for adults (18+). If you have a health condition or take medication, consult a doctor before use. Our age policy
Spore Syringes Cultivation Basics

Definition
A spore syringe is a sterile syringe containing distilled water and suspended mushroom spores — the starting point for most home mushroom cultivation. Understanding how to use, store, and troubleshoot them is the foundation of successful growing.
Spore Syringes Cultivation Basics
Spore syringes cultivation basics begin with one essential fact: a spore syringe is a sterile syringe filled with distilled water and mushroom spores — the microscopic reproductive cells that fungi release from their gills. They are the most common entry point for home mushroom cultivation, and for good reason. Syringes are affordable to buy, store well, and give you access to genuine genetic diversity. But getting from a syringe full of invisible spores to a flush of actual mushrooms involves a few steps where things can go sideways fast. Here's how the essential process of cultivating with these tools works, what to watch for, and where most people stumble.
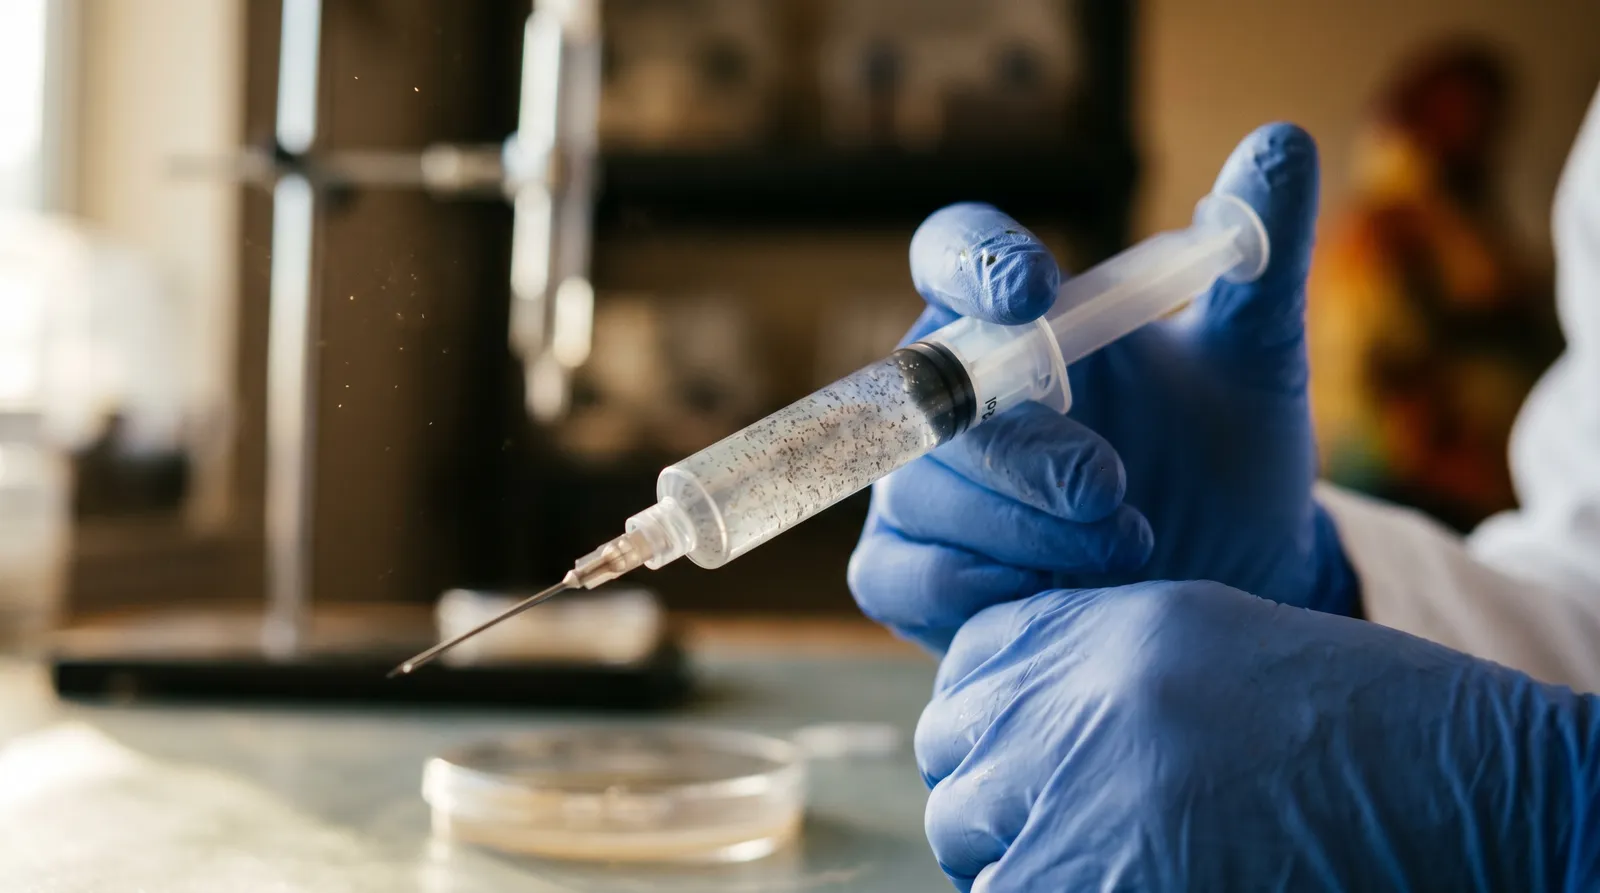
What Is Actually Inside a Spore Syringe?
A standard spore syringe holds 10–12 ml of sterilised water with dormant mushroom spores suspended in it. The spores themselves are tiny — roughly 8–17 micrometres for most Psilocybe cubensis varieties, according to Stamets' Psilocybin Mushrooms of the World (1996). You might see dark clumps floating around, or the liquid might look almost clear. Both are normal. Spore density varies from syringe to syringe and even from one print to the next, which is why two spore syringes of the same strain can look completely different in colour and opacity.
Each spore carries a unique genetic makeup. When two compatible spores meet on a substrate, they fuse to form mycelium — the white, thread-like network that eventually produces mushrooms. This means every inoculation from a spore syringe is a genetic lottery. You'll get variation between grows, which is part of the appeal for microscopy and research, but also why colonisation times are less predictable compared to other methods. Understanding these fundamental spore syringes cultivation basics helps set realistic expectations before you order your first syringe.
Step 1: Sterilise Everything
Contamination is the number one reason home cultivators lose batches. Moulds like Trichoderma and bacteria such as Bacillus are everywhere — on your hands, in the air, on surfaces. Before you even uncap the syringe, you need a clean workspace. Mastering sterile technique is one of the most important spore syringes cultivation basics you can learn.
- Wipe down all surfaces with 70% isopropyl alcohol. Not 99% — the 70% concentration actually kills microorganisms more effectively because the water helps denature proteins (CDC Guideline for Disinfection and Sterilisation in Healthcare Facilities, 2008).
- Wear nitrile gloves. Latex works too, but nitrile resists punctures better.
- Work in a still-air box (SAB) or in front of a laminar flow hood if you have one. A SAB is just a large plastic tub with two arm holes — low-tech, but it cuts airborne contamination dramatically.
Step 2: Prepare the Needle
The needle must be flame-sterilised until it glows red along its full length before every single use. Use a lighter or an alcohol lamp — work the flame from the base of the needle to the tip so you're not pushing contaminants further down. Let it cool for 10–15 seconds before touching it to anything. Some growers squirt a tiny amount of spore solution through the needle first to cool it internally, which also primes the flow. This small step is easy to skip but is a non-negotiable part of spore syringes cultivation basics.
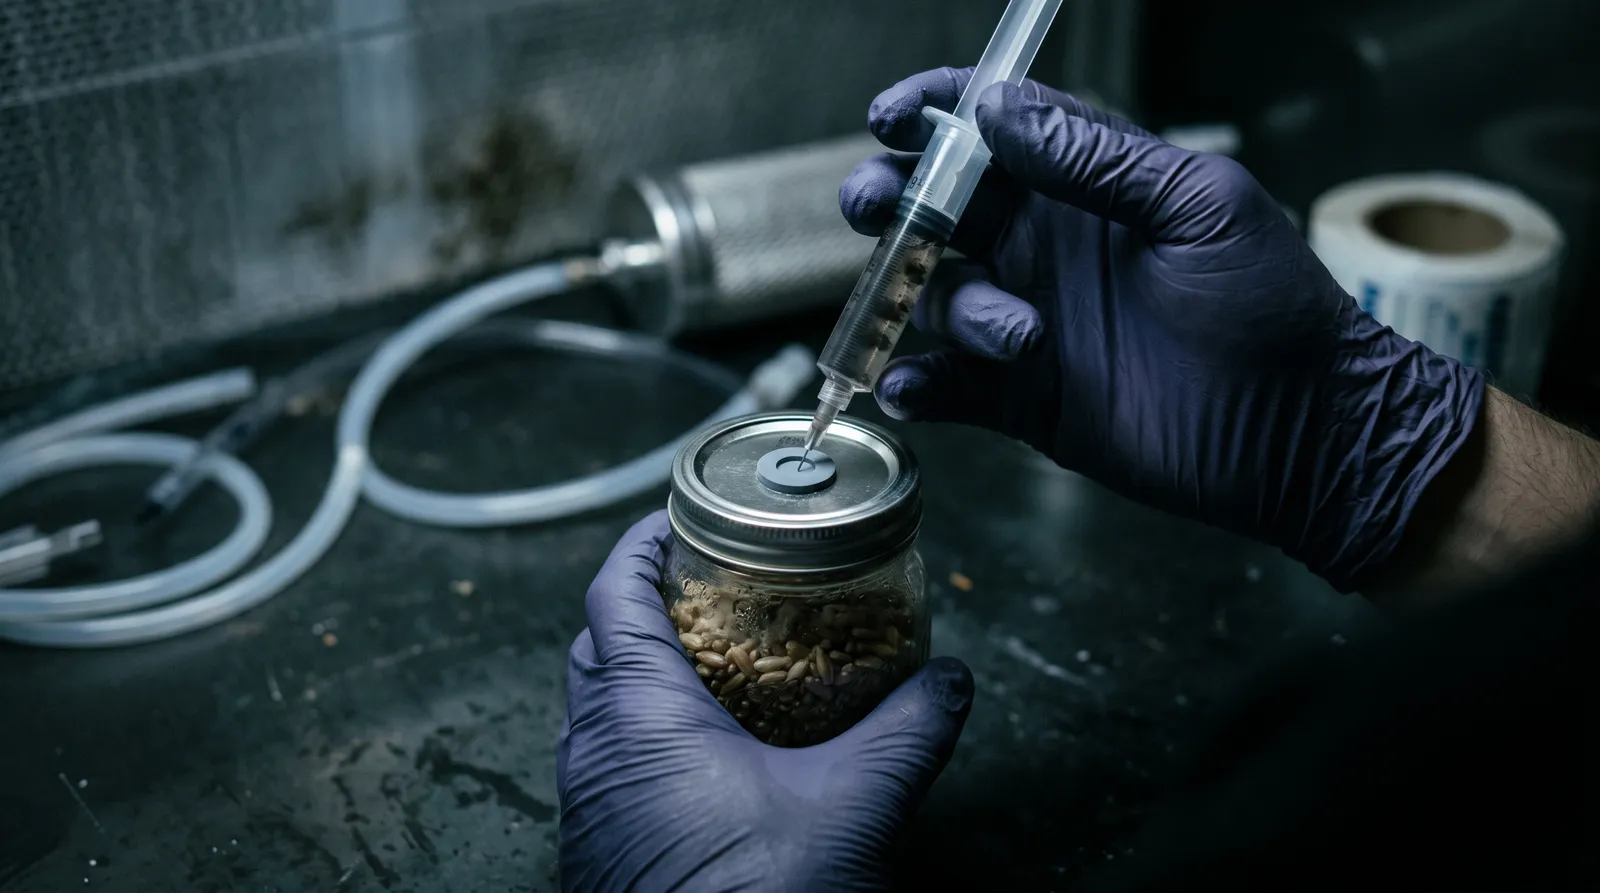
Step 3: Inoculate the Substrate
Inoculation means injecting spore solution into a sterilised substrate where the spores can germinate and grow. Most beginners use pre-sterilised grain jars or all-in-one grow bags. Inject about 1–2 ml of spore solution per inoculation point, distributing it across 2–4 points on the jar or bag. More isn't better — excess moisture creates pools where bacteria thrive rather than mycelium. When you buy spore syringes, a single 10 ml syringe is typically enough for 5–10 jars depending on your technique. You can order spore syringes from the Azarius spore syringes category page, which stocks a range of strains suited to different research interests.
After injection, seal the inoculation ports with micropore tape if they aren't self-healing. The substrate needs gas exchange (mycelium breathes oxygen and releases CO₂) but not exposure to unfiltered air.
Step 4: Incubation and Colonisation
Incubation is the phase where inoculated substrate is kept in warm, dark conditions so mycelium can colonise it fully. Mycelium from spore syringes typically takes 2–4 weeks to fully colonise a substrate at 24–27°C — significantly longer than liquid culture, which can manage the same job in 5–10 days. The difference comes down to biology: spores need to germinate and find a compatible mating partner before mycelium can form, while liquid culture already contains active, growing mycelium.
During this phase, check your jars every few days. You're looking for white, ropy growth spreading outward from the inoculation points. Green, black, or bright orange patches mean contamination — pull those jars immediately and don't open them indoors. Getting incubation right is one of the most critical spore syringes cultivation basics to master.
Step 5: Fruiting Conditions
Fruiting conditions are the environmental triggers — fresh air, light, humidity, and a temperature drop — that signal fully colonised mycelium to produce mushrooms. This means fresh air exchange, indirect light (a 12/12 hour cycle works well), humidity above 85%, and a slight temperature drop to around 21–24°C.
First pins (tiny mushroom primordia) usually appear within 5–14 days of introducing fruiting conditions. From pinning to harvest takes another 5–7 days depending on the species and growing conditions. Nailing fruiting parameters is where spore syringes cultivation basics translate into actual results.
Spore Syringe vs Liquid Culture: The Key Differences
Spore syringes contain dormant spores while liquid cultures contain active, growing mycelium — and that single distinction drives every practical difference between the two methods. This is the comparison that comes up constantly, and the answer depends on what you're after.
| Factor | Spore Syringe | Liquid Culture |
|---|---|---|
| Contents | Dormant spores in sterile water | Active mycelium in nutrient broth |
| Colonisation speed | 2–4 weeks | 5–10 days |
| Genetic outcome | Variable — new genetic combination each time | Consistent — cloned from a single culture |
| Contamination risk during storage | Lower — spores are dormant | Higher — active culture can harbour hidden contaminants |
| Shelf life (refrigerated) | 6–12 months | 2–6 months |
| Skill level | Beginner-friendly | Intermediate — requires sterile technique to produce |
Spore syringes are the better starting point if you're new to cultivation. The genetic variation they introduce is actually useful for research and microscopy work, and they're more forgiving in storage. Liquid culture is the faster, more predictable option once you've got your sterile technique dialled in — but a contaminated liquid culture can wipe out an entire batch before you even see symptoms, because bacteria can hide in the nutrient solution without visible signs for days. Knowing this comparison is one of the most practical spore syringes cultivation basics you can carry into your first grow.
For a deeper look at substrate preparation and growing environments, the Azarius mushroom grow kit basics wiki article covers the practical side of turning colonised substrate into a harvest. If you want to compare products before you buy, the Azarius magic mushroom grow kits category page is also worth browsing alongside the Azarius spore syringes product range. The Azarius blog post on beginner cultivation mistakes pairs well with the spore syringes cultivation basics covered here.
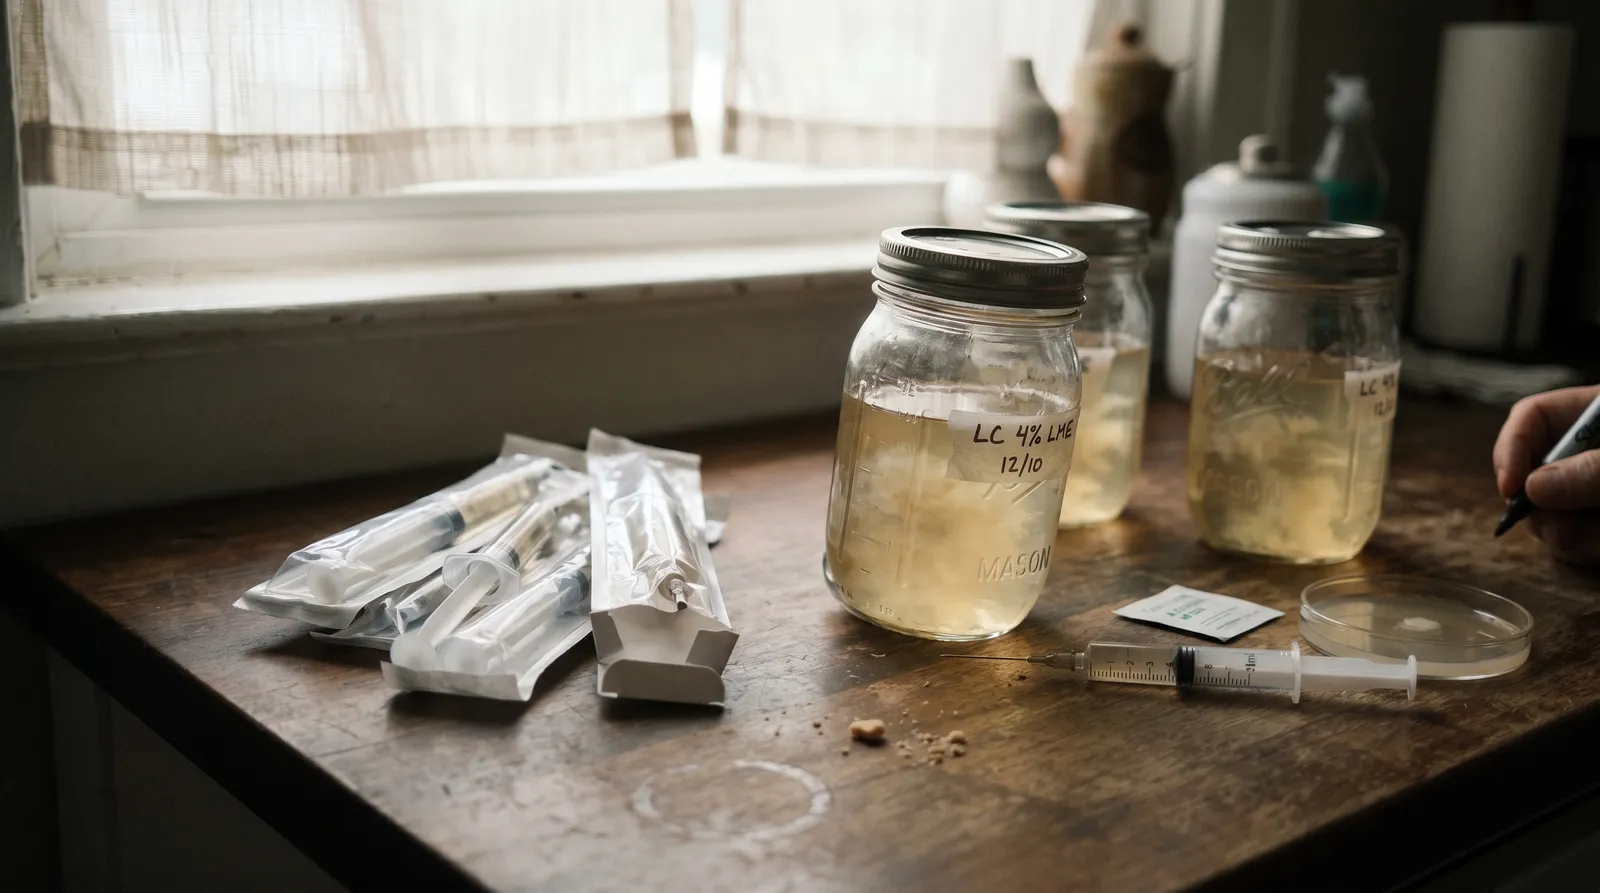
Storage and Shelf Life
Spore syringes should be refrigerated at 2–8°C for optimal longevity, with viability holding reasonably well for 6–12 months under these conditions. The European Monitoring Centre for Drugs and Drug Addiction (EMCDDA) notes that mycological research materials, including spore preparations, require careful temperature-controlled storage to maintain integrity. The Beckley Foundation's broader research into psilocybin-producing fungi has also underscored the importance of proper specimen handling for reproducible results. Most long-term viability data remains anecdotal rather than clinically documented, so treat the 12-month mark as an optimistic upper limit rather than a guarantee. Never freeze them; ice crystals can rupture the spore walls.
Every time you open or use a syringe, you introduce contamination risk. If you're only using part of a syringe, recap with a sterile needle cap, wipe the port with alcohol, and return it to the fridge immediately. Minimising the number of times you open the packaging keeps the contents viable longer. Proper storage is one of the most overlooked spore syringes cultivation basics, and getting it right extends the useful life of every syringe you buy.
Common Mistakes That Cost You a Batch
The most frequent mistake is injecting too much spore solution — more than 2 ml per point creates wet spots that breed bacteria. Avoiding these errors is a core part of spore syringes cultivation basics that separates successful growers from frustrated ones. Here are the other common errors that ruin grows:
- Injecting too much solution. More than 2 ml per point creates wet spots that breed bacteria. Restraint pays off.
- Skipping the still-air box. Open-air inoculation in a kitchen or bedroom is a gamble. Even "clean" rooms carry thousands of airborne spores per cubic metre — and not the kind you want.
- Opening jars to check progress. Every lid removal is an invitation for Trichoderma. Use clear jars and inspect visually.
- Impatience with colonisation. Introducing fruiting conditions before the substrate is fully colonised gives contaminants an entry point. Wait for 100% coverage, then wait another 2–3 days for consolidation.
- Storing syringes at room temperature. Spore viability drops significantly above 20°C. The fridge isn't optional.
Grain Jars vs All-in-One Bags for Spore Syringes
Grain jars offer better visibility during colonisation while all-in-one bags offer a simpler workflow with fewer transfer steps. Both are common substrates people inoculate with spore syringes, and each has distinct trade-offs worth understanding as part of the fundamental spore syringes cultivation basics.
Grain jars — typically rye, wheat berry, or millet — let you see mycelium spreading through the glass, which makes it easier to spot contamination early. They're also easier to shake at the 30% colonisation mark to redistribute mycelium and speed up coverage. The downside is that jars require a separate bulk substrate step (usually coco coir or a coir-vermiculite mix) after full colonisation, which adds another contamination window.
All-in-one bags combine grain and bulk substrate in a single container. You inoculate through a self-healing injection port, and the mycelium colonises the grain layer before you mix it into the bulk layer within the same bag. It's more convenient and involves fewer transfers, but visibility is worse and the bags are harder to inspect for early contamination. You can get all-in-one options from the Azarius all-in-one grow kits product page, which lists several options that pair well with spore syringes if you prefer the simpler workflow.
What We Don't Know Yet
Understanding the fundamentals of spore syringes cultivation basics means accepting that some variables are beyond your control. Genetic variation, spore viability, and micro-contamination events all introduce uncertainty that no amount of technique can fully eliminate. Published research on long-term spore viability under home refrigeration conditions is sparse — most figures cited in cultivation communities come from shared experience rather than controlled studies. We also lack rigorous data on how different water sources used in syringe preparation affect germination rates, or whether subtle temperature fluctuations during shipping meaningfully degrade spore quality. The best cultivators aren't the ones who never lose a jar — they're the ones who document what works, keep their sterile technique tight, and learn from each batch. If you're just getting started, expect some failures and treat each one as data.
Last updated: April 2026
Frequently Asked Questions
10 questionsWhy does my spore syringe look different from another syringe of the same strain?
How much spore solution should I inject per inoculation point?
Is liquid culture better than a spore syringe for beginners?
How long can I store a spore syringe in the fridge?
Why is my spore syringe not colonising the substrate?
Should I use grain jars or all-in-one bags with spore syringes?
Do I need a still-air box or laminar flow hood to use a spore syringe?
Why should I use 70% isopropyl alcohol instead of 99% when working with spore syringes?
Can I use tap water to prepare a spore syringe at home?
Do spore syringes need to be shaken before use?
About this article


Adam Parsons is an external cannabis and psychedelics writer and editor who contributes to Azarius's wiki as both author and reviewer. On the writing side, he authors Azarius's kratom and kanna clusters, drawing on exten
This wiki article was drafted with AI assistance and reviewed by Adam Parsons, External contributor. Editorial oversight by Joshua Askew.
Medical disclaimer. This content is for informational purposes only and does not constitute medical advice. Consult a qualified healthcare provider before use of any substance.
Last reviewed April 24, 2026
References (5)
- [1]Stamets, P. (1996). Psilocybin Mushrooms of the World . Ten Speed Press.
- [2]CDC (2008). Guideline for Disinfection and Sterilisation in Healthcare Facilities . Centers for Disease Control and Prevention.
- [3]Stamets, P. (2005). Mycelium Running: How Mushrooms Can Help Save the World . Ten Speed Press.
- [4]EMCDDA (2024). European Drug Report . European Monitoring Centre for Drugs and Drug Addiction.
- [5]Beckley Foundation (2023). Psilocybin Research Programme: Methodological Notes . Beckley Foundation.