This article discusses psychoactive substances intended for adults (18+). If you have a health condition or take medication, consult a doctor before use. Our age policy
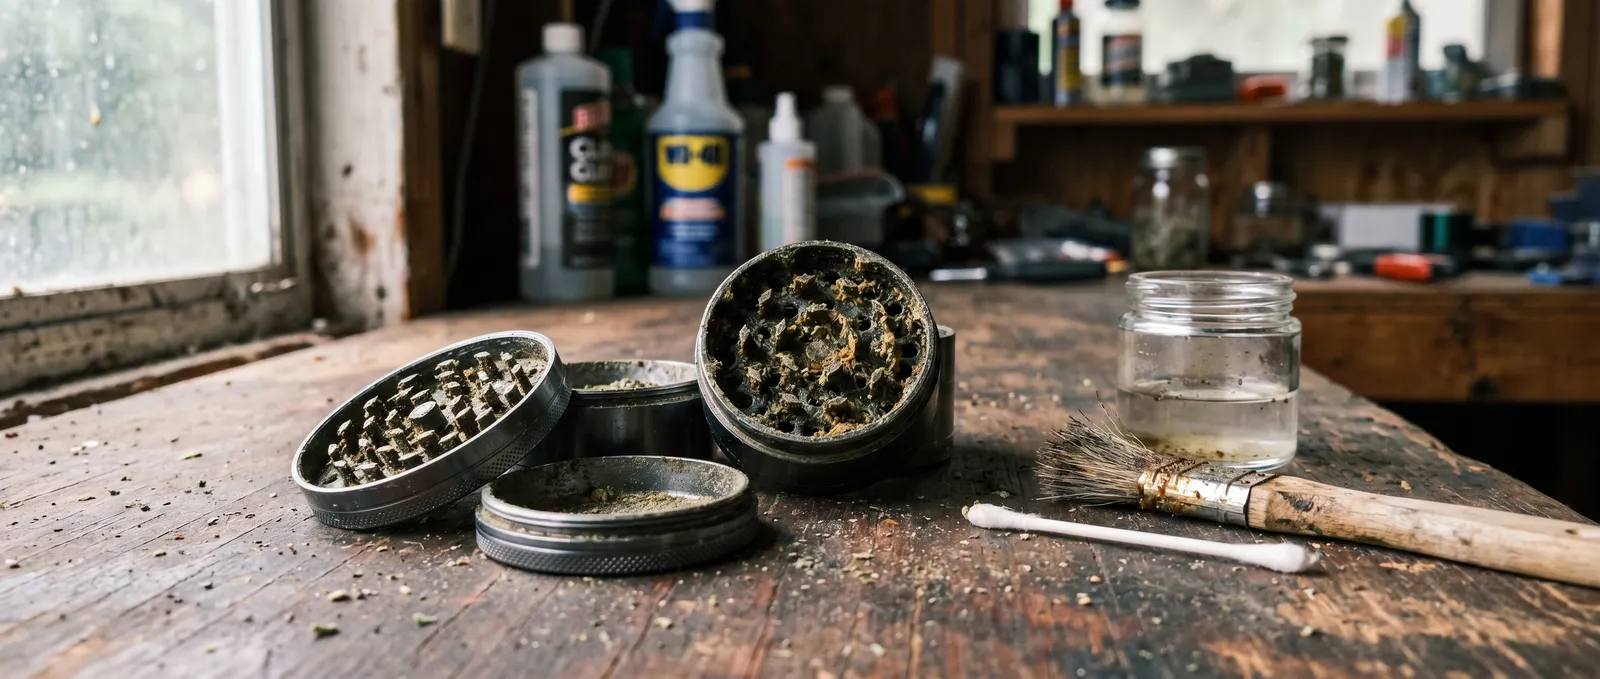
How To Clean a Grinder
Definition
A grinder is a herb-processing tool that uses interlocking teeth to shred dry material into a consistent size, but regular use causes sticky resin to clog teeth, block screens, and stiffen the action. Cleaning restores function and extends the tool's lifespan. Isopropyl alcohol dissolves cannabinoid-containing plant resins effectively (Romano & Hazekamp, 2013), but the method varies by material — metal, acrylic, and wood each need a different approach.
A grinder is a herb-processing tool that uses interlocking teeth to shred dry material into a consistent size — but one that's been in regular rotation for a few months looks and performs nothing like the day you bought it. Sticky residue clogs the teeth, the screen blocks up, and what used to be a smooth twist turns into a two-handed wrestling match. Learning how to clean a grinder properly restores its function, recovers trapped material, and extends the tool's lifespan by years. This guide walks you through the process step by step, covering how to clean a grinder made from metal, acrylic, or wood with the specific method each material needs.
What You Need Before You Start
The right supplies make the difference between a frustrating smear-fest and a grinder that looks factory-fresh. Gather everything first so you're not rummaging through drawers with sticky fingers halfway through. The exact kit depends on your grinder's material, but here's the universal checklist:
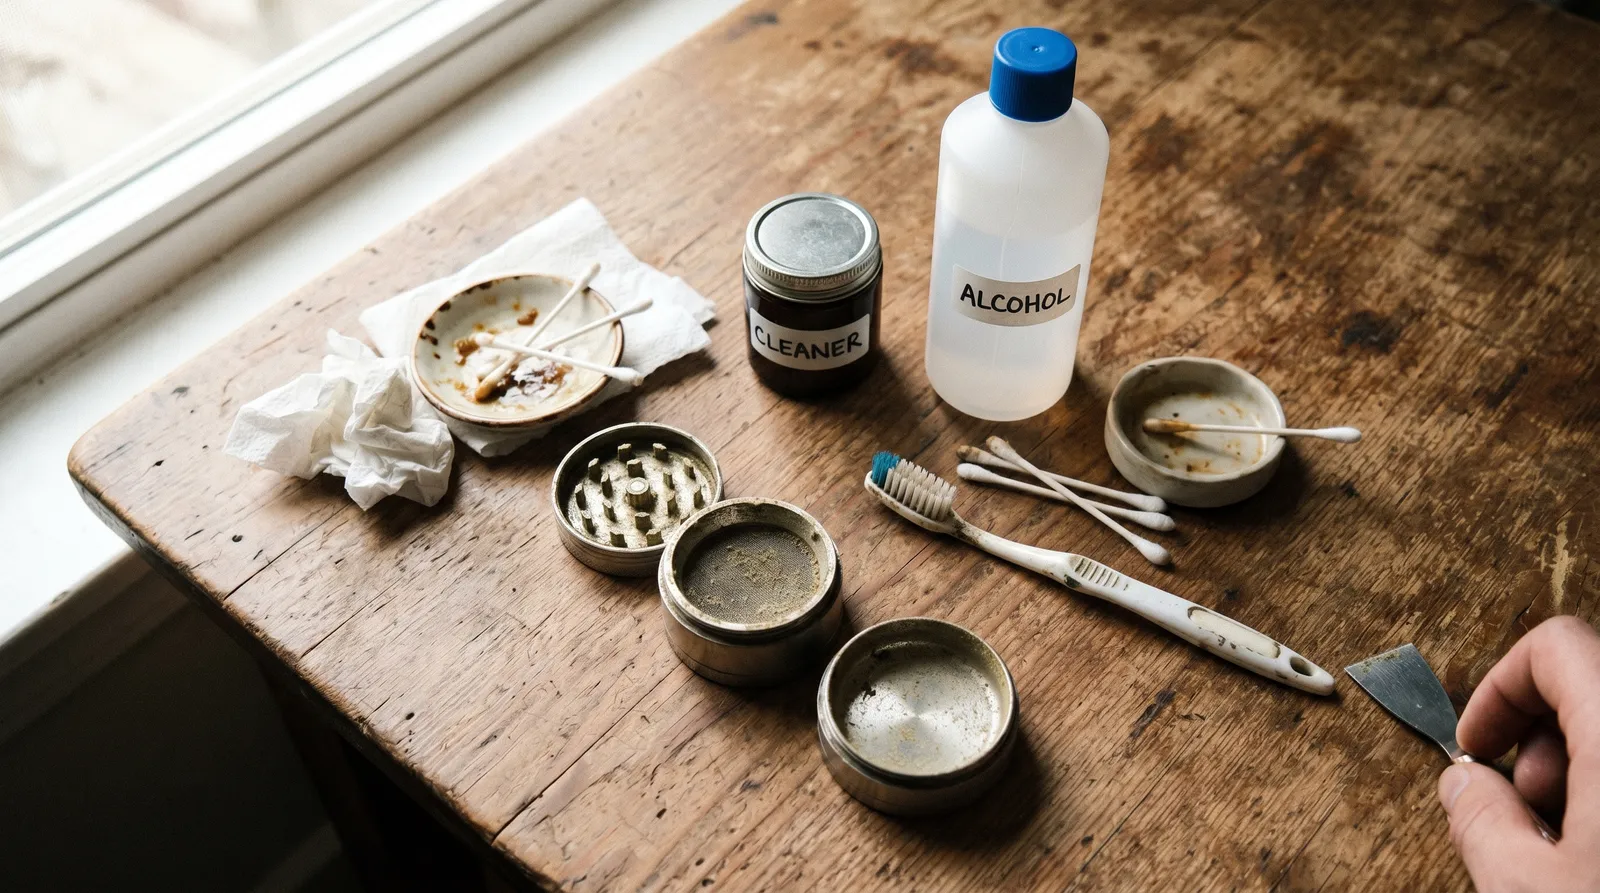
- Isopropyl alcohol (90%+ concentration — the higher the better for dissolving resin)
- A small, stiff-bristled brush (a clean toothbrush works, or one of those dedicated grinder brushes that come with some models)
- A toothpick or wooden skewer
- A freezer-safe container or zip-lock bag
- A plate or clean sheet of paper to catch loose material
- Warm water and washing-up liquid
- A clean, lint-free cloth or paper towel
One thing to note about acrylic and wood grinders: isopropyl alcohol can crack acrylic and strip finishes from wood. If your grinder isn't metal, skip the alcohol entirely and follow the material-specific steps below.
Step 1 — Disassemble and Freeze
Freezing is the single most effective first step when you clean a grinder — cold makes sticky resin brittle so it flakes off instead of smearing. Take your grinder apart completely. Most four-piece metal grinders separate into a lid, a grinding chamber, a screen chamber, and a kief catcher. Place all pieces into a freezer-safe bag or container and leave them in the freezer for 20–30 minutes.
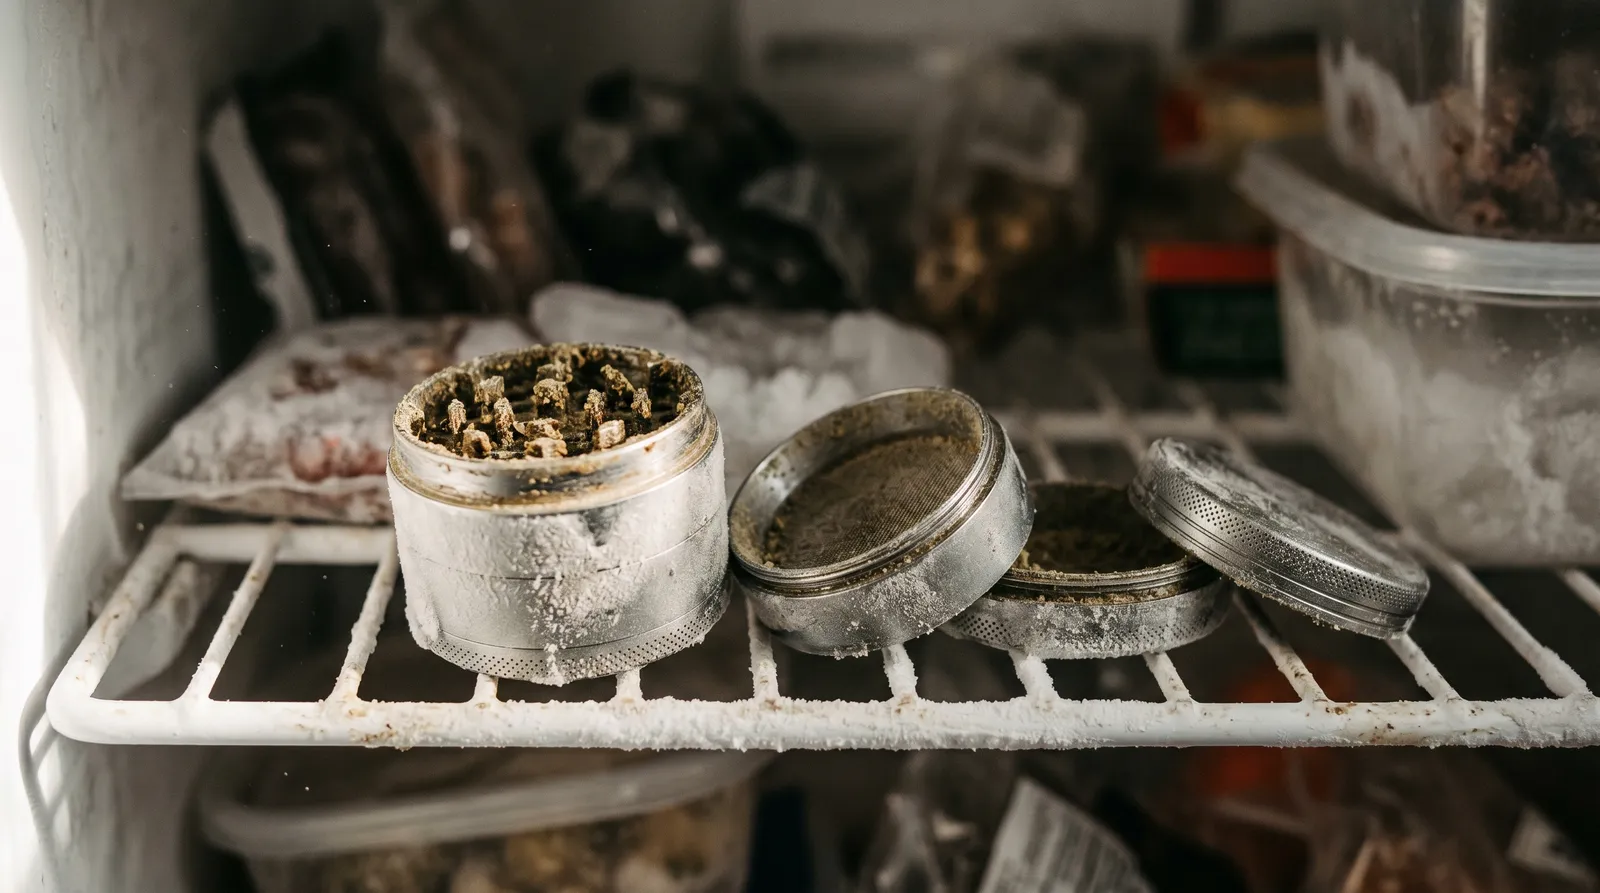
Why does this work? According to a materials science review by Hatakeyama & Hatakeyama (2004), plant-derived resins transition from a viscous, adhesive state to a rigid, brittle one at temperatures below approximately –10°C. Your home freezer typically sits around –18°C, which is plenty. Once the residue is brittle, it flakes off rather than smearing around — and you recover far more trapped material in the process.
Step 2 — Tap and Brush Out Loose Material
Most of the recoverable material comes free during this dry brushing stage, before any solvents are involved. Remove the pieces from the freezer. Working over a plate or sheet of paper, tap each piece firmly against a hard surface. You'll see frozen particles fall free immediately. Then take your stiff brush and work it across every surface: between the teeth, around the threading, across both sides of the screen, and into the kief chamber.
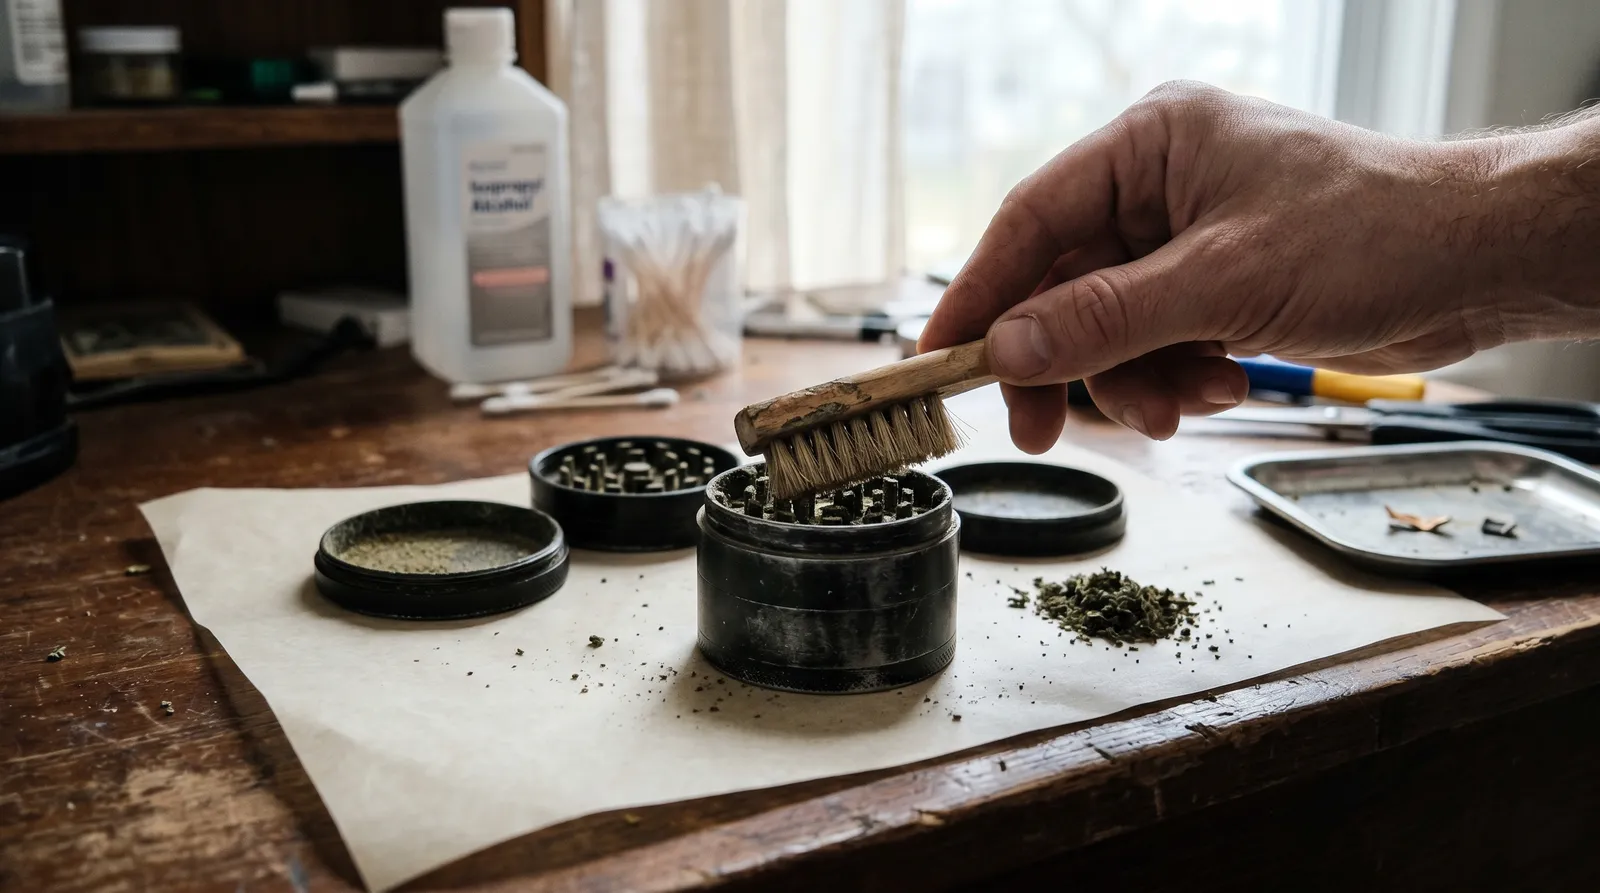
For the screen, brush gently from the top side first, then flip and brush from below. Aggressive scrubbing can push compacted material deeper into the mesh rather than clearing it. A toothpick is useful for dislodging any stubborn chunks wedged between teeth — just avoid metal tools on metal grinders, as they can gouge the aluminium and create burrs that snag material later.
Whatever falls onto your plate is perfectly usable. Some people collect this as a bonus — it's essentially the same material that was going through the grinder in the first place, just with a higher proportion of fine particles and trichome dust.
Step 3 — The Iso Soak (Metal Grinders Only)
Isopropyl alcohol at 90%+ concentration is the most effective solvent for dissolving the resin that remains after brushing. Place all disassembled pieces into a zip-lock bag or glass jar and pour in enough isopropyl alcohol to submerge them. Seal it and let it soak for 20–30 minutes. If the grinder hasn't been cleaned in months (or ever), extend this to a full hour.
After soaking, give the bag a gentle shake. You'll see the alcohol turn a murky greenish-brown — that's dissolved resin. Remove each piece and scrub again with your brush. The combination of the alcohol soak and the earlier freeze-and-brush pass should have removed 90%+ of the buildup. Stubborn spots around threading can be hit with a cotton bud dipped in fresh iso.
A study published in Cannabinoids (Romano & Hazekamp, 2013) confirmed that ethanol and isopropyl alcohol are effective solvents for cannabinoid-containing plant resins, dissolving both the waxy and resinous components. The key is concentration: 90% or higher works significantly faster than the 70% rubbing alcohol you might have in the medicine cabinet, because the lower water content means less dilution of the solvent's dissolving power.
Step 4 — Rinse and Dry Thoroughly
Residual moisture is the number-one cause of post-clean problems, from aluminium oxidation to mould in the screen mesh. After the iso soak, rinse every piece under warm running water. Add a drop of washing-up liquid if you want to remove the alcohol smell completely — it evaporates on its own, but a soap rinse speeds things up and leaves no residual taste.
Now the critical part: dry everything completely. This matters more than most people realise. Residual moisture on aluminium grinders can cause oxidation, which shows up as a chalky white film and can make the threading feel gritty. Stainless steel and titanium are more forgiving, but moisture trapped in the screen mesh will cause plant material to clump on your next use.
Pat each piece dry with a lint-free cloth, then leave them disassembled on a towel in a well-ventilated spot for at least 2–3 hours. If you're impatient, a hairdryer on a low, cool setting works — just keep it moving so you don't overheat any one spot.
Step 5 — Reassemble and Maintain
Smooth threading after reassembly confirms the clean was thorough — if it feels gritty, there's still debris. Once fully dry, screw everything back together. If the threading doesn't feel smooth, unscrew, check for debris in the threads, and try again.
A quick preventative trick: after reassembly, give the threading a very light coat of food-grade lubricant (a tiny drop of coconut oil on a cotton bud, wiped around the threads). This keeps the grinder turning smoothly between deep cleans and prevents the metal-on-metal seizing that makes old grinders impossible to open. Don't overdo it — you want a barely-there film, not a greasy mess.
Cleaning Acrylic Grinders
Warm soapy water is the only safe cleaning solution for acrylic grinders — solvents will destroy them. Acrylic (plastic) grinders cannot handle isopropyl alcohol. The solvent causes micro-cracking in the polymer — sometimes immediately visible, sometimes developing over the following days. A review of polymethyl methacrylate properties (Ali et al., 2015) found that exposure to isopropanol caused measurable stress cracking in acrylic within minutes at room temperature.
Instead, disassemble, soak for 15–20 minutes in warm (not boiling) water with washing-up liquid, then scrub with a brush. The freeze-and-brush method from Step 2 works just as well on acrylic, so start there. For stubborn residue, a paste of bicarbonate of soda and water applied with a brush provides mild abrasion without chemical damage.
Acrylic grinders generally don't last as long as metal ones — the teeth dull faster and the plastic absorbs odours over time. If you're cleaning an acrylic grinder because it's become unusable, it may be time to upgrade rather than restore. If you decide to buy a replacement, a four-piece aluminium grinder is the most practical long-term investment.
Cleaning Wood Grinders
Wood grinders should never be soaked or exposed to alcohol — the porous material absorbs moisture and solvents, leading to warping and cracking. They are the trickiest to clean because wood is porous. It absorbs both moisture and resin, and aggressive cleaning can warp or crack the body.
The freeze-and-brush method is your primary tool here. After freezing and brushing, use a slightly damp cloth to wipe down surfaces, then dry immediately. For the metal pins or teeth (most wood grinders have metal grinding elements set into a wooden body), you can carefully apply iso with a cotton bud to the metal parts only, keeping the liquid off the wood.
Accept that a wood grinder will develop a patina over time. That's the nature of the material. Regular brushing after each use — just 10 seconds of quick bristle work — prevents the heavy buildup that makes deep cleaning necessary in the first place.
Metal vs Acrylic vs Wood — Cleaning Comparison
| Factor | Metal (Aluminium / Steel / Titanium) | Acrylic (Plastic) | Wood |
|---|---|---|---|
| Iso alcohol safe? | Yes — 90%+ recommended | No — causes stress cracking | No — warps and strips finish |
| Freeze method? | Yes | Yes | Yes |
| Soaking safe? | Yes (iso or warm soapy water) | Yes (warm soapy water only) | No — never soak |
| Typical deep-clean time | 45–60 minutes | 30–40 minutes | 20–30 minutes (brush only) |
| Lifespan with regular cleaning | 5–10+ years | 1–3 years | 3–5 years |
| Best for long-term use? | Yes — most durable and cleanable | Budget option, limited lifespan | Aesthetic choice, higher maintenance |
How Often Should You Clean a Grinder?
Cleaning frequency depends directly on usage — daily users need to clean a grinder roughly every 2–4 weeks to maintain performance. As a rough guide:
- Daily use: deep clean every 2–4 weeks
- A few times a week: every 1–2 months
- Occasional use: every 3–6 months, or whenever the action starts to stiffen
Between deep cleans, a quick brush-out after each session takes seconds and dramatically reduces buildup. The screen is the component that benefits most from regular attention — once it's fully clogged, even a deep clean may not restore full airflow, and you'll need to replace it.
What About Ultrasonic Cleaners?
Ultrasonic cleaners are effective for metal grinders but overkill for most home users. These devices use high-frequency sound waves to agitate a liquid bath, dislodging residue from surfaces including hard-to-reach screen mesh. If you already own one for jewellery or vaporiser parts, it works well with warm water and a drop of washing-up liquid — no iso needed. However, they're not safe for acrylic (the vibrations can cause micro-fractures) and not recommended for wood. For most people, the freeze-brush-iso method described above achieves the same result at a fraction of the cost. An ultrasonic cleaner only makes sense if you're maintaining multiple grinders or other accessories regularly.
Common Mistakes When You Clean a Grinder
- Boiling your grinder. Some guides suggest boiling metal grinders in water or milk. Boiling water can warp cheaper aluminium grinders and strip anodised coatings. If you want to use hot water, keep it below 60°C.
- Using a dishwasher. The combination of high heat, harsh detergent, and mechanical agitation is too much. Anodised finishes come out dull and pitted.
- Skipping the freeze. Going straight to scrubbing a warm, sticky grinder just moves resin around. The 20-minute freeze makes everything that follows easier.
- Reassembling while damp. Even a small amount of trapped moisture leads to corrosion on aluminium and mould in screen mesh. Patience here saves problems later.
- Using metal tools on metal teeth. A steel pick against aluminium teeth creates burrs and scratches that trap more material than they remove. Stick to wood, plastic, or bristle tools.
When To Replace Rather Than Clean
Cleaning has its limits — no amount of scrubbing fixes mechanical wear. If the teeth on your grinder are visibly rounded or flattened, the grind quality won't improve with cleaning alone. Similarly, a torn or permanently clogged screen (one that stays blocked even after a full freeze-iso-brush cycle) needs replacing. Most quality four-piece grinders from brands like SLX, Santa Cruz Shredder, or Kannastör allow you to order replacement screens separately. If the body itself is cracked, cross-threaded beyond repair, or made from cheap zinc alloy that's started flaking, it's time to buy a new grinder entirely. The Azarius catalogue carries a range of metal grinders at different price points — and investing in a quality aluminium or stainless steel model means fewer replacements over time.
Recommended Grinders and Cleaning Supplies
If you're looking to buy a grinder that's built to last and easy to clean, a four-piece aluminium model is the best starting point. The SLX Non-Stick Grinder features a ceramic coating that resists resin buildup, meaning you need to clean a grinder like this far less often. The Black Leaf Grinder and the Santa Cruz Shredder are also popular choices in the Azarius catalogue. For cleaning supplies, you can get isopropyl alcohol from most pharmacies — just make sure it's 90% or higher. A dedicated grinder brush, like the ones included with many Kannastör models, is worth keeping in your kit. If you need replacement screens, check the Azarius grinder accessories category for compatible mesh inserts.
Disclaimer: This article is for informational purposes only. Grinder cleaning methods described here are intended for legal herbal use. Laws regarding cannabis and cannabis accessories vary by jurisdiction. Always comply with your local and national regulations. Azarius does not encourage or condone any illegal activity.
Last updated: April 2026
Frequently Asked Questions
8 questionsCan I use rubbing alcohol to clean an acrylic grinder?
How do I unclog a grinder screen without damaging it?
Is the residue collected from cleaning a grinder still usable?
How often should I deep clean my grinder?
Can I put my grinder in the dishwasher?
When should I buy a new grinder instead of cleaning the old one?
Why should I freeze my grinder before cleaning it?
Can I use a metal tool to scrape residue from my grinder's teeth?
About this article


Joshua Askew serves as Editorial Director for Azarius wiki content. He is Managing Director at Yuqo, a content agency specialising in cannabis, psychedelics and ethnobotanical editorial work across multiple languages. Th
This wiki article was drafted with AI assistance and reviewed by Joshua Askew, Managing Director at Yuqo. Editorial oversight by Adam Parsons.
Medical disclaimer. This content is for informational purposes only and does not constitute medical advice. Consult a qualified healthcare provider before use of any substance.
Last reviewed April 24, 2026
References (4)
- [1]Hatakeyama, T. & Hatakeyama, H. (2004). Thermal Properties of Green Polymers and Biocomposites. Springer. Glass transition and brittleness of plant-derived resins at sub-zero temperatures.
- [2]Romano, L.L. & Hazekamp, A. (2013). Cannabis oil: chemical evaluation of an upcoming cannabis-based medicine. Cannabinoids, 1(1), 1–11. Solvent efficacy for resin dissolution.
- [3]Ali, U., Karim, K.J.B.A. & Buang, N.A. (2015). A review of the properties and applications of poly(methyl methacrylate) (PMMA). Polymer Reviews, 55(4), 678–705. Solvent stress-cracking in acrylic polymers.
- [4]European Monitoring Centre for Drugs and Drug Addiction (EMCDDA). (2018). Cannabis legislation in Europe: an overview. Publications Office of the European Union. Context on legal frameworks relevant to cannabis accessories in the EU.
Related Articles
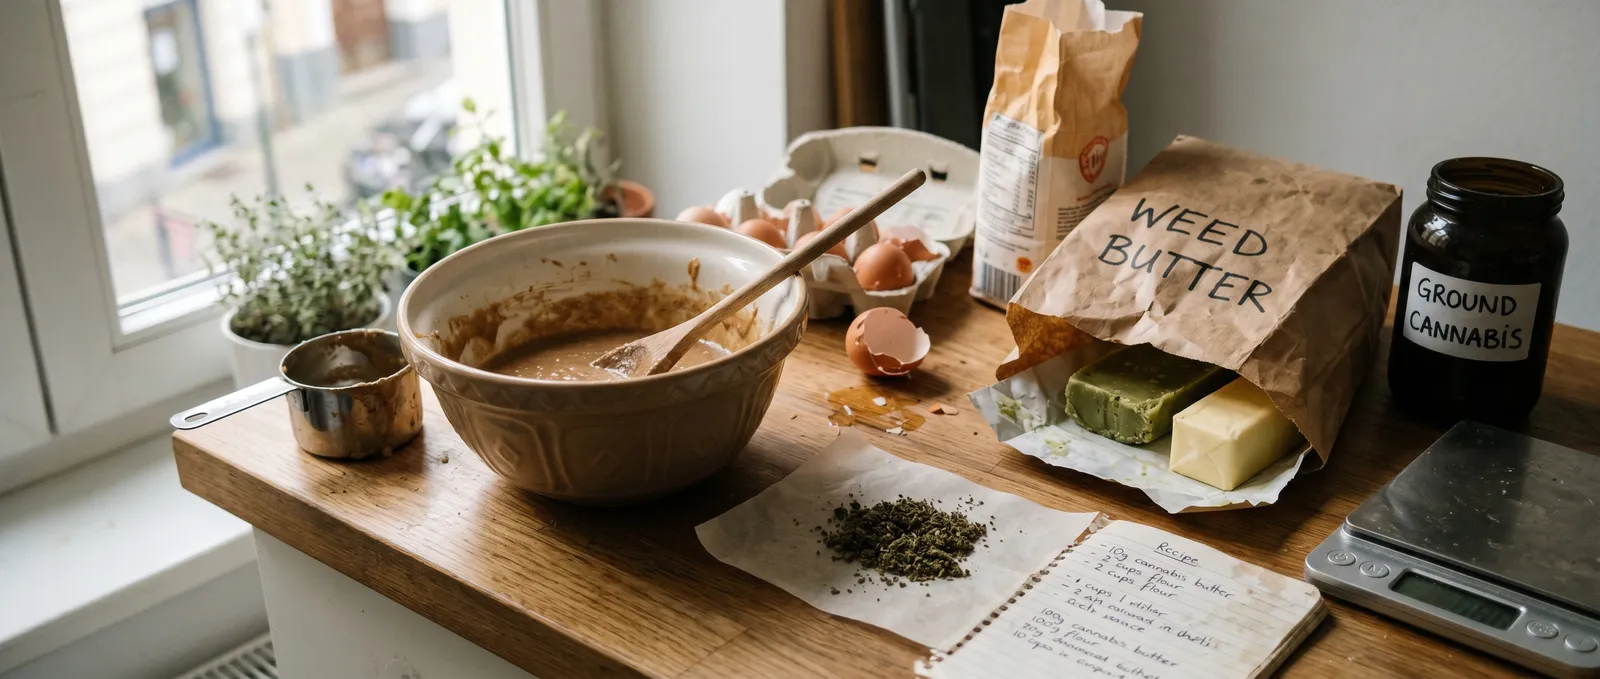
How To Bake Space Cake
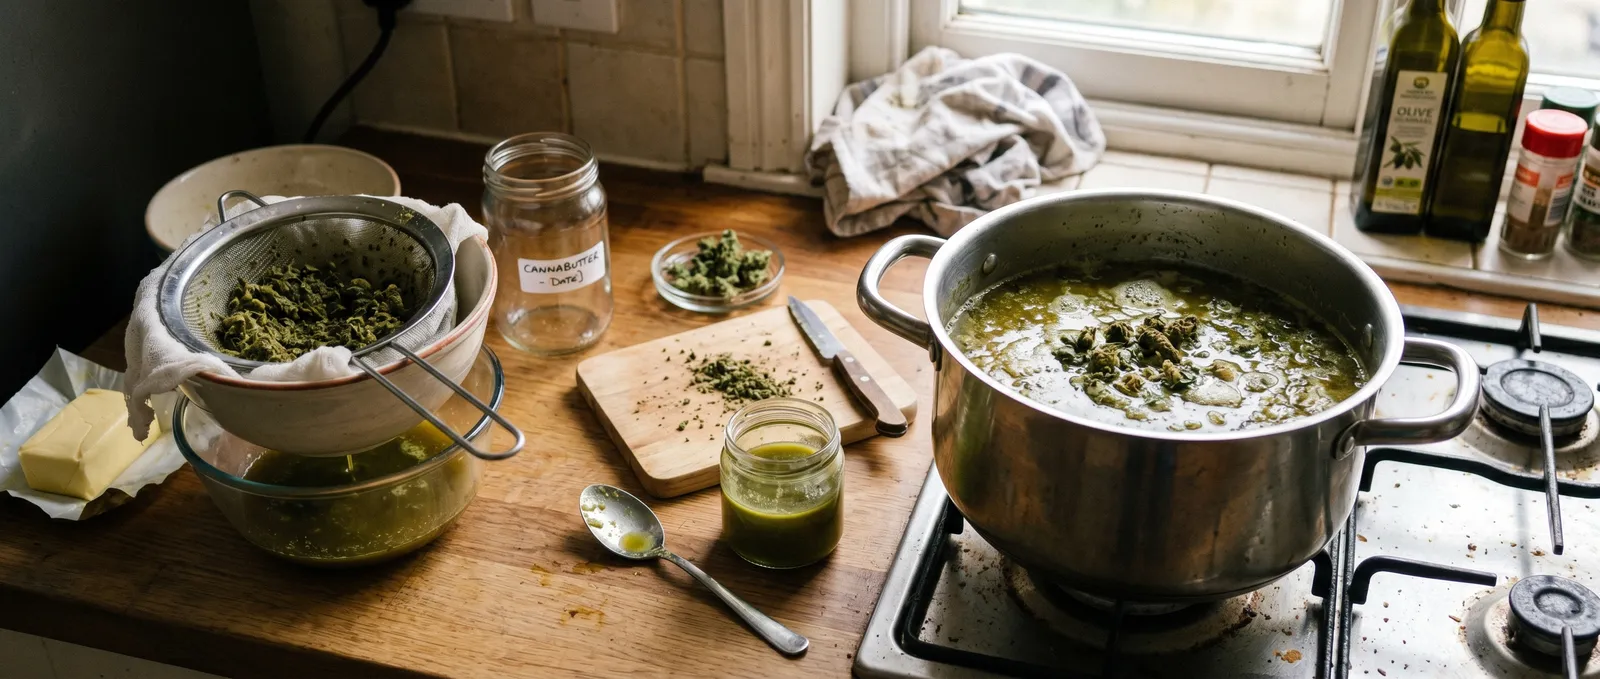
A space cake is a cannabis-infused baked good where THC is extracted into butter or oil before being mixed into batter.
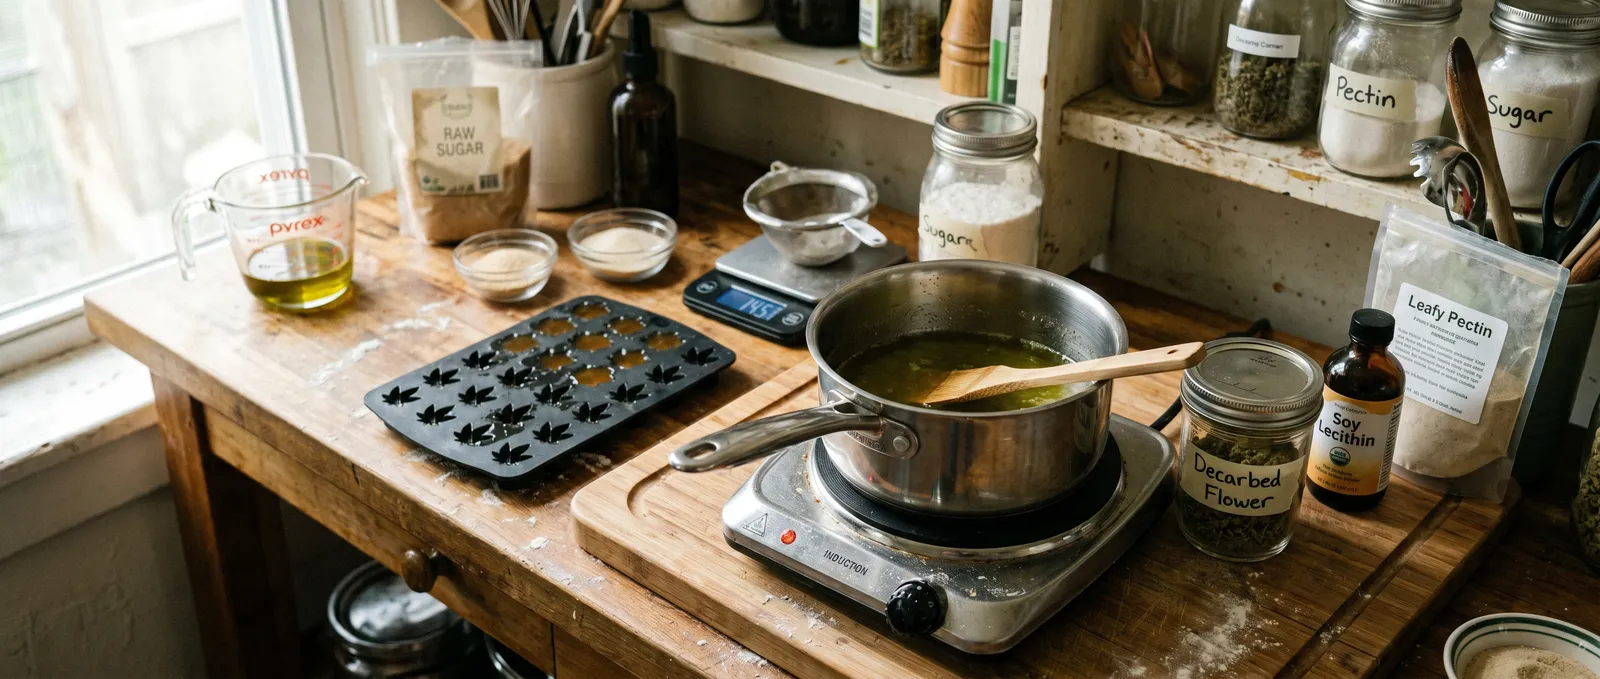
How to Make THC Gummies: Step-by-Step Science Guide
Learn how to make THC gummies at home: decarboxylation, oil infusion, dose maths, and emulsification — with clinical dosage ranges and safety data.
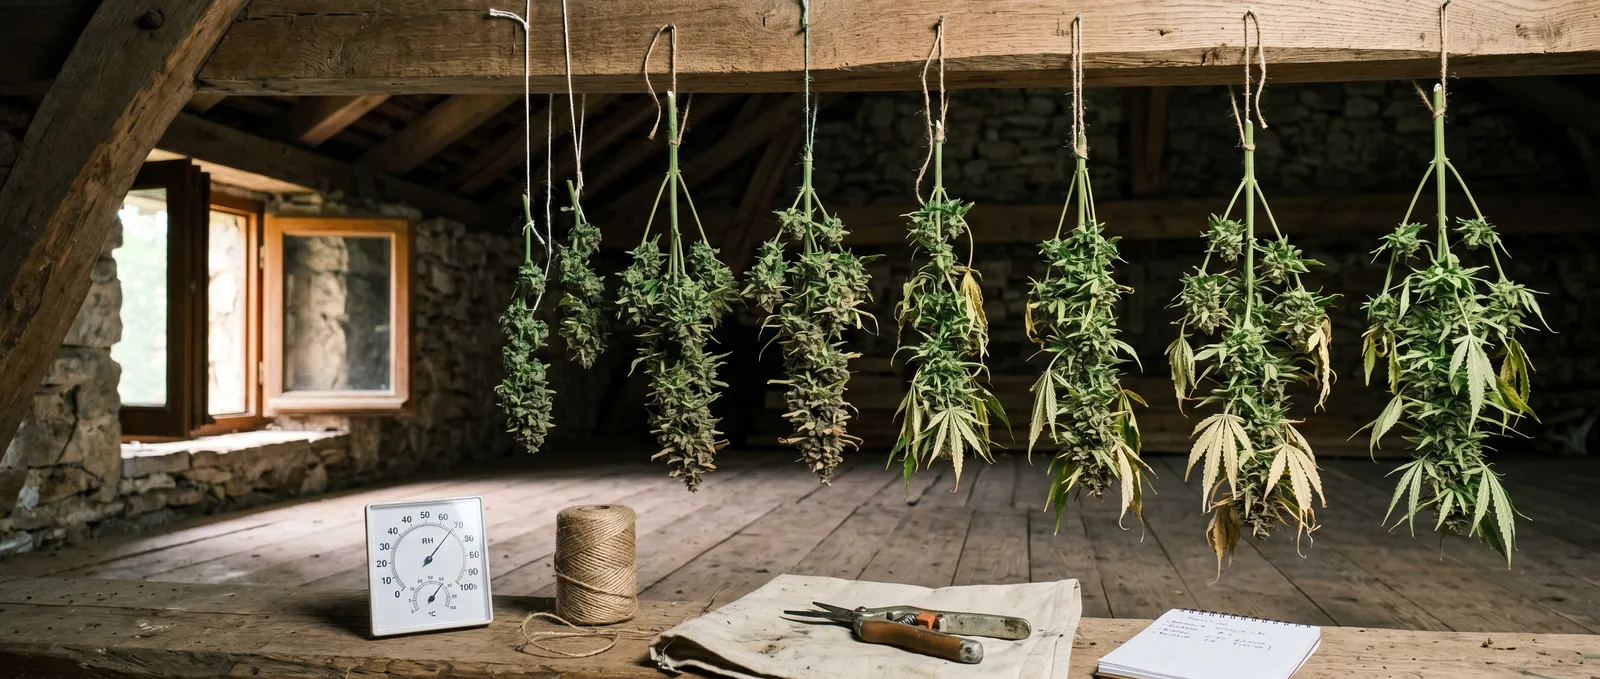
How to Dry Cannabis: Step-by-Step Drying Guide
Learn how to dry cannabis the right way: 7-step protocol, humidity targets, mould prevention and the science behind slow drying.
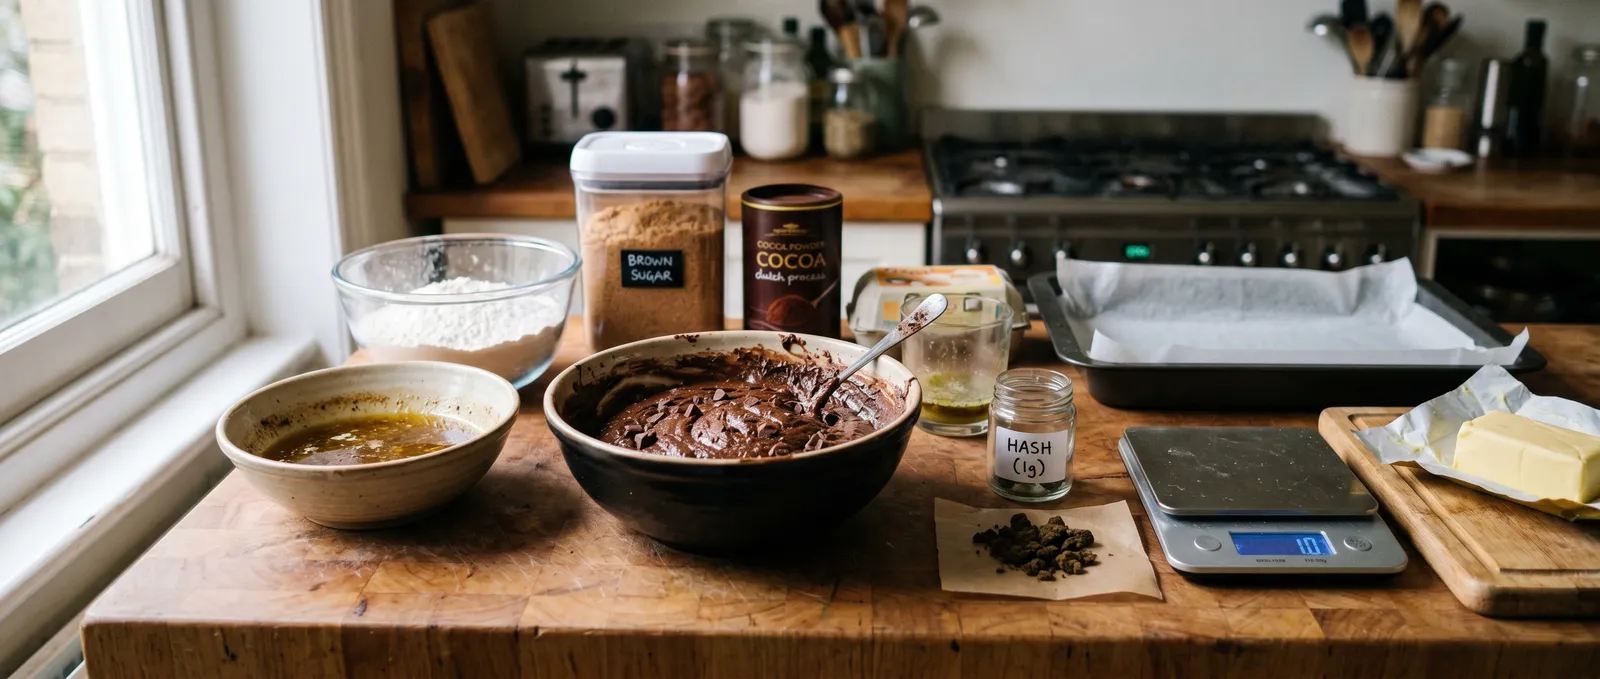
How to Make Hash Brownies: A Step-by-Step Guide
How to make hash brownies: decarboxylation, dose calculation, baking, and safety — with clinical research on onset, duration and interactions.
How to Make Cannabutter: Step-by-Step Guide
Learn how to make cannabutter at home: decarboxylation, stovetop infusion, dosage estimation, and safety guidance backed by clinical research.
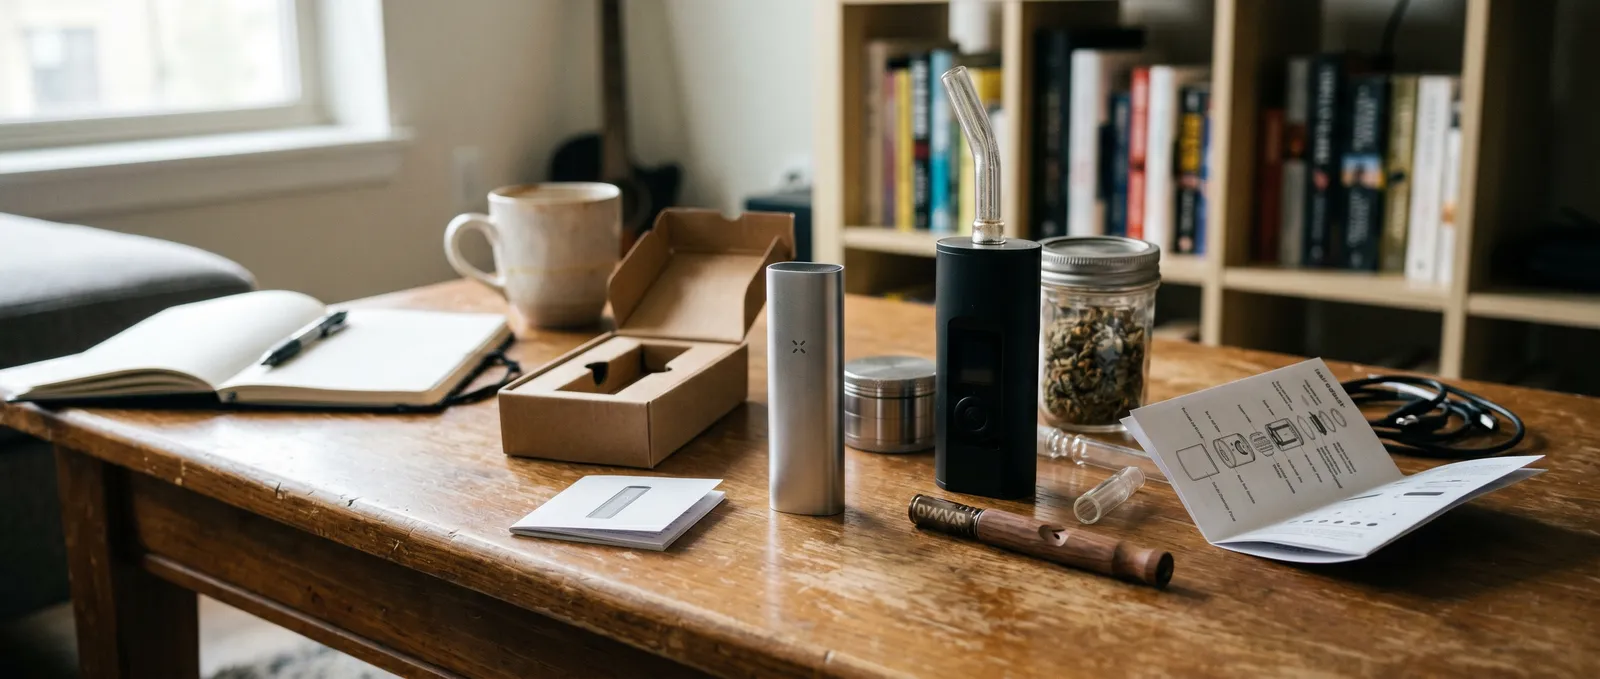
How To Choose the Right Vaporizer
Step-by-step guide on how to choose the right vaporizer. Covers heating methods, temperature control, portable vs desktop, and harm reduction basics.
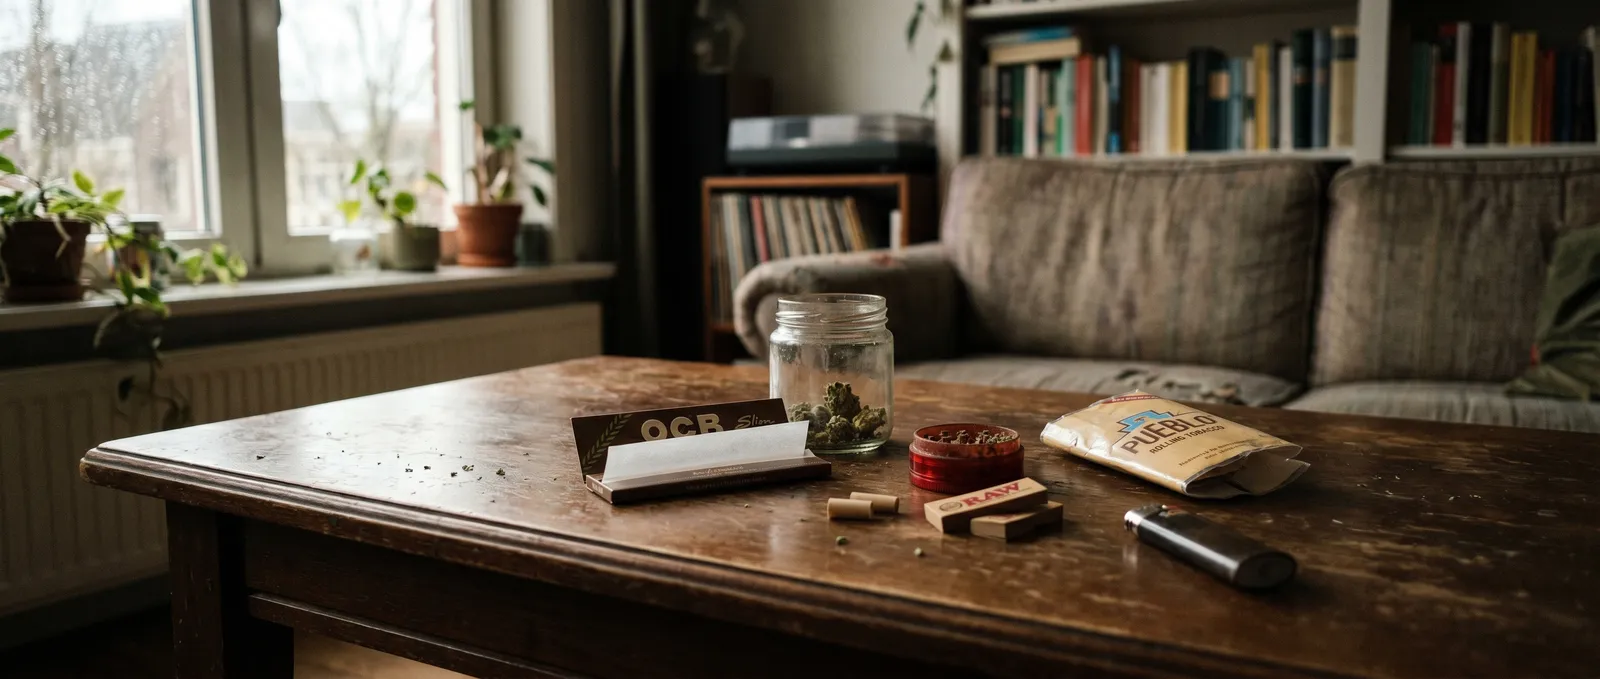
How to Roll a Joint
A joint is ground cannabis rolled in a thin paper with a filter tip — it is the most common method of smoking flower worldwide.
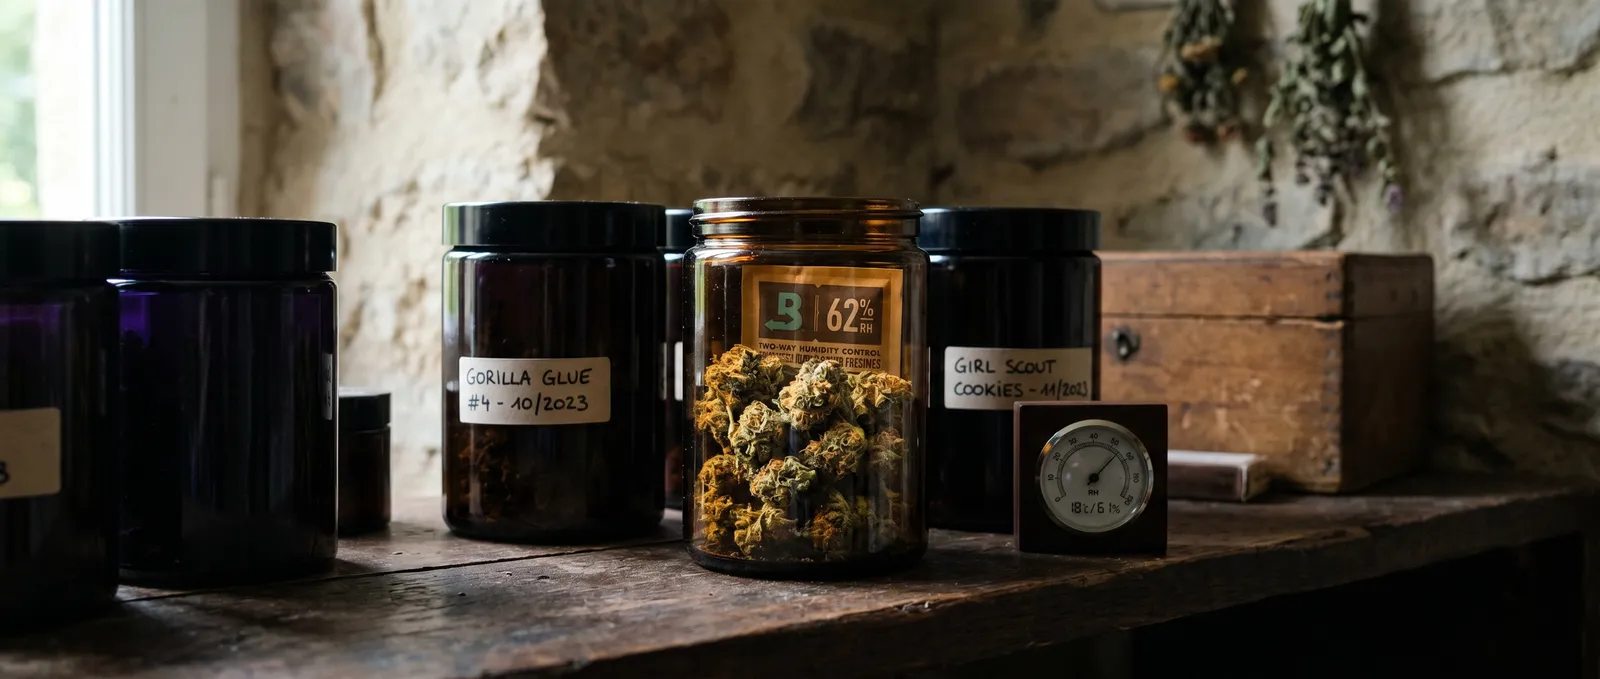
How to Store Cannabis
Cannabis storage is a preservation practice that controls four variables — light, temperature, humidity, and air — to slow THC degradation and prevent mould.

How to Use a Shisha
A shisha is a water pipe that filters smoke through a water-filled base, used to smoke flavoured tobacco or herbal blends.